I’ve been making good progress on the shave horse and am nearly done, despite also spending time on cleaning the shop and desiging a cabinet to hold things at my sharpening and grinding bench.
Making the Platform
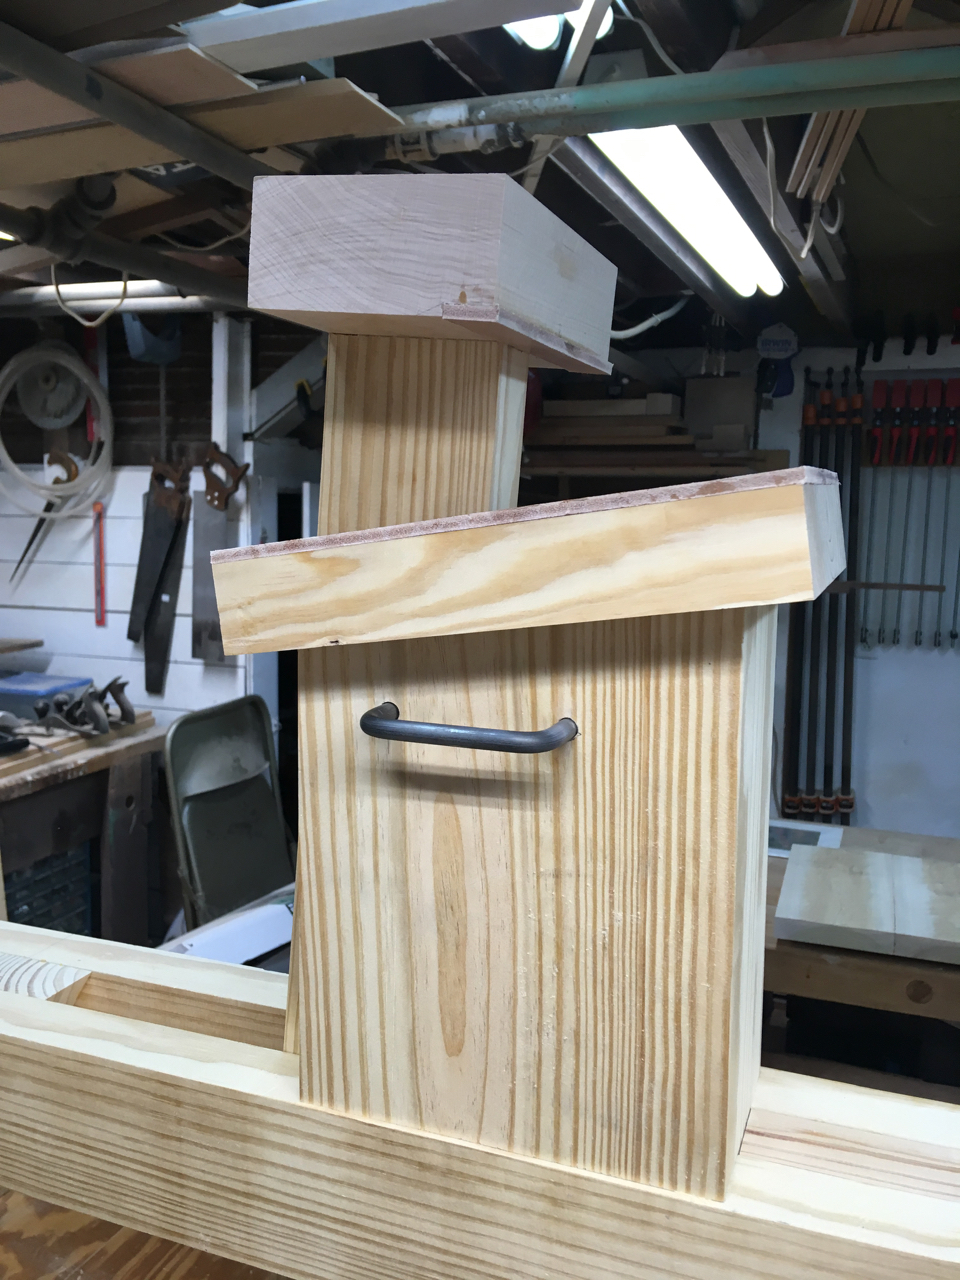
To make the platform, I needed to create a ‘u’ shape made of a piece of wood with a thick piece of leather glued on top of it. The leather gives better grip when holding pieces and reduces the risk of denting the piece.
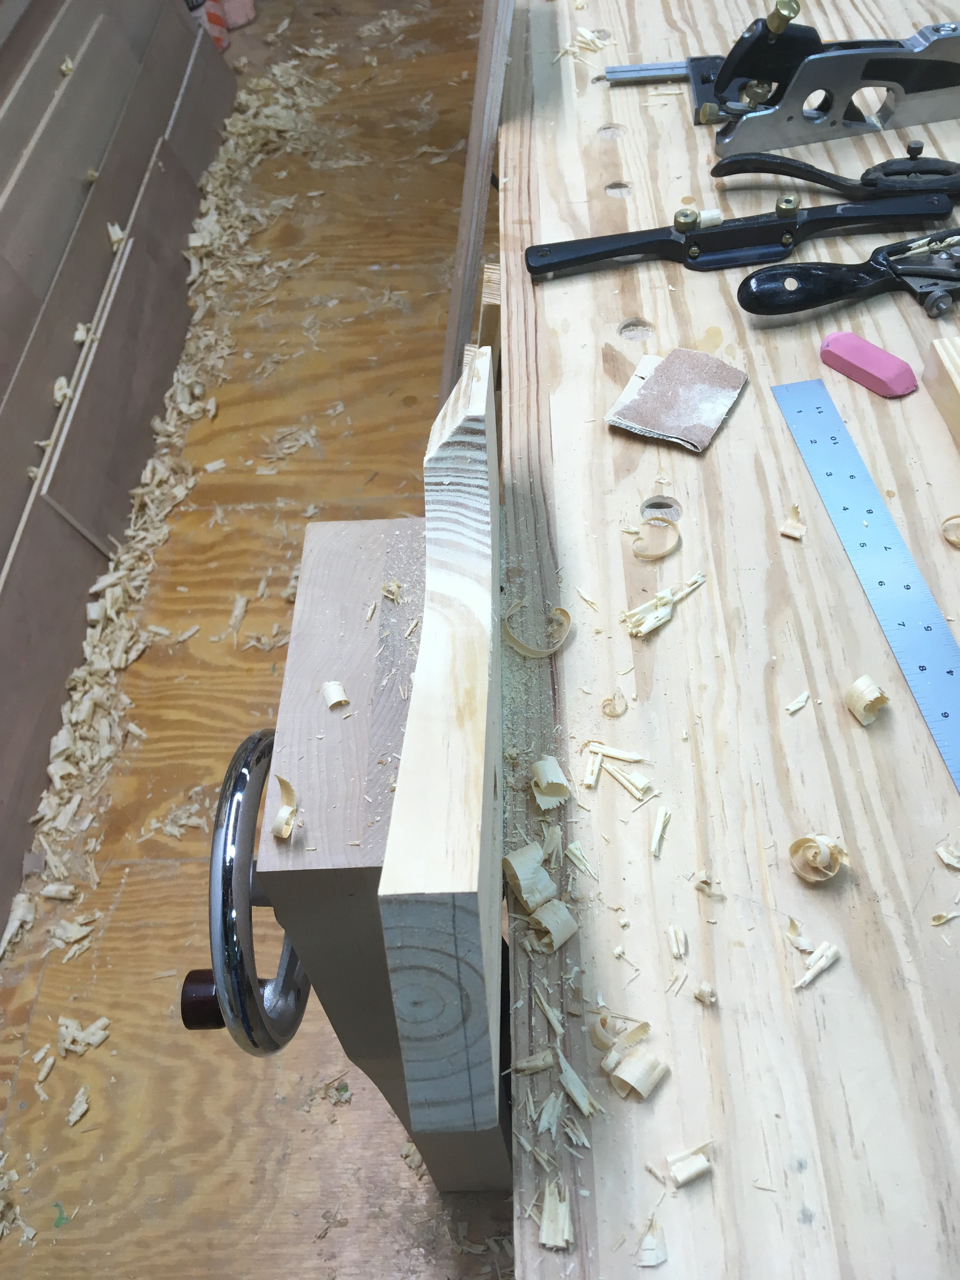
I made the leather oversized and glued the leather to the platform with a scrap on the bottom, so I wouldn’t get squeezed out glue on my bench top. Good thing I did so. Apparently, I used plenty of glue.
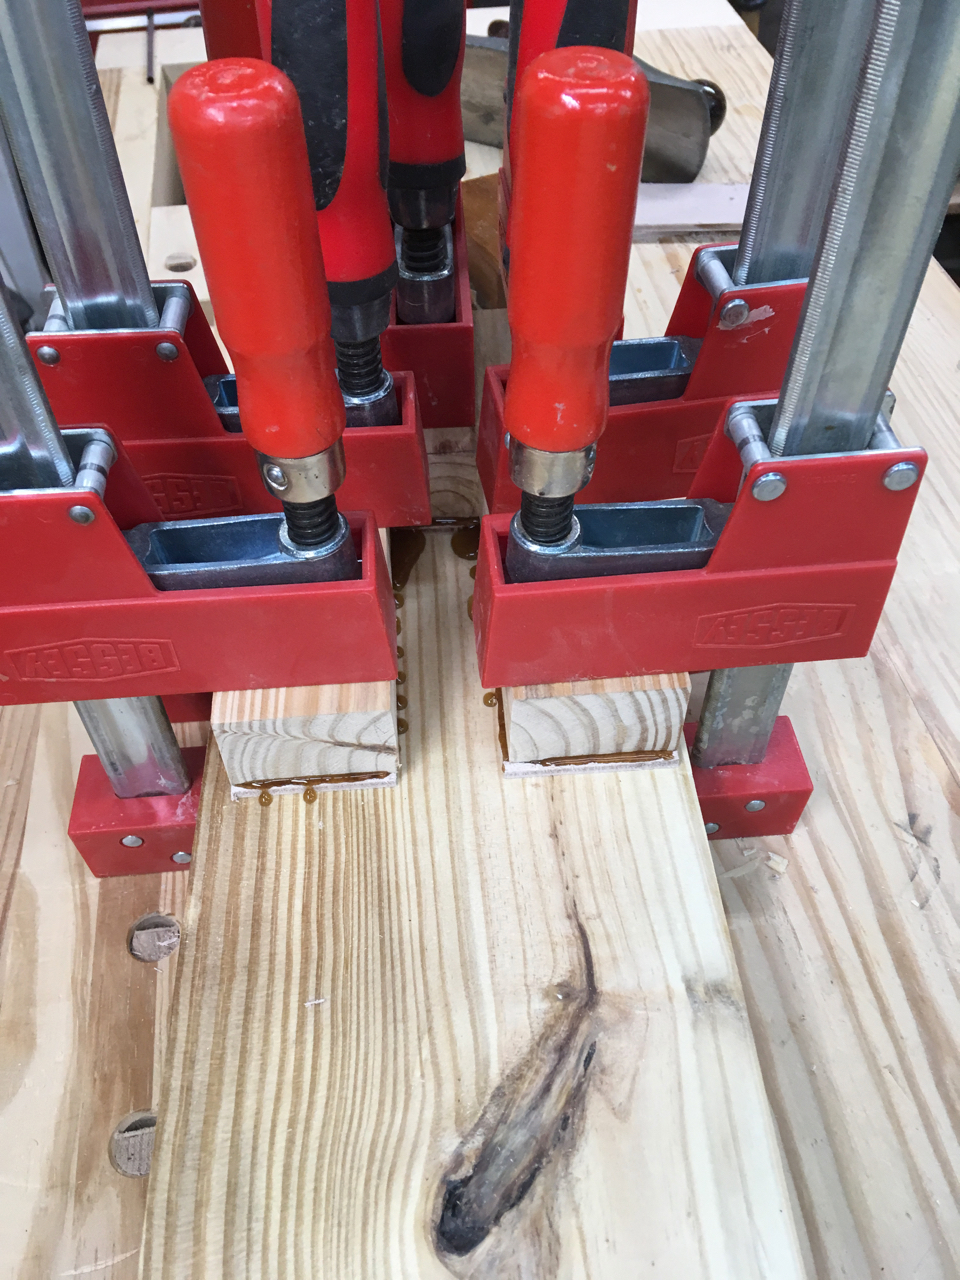
After the glue dried, I trimmed off the excess glue and trimmed the leather flush with the platform, except in the front (shown on the left) where a slight overhang will provide a bit of cushion.
Making the swing arm and head
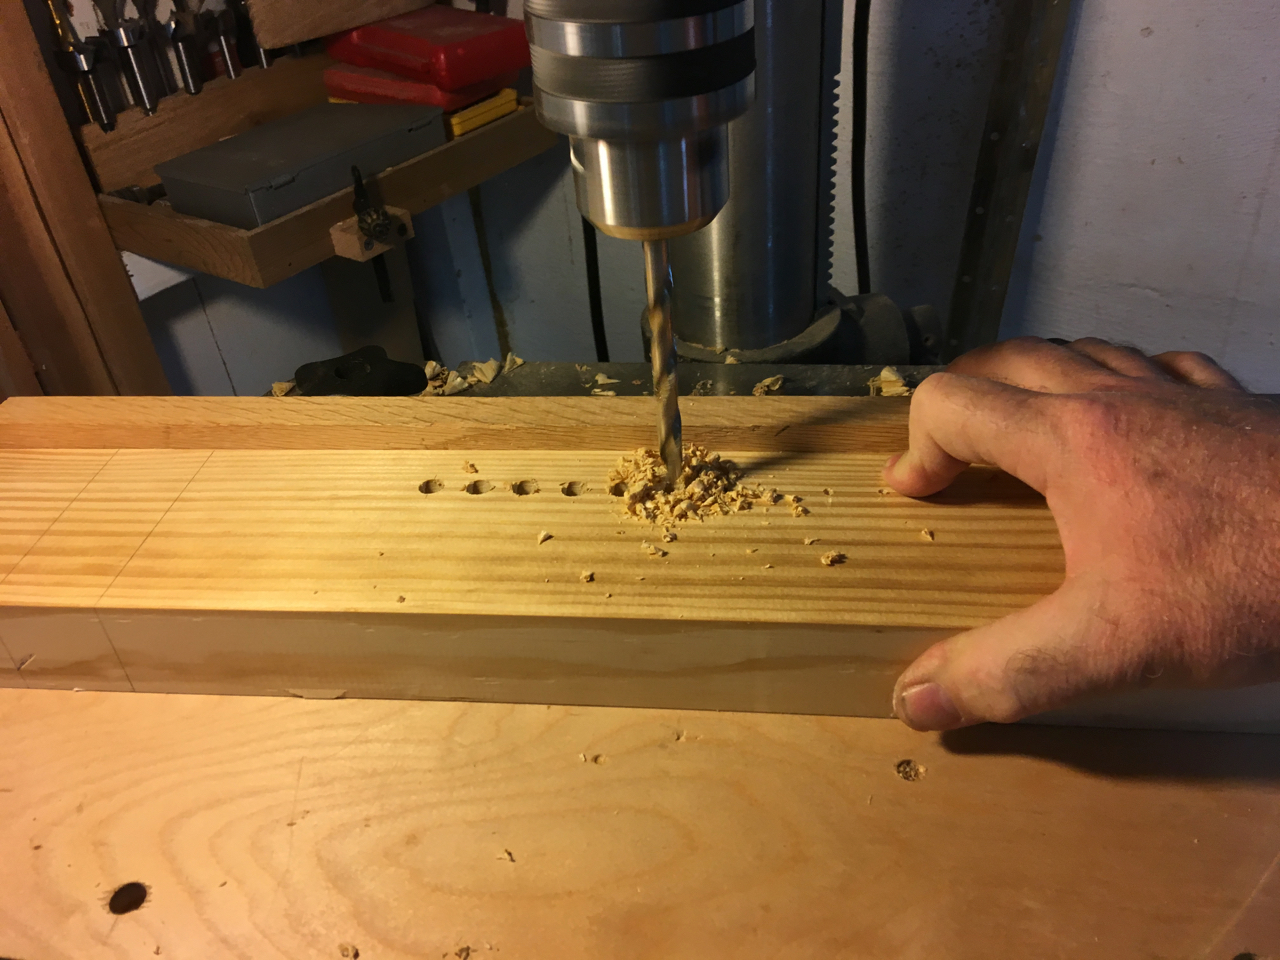
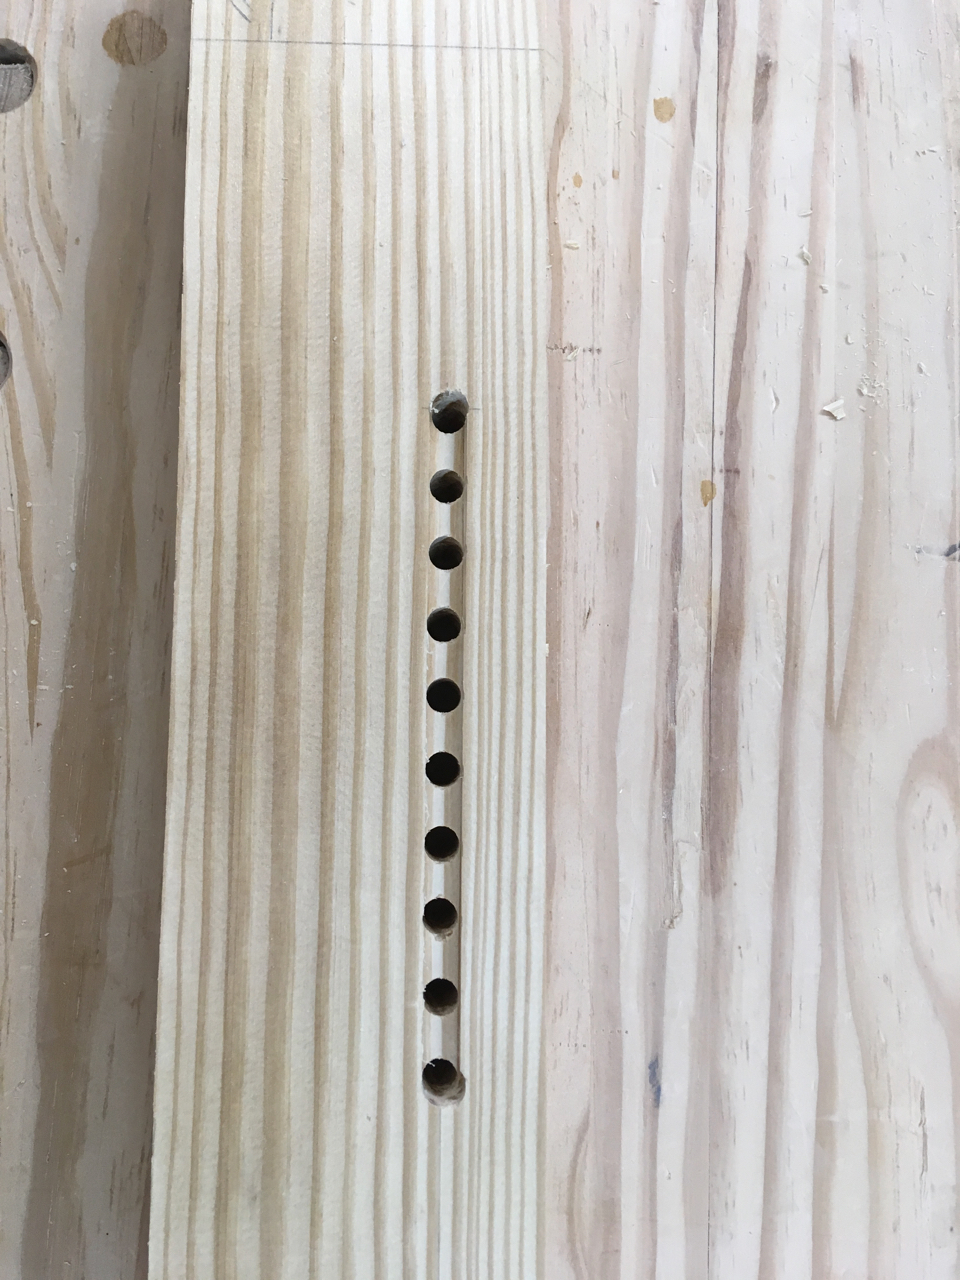
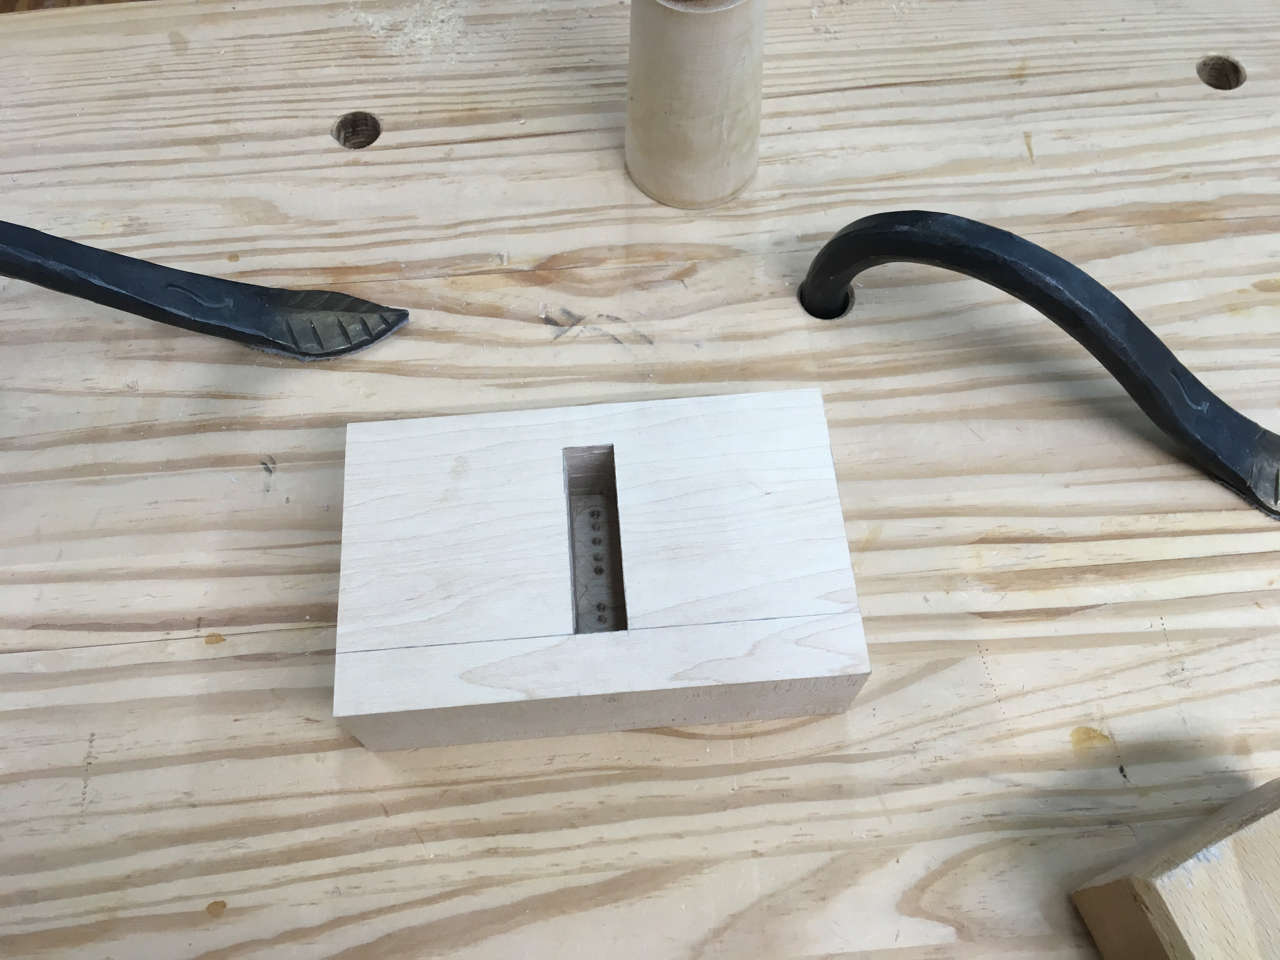
The swing arm requires a series of holes to allow me to adjust it up and down relative to the platform. This will let me work with pieces of varying thickness.
A groove along the line of the holes allows the adjustment pin to keep the swing arm aligned as I raise and lower the swing arm without seeing it, since the swing arm is hidden in the ‘u’ of the pedestal.
There is a mortise in the underside of the head to accept a tenon on the top of the swing arm. I started by drilling most of the material with a Forstner bit. This left only cleaning up the sides and squaring the corners. Once again holdfasts showed their versatility.
After I squared up the mortise, I was ready to make the rabbet at the front of the head that holds a strip of leather, again for better grip and reduced risk of denting.
I don’t have any pictures of gluing the leather to the head, nor of gluing the head to the swing arm.
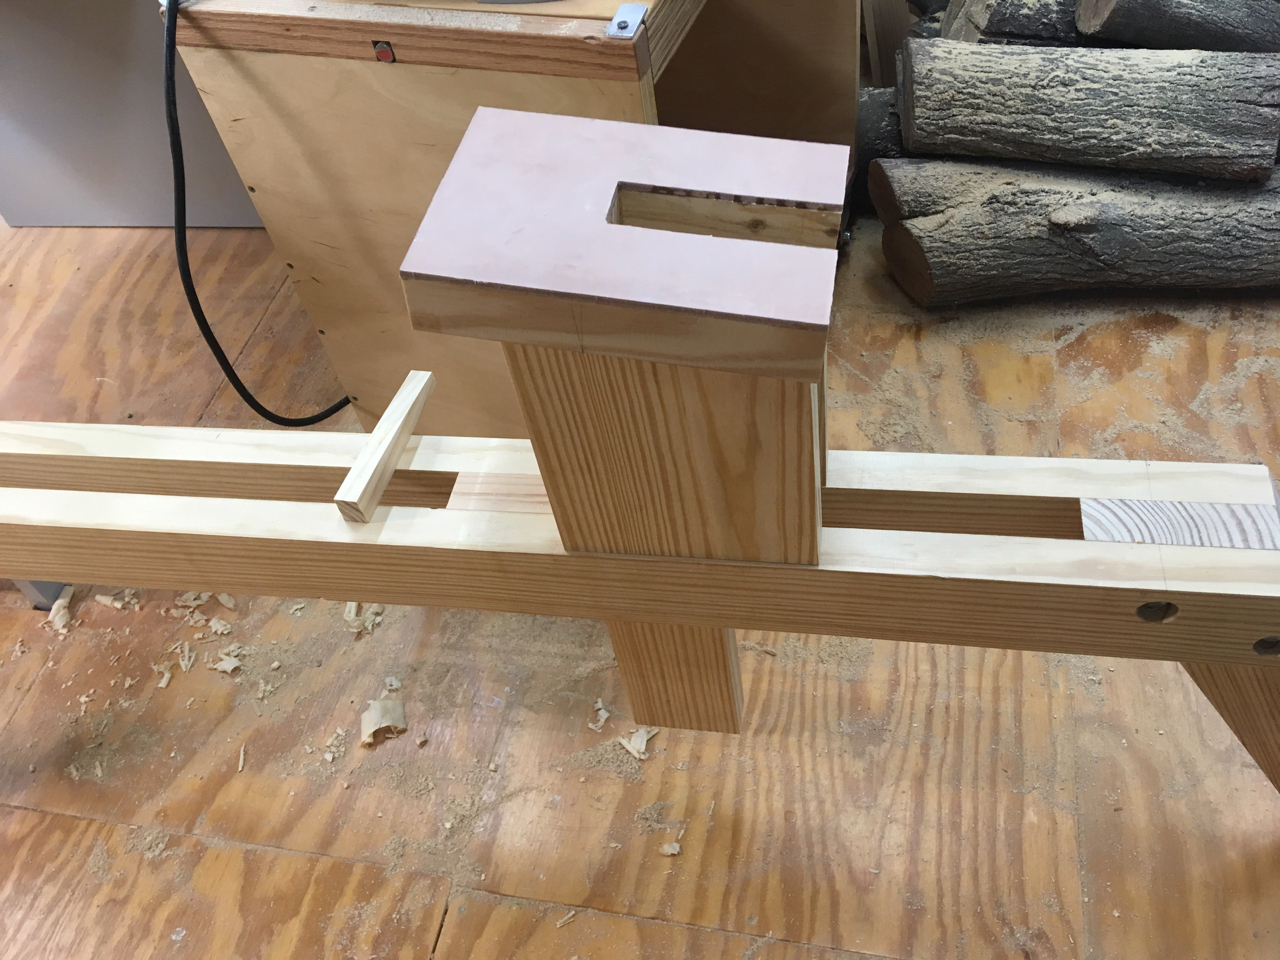
Making the Treadle
At the bottom of the swing arm is the treadle. Foot power makes for quick holding and releasing of parts while leaving both hands free to work with a drawknife or spokeshave.
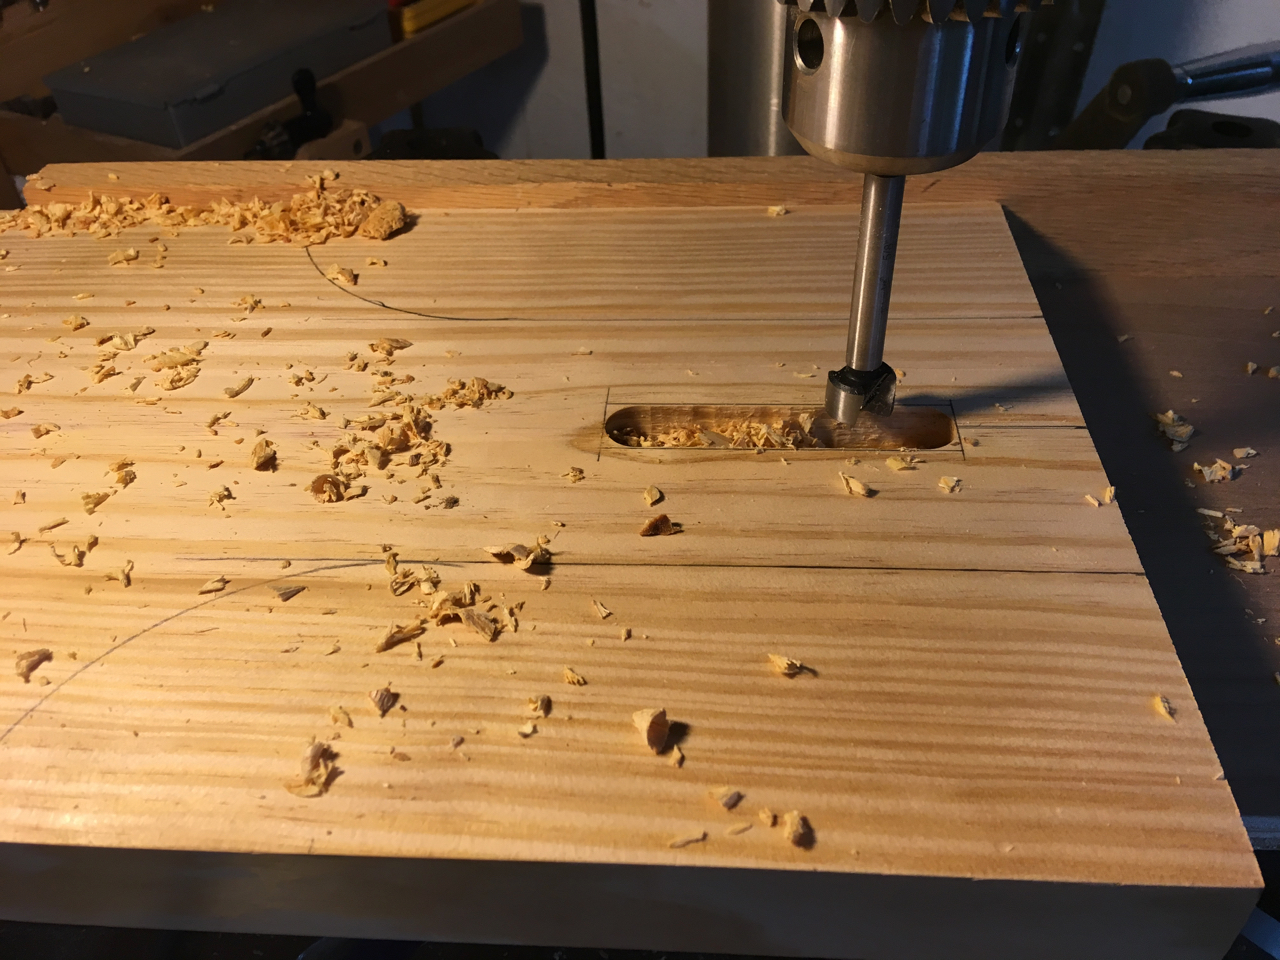
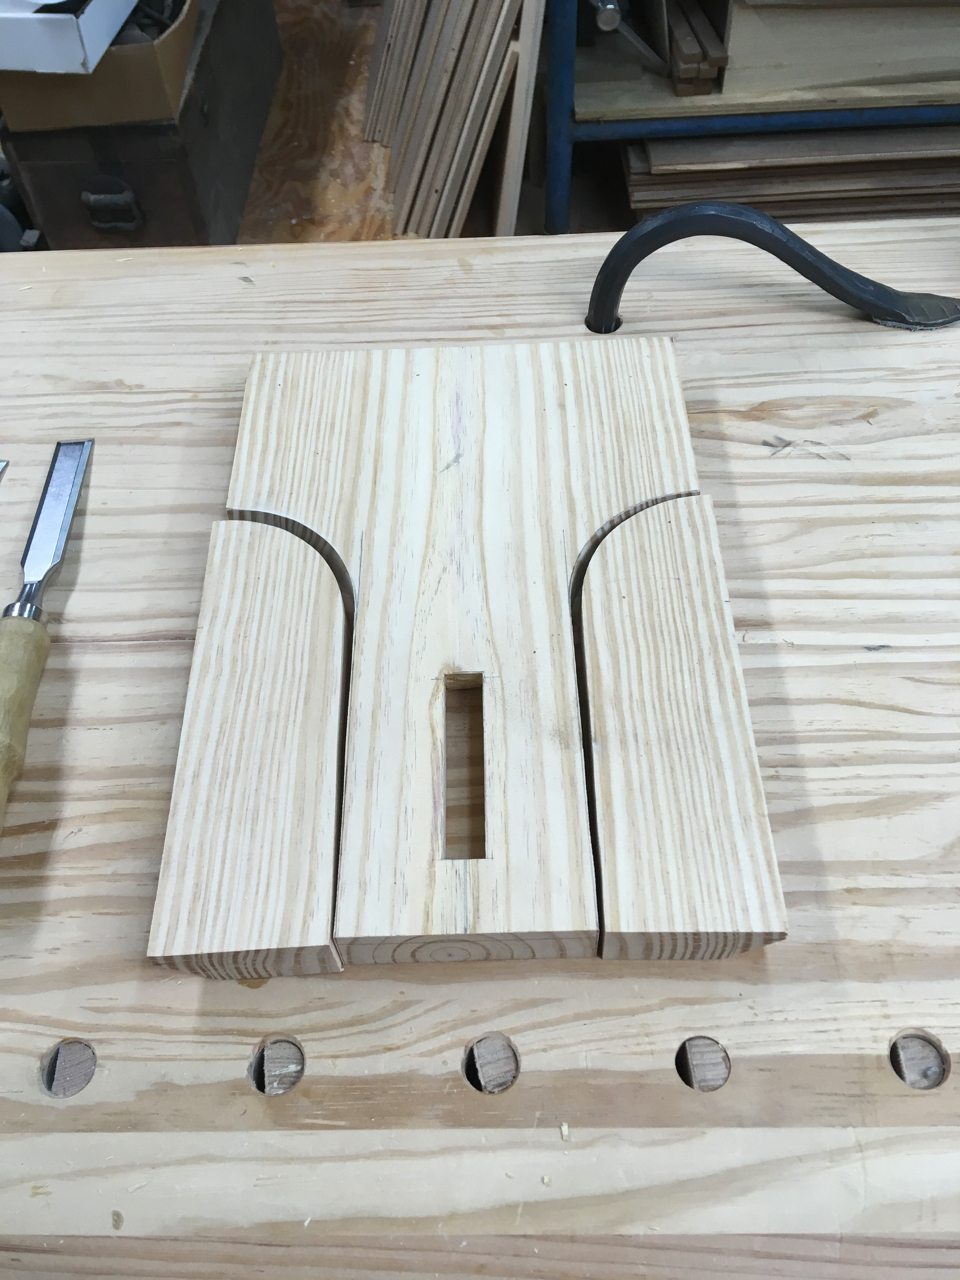
I started by rough milling the treadle and marking out the shape. The treadle is held in place via a through mortise which accepts a tenon on the swing arm. I started by drilling out most of the material at the drill press.
After cleaning up the mortise, I cut a 45º chamfer along the the bottom edges of the treadle and removed excess material from the back.
A spokeshave and sandpaper let me quickly clean up the rough edges left by the bandsaw.
After fitting the treadle to the bottom of the swing arm, I made a through mortise in the swing arm’s tenon and fitted a wedge to hold the treadle in place (seen in the last pictures).
Making the Adjustment Pin
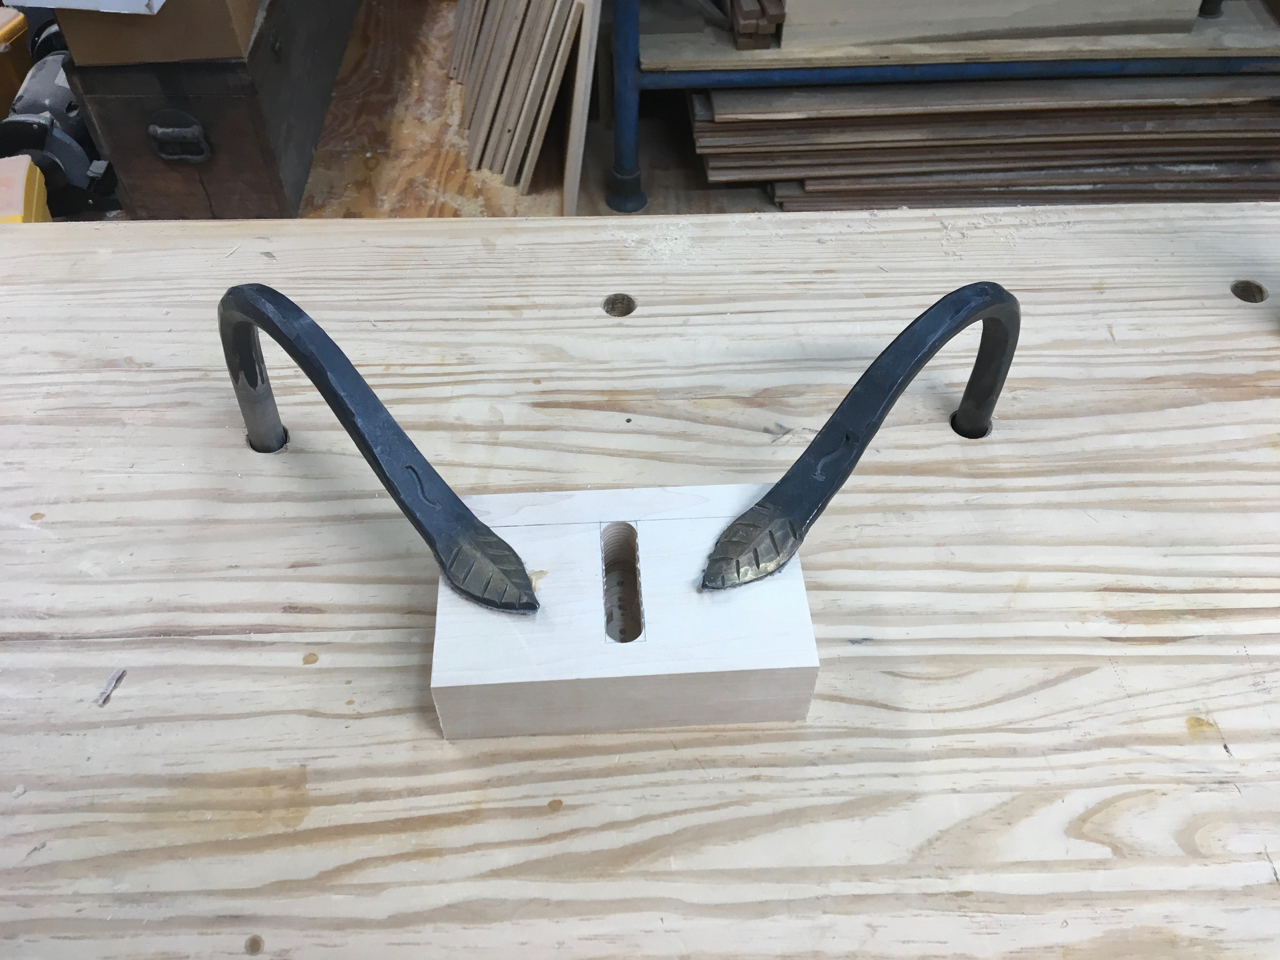
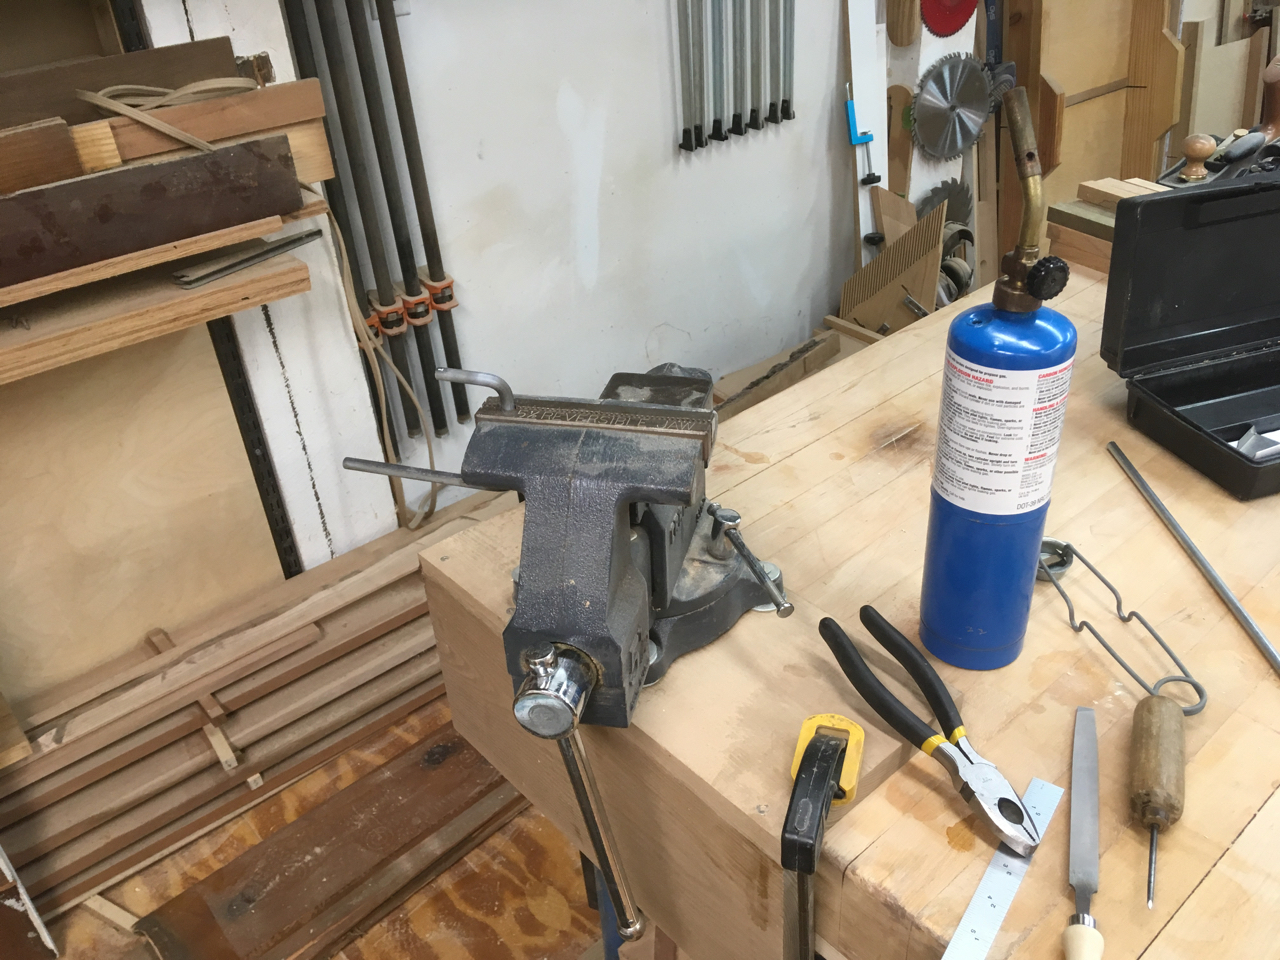
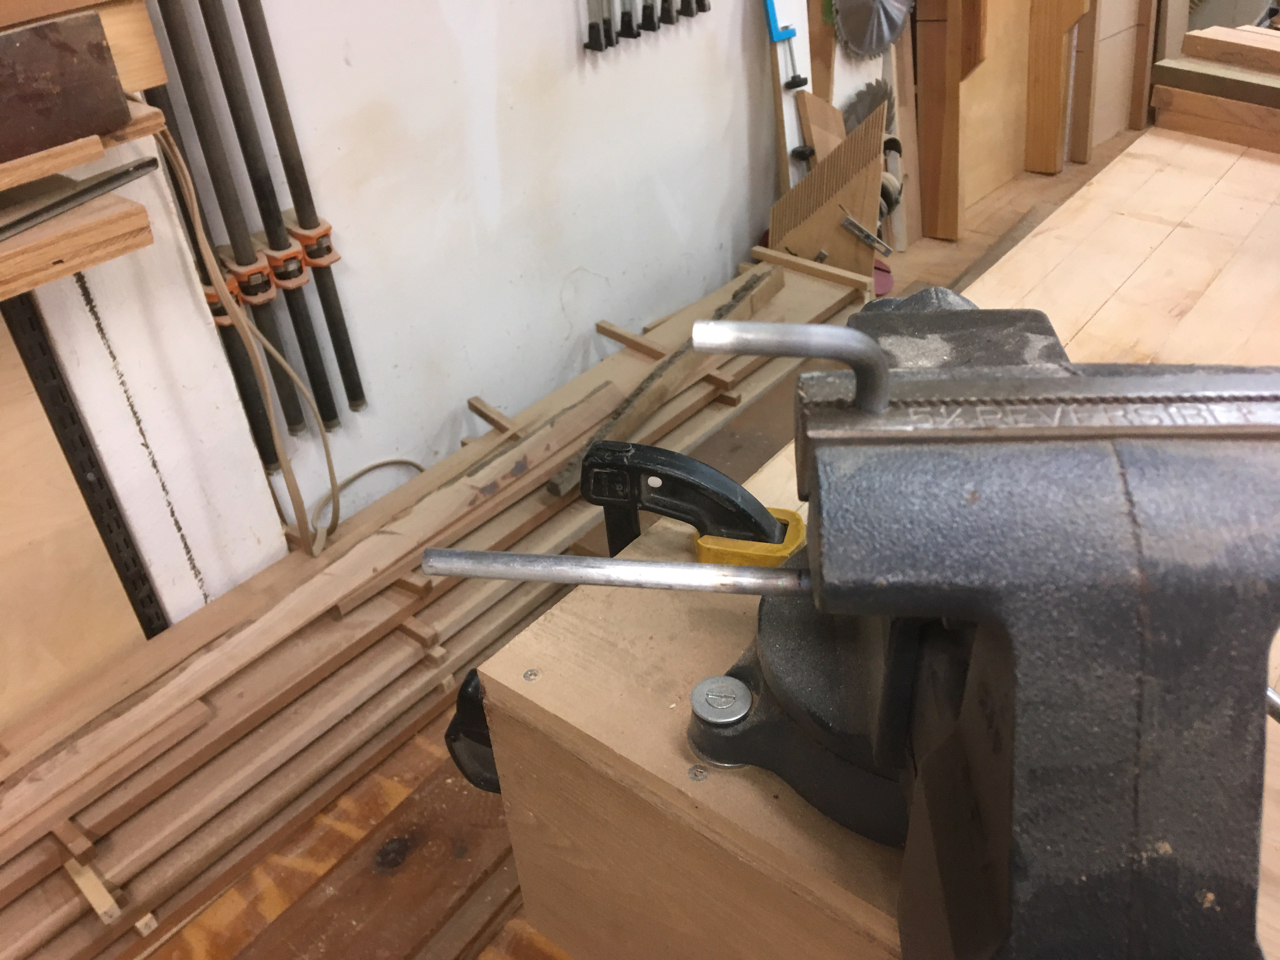
To make the adjustment pin, I used a vise and propane torch to heat and bend 5/16" steel rod in a ‘j’ shape.
The finished pin looks like a funky ‘j’. The long side of the pin goes through one side of the pedestal, through the swing arm, and most of the way into the other side of the pedestal. The pedestal pivots on this pin. The short end of the pin goes into a stopped hole in the side of the pedestal, to keep it fixed in place while using the horse.
Here are two pictures showing the pin in place and the head at two different heights. Adjustment is quite intuitive.
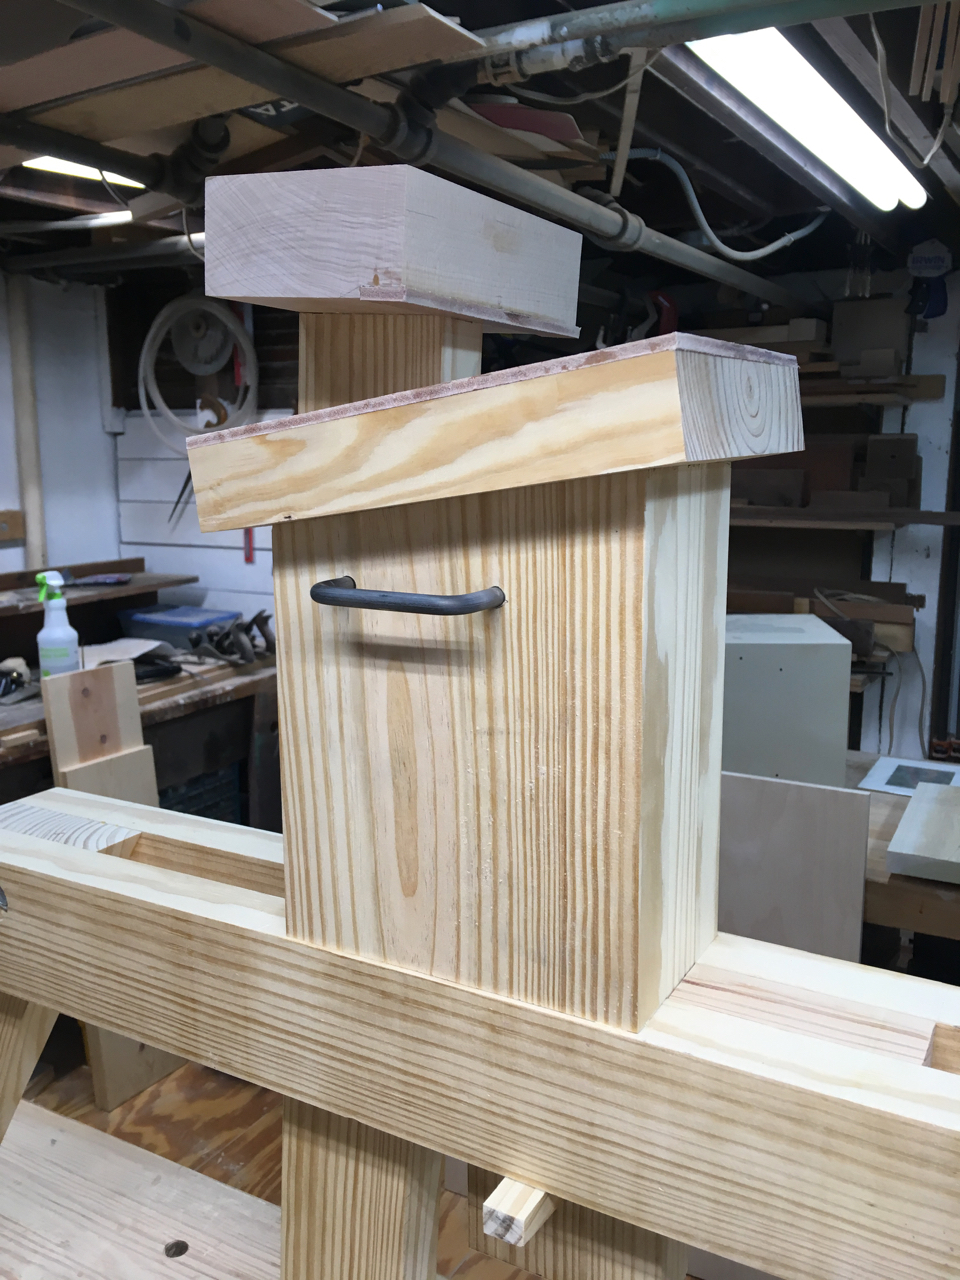
Nearly Done
After attaching the head to the pedestal, and mounting the swing arm to the pedestal with it’s treadle attached, the shave horse is almost done.
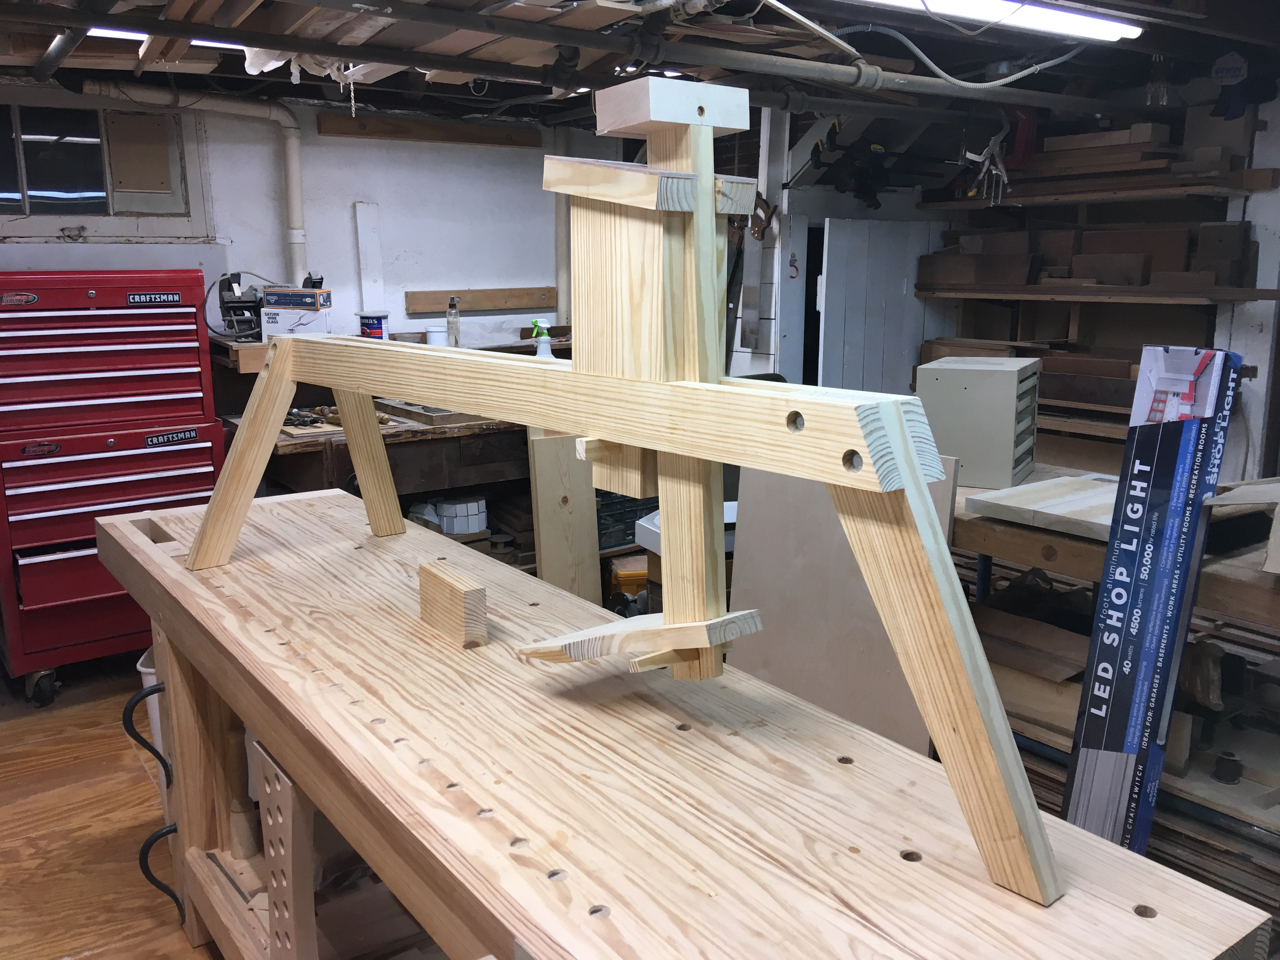
All that is left is to make and install the seat. Doing so will be my first real foray into the art of chairmaking, as I’ll need to carve and shape the seat with tools mostly or completely new to me.