I’ve been working on the trim for the upper cases and the shelf stiffeners, and last evening finished milling and planing them to final width and height. I’ve left them a bit long so I can trim to length when installing them, so there’s just a bit of sanding to do before I seal, stain, and finish them.
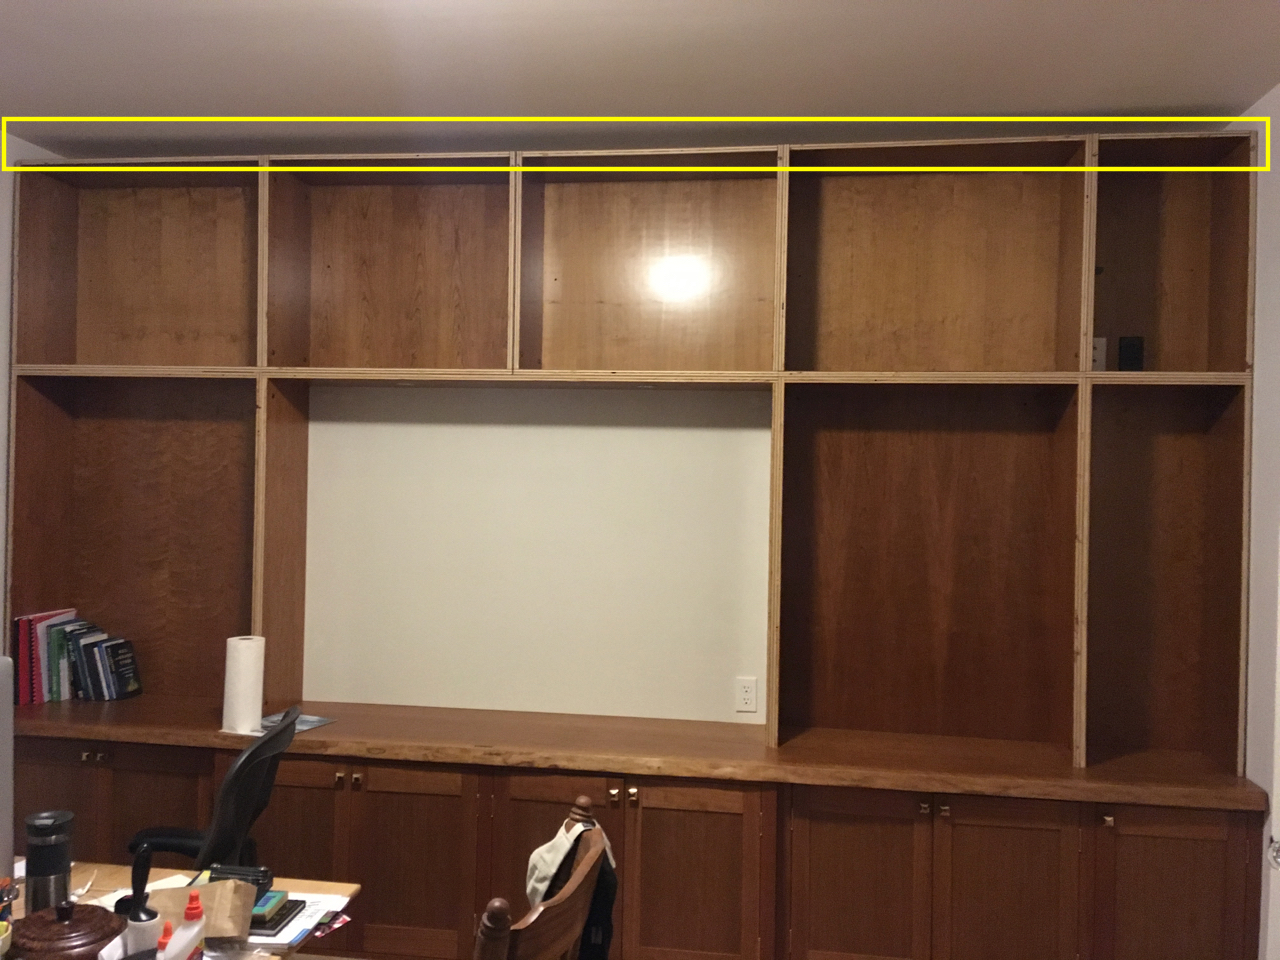
Except there is one piece I hadn’t yet milled. If I can make it work, I want to have a single piece of cherry running the entire length of the top of the cases.
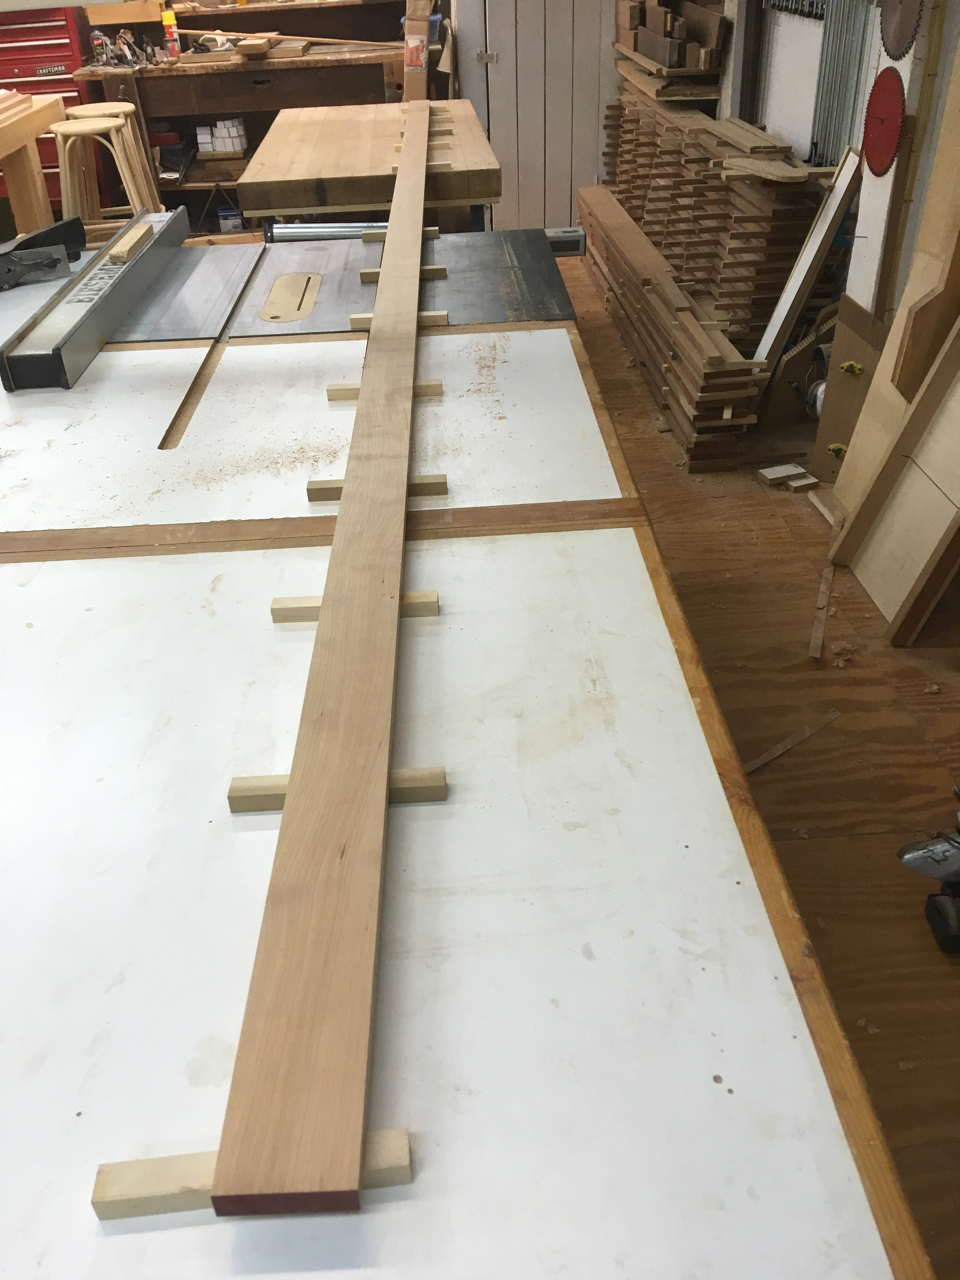
It’s hard to find a single piece of wood almost thirteen feet long that will mill straight and true. It helps in this case that I only need the piece to be about 2 1/2" tall. I had orginally resigned myself to having a scarf joint along this stretch, but then decided to see if I could get lucky and get a single piece that would work.
I buy most of my lumber and sheet goods from Schaller Hardwood, and they went through their stock of rift and quartersawn cherry and found a board that might work. They shipped it from their main facility in Poplar Bluff to their local warehouse and I brought it home a few weeks ago. Today I set out to mill it to rough size, not knowing if it would work or not.
I started with a rough board about seven inches wide and 5/4 thick, and close to fourteen feet long. First step was ripping one edge relatively straight and removing a couple of knots while doing so. Cabinetmaking doesn’t typically call for using a chalk line to snap a straight line, but in this case it was the best way I could find to get a straight line removing only the material I wanted to remove. I turned the board end-for-end (a careful operation in a shop only slightly wider than the board is long), so I could clamp it in place and rip off the waste with my skill saw.
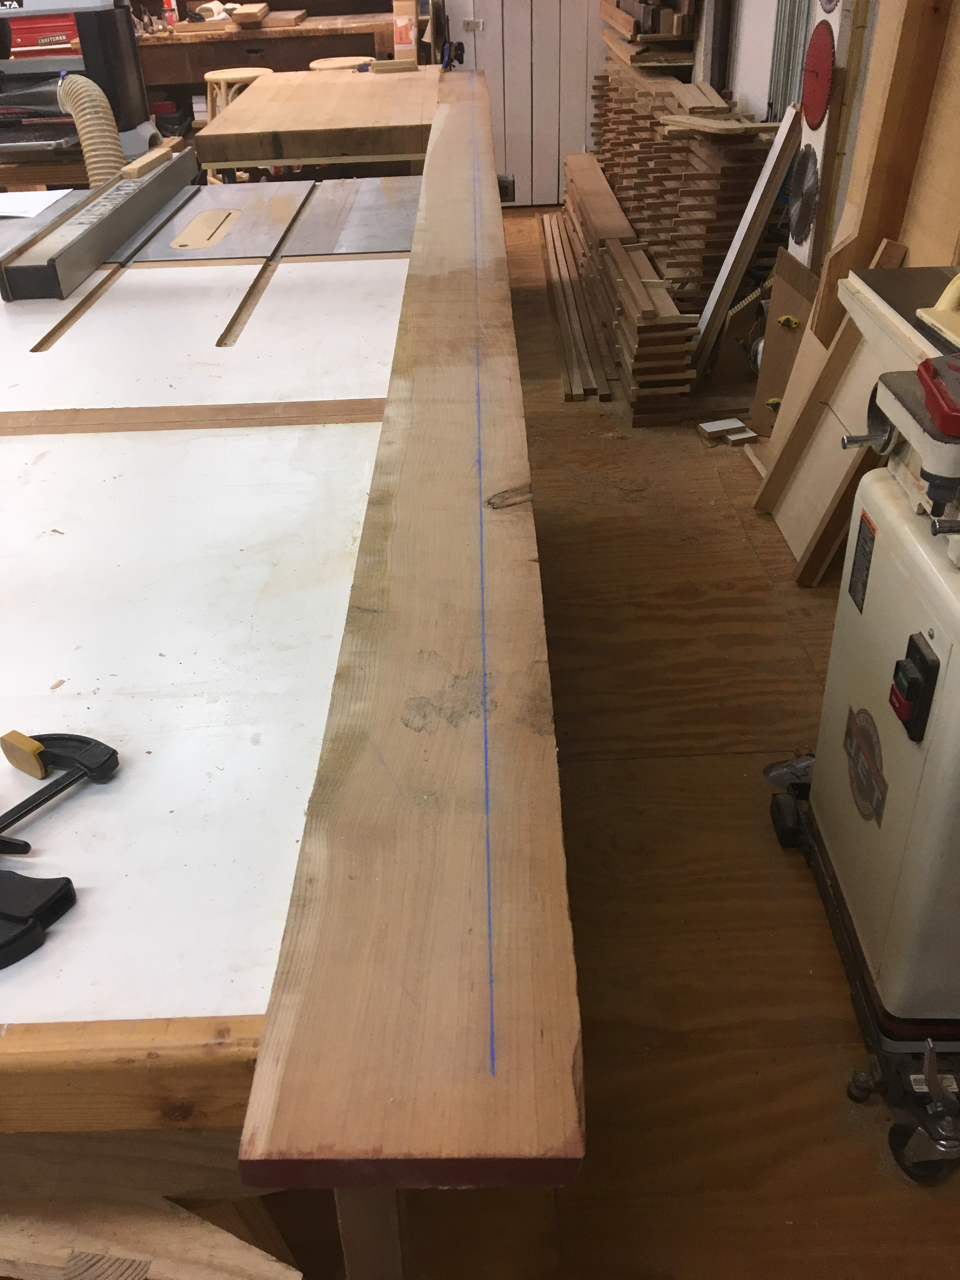
After some careful work with my skill saw (not a tool known for finess), I had a good cut.
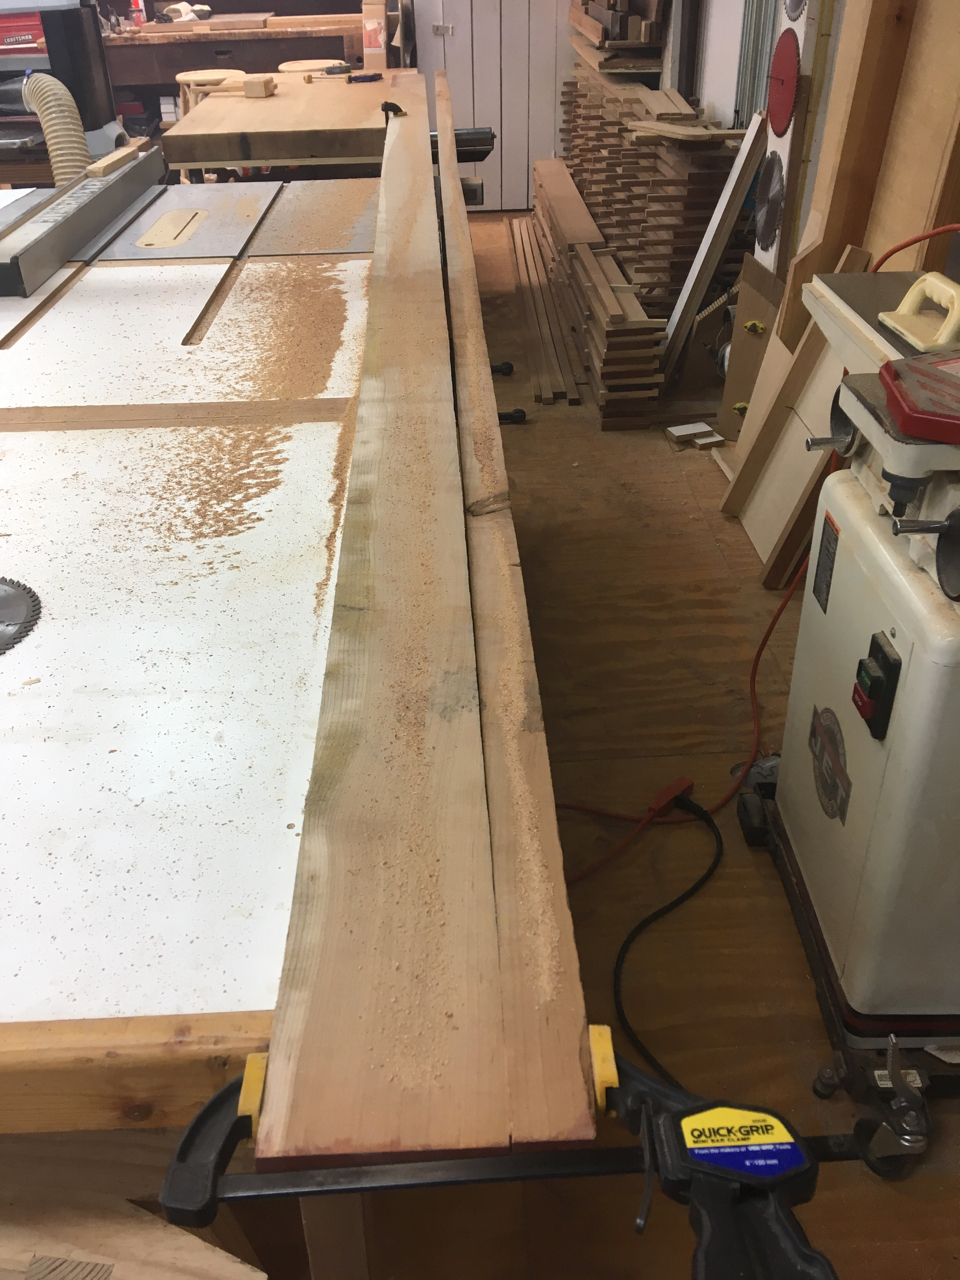
I set the board on end and cleaned up the rather rough edge with hand planes, to start with a straighter edge when using the table saw to straighten it further.
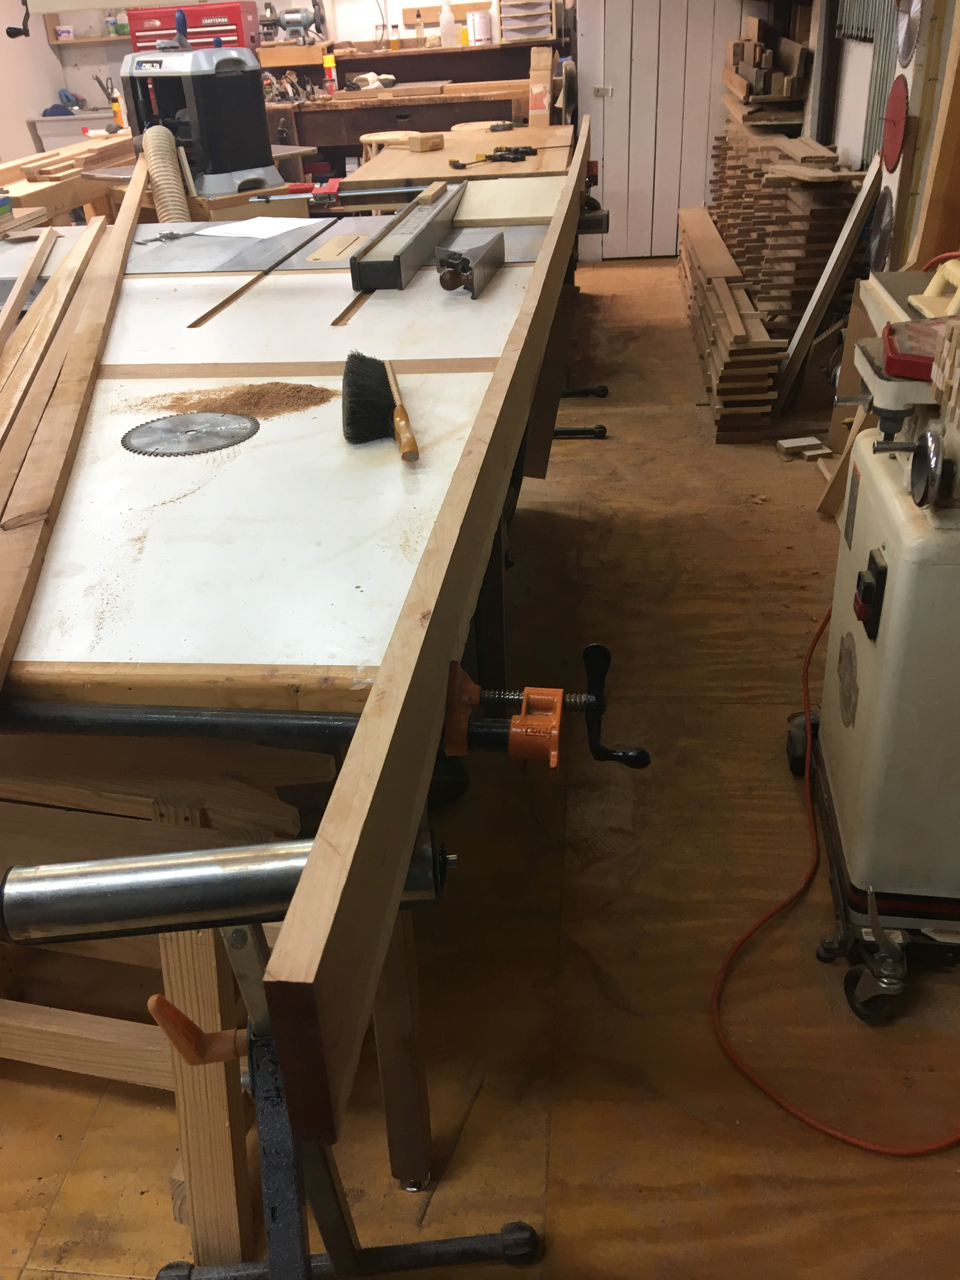
Then I took a series of passes with the table saw, sometimes along one edge and sometimes along the other.
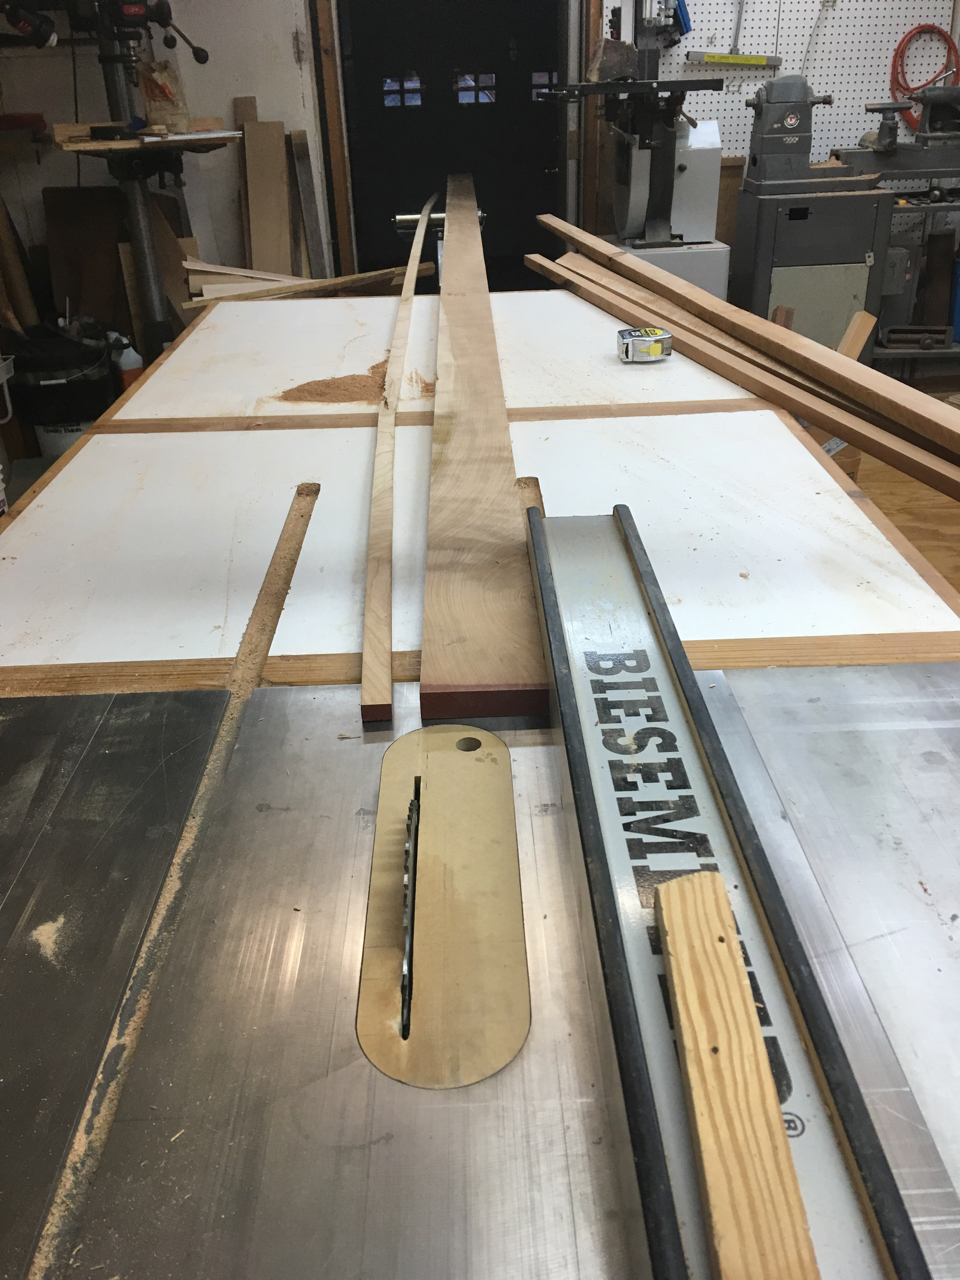
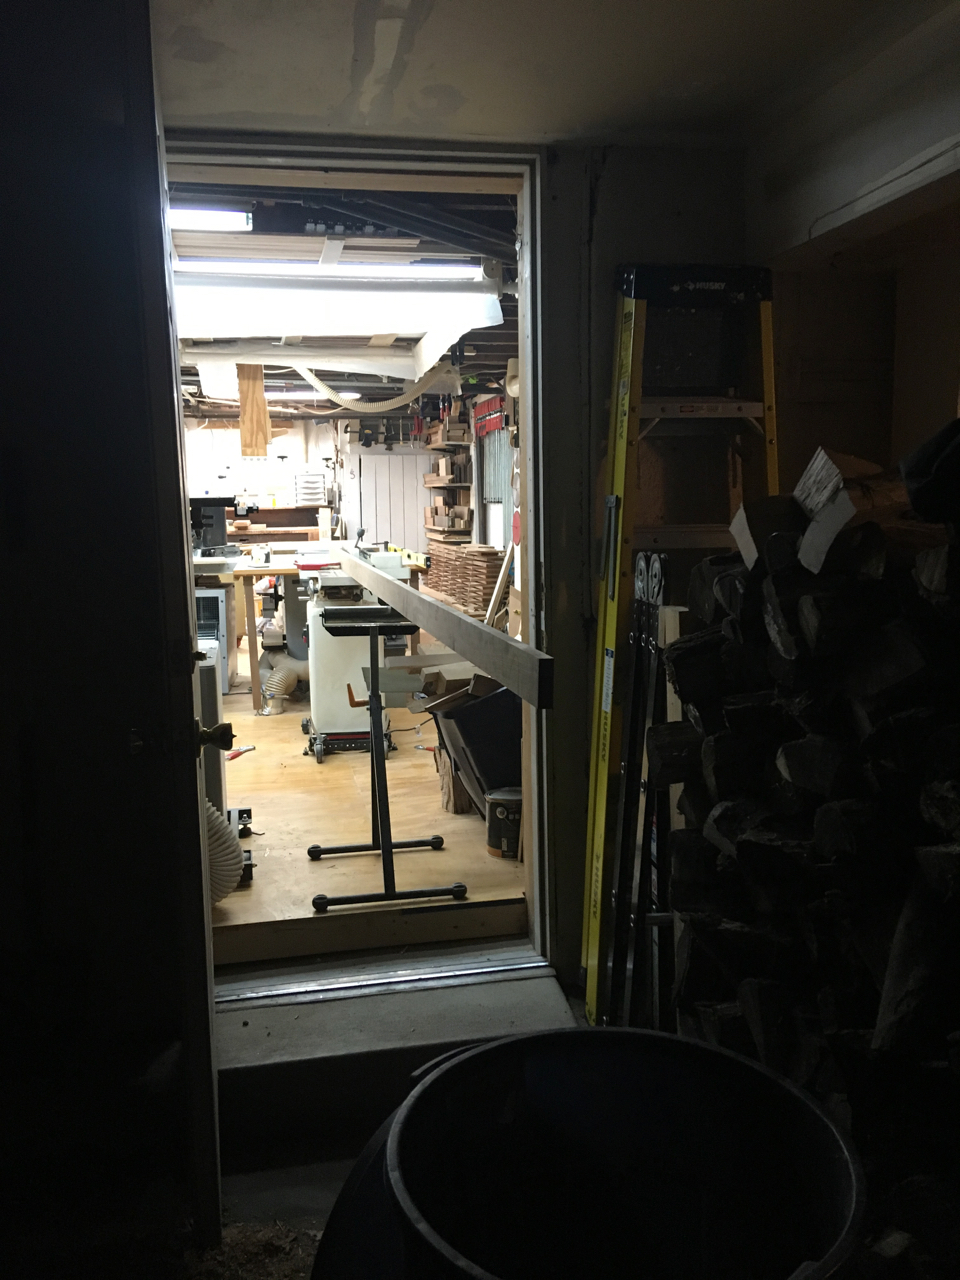
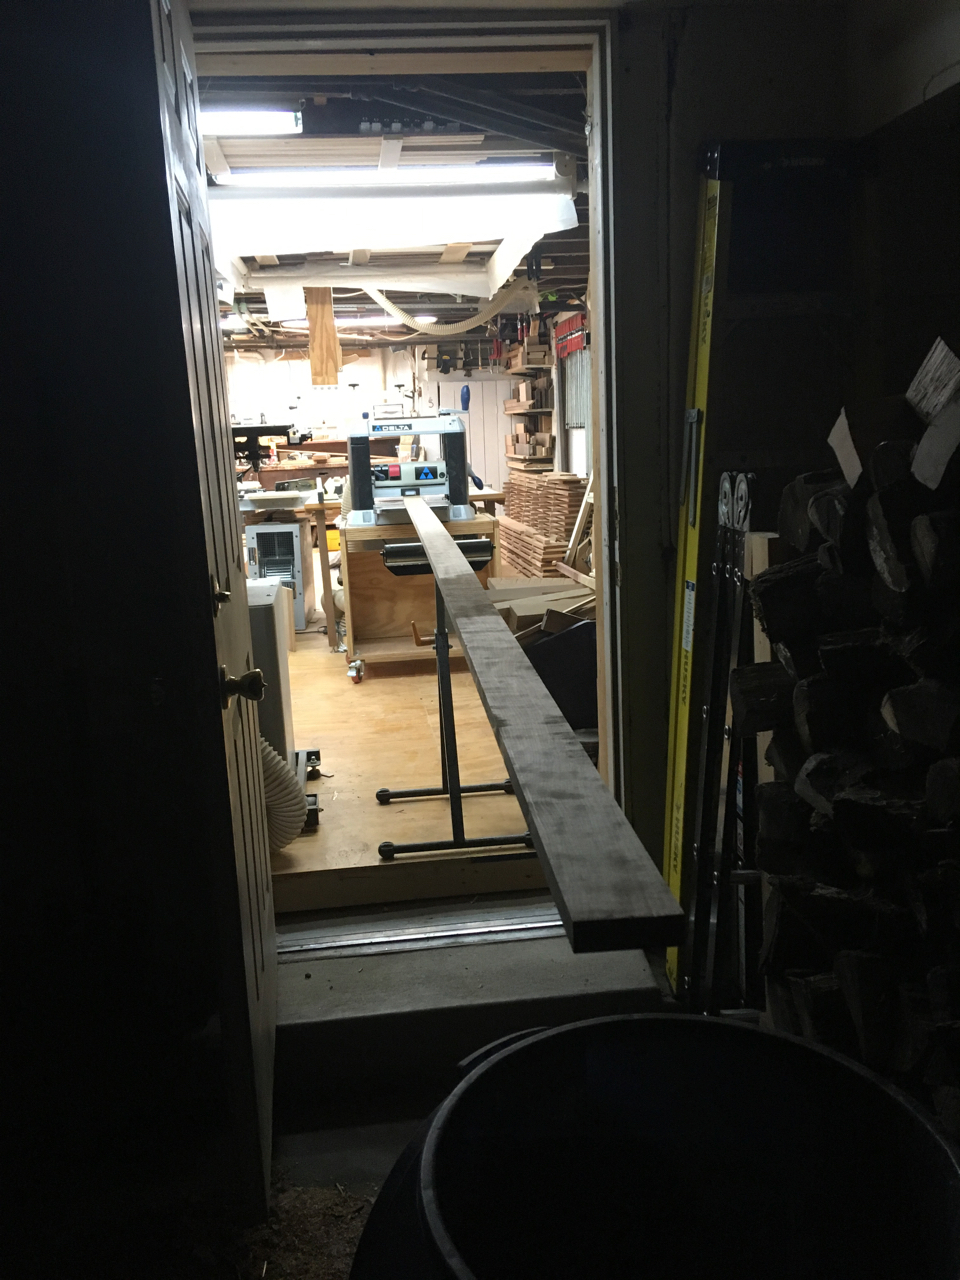
Then I rearranged things in my shop to let me joint and plane the board. I’m lucky enough to have my shop at the same level as our garage, and a door that leads to the garage in line with my table saw and it’s infeed and outfeed tables. This gives me a place to work with longer boards when the need arises. Still, this board is about as long as I can effectively work in the shop.
The jointed edge looked good. I then jointed one of the wide faces pretty much flat, in the process taking out a ‘bump’ in the board, leaving a matching ‘dip’ on the other side.
Then it was time to use the same basic setup to plane it close to thickness.
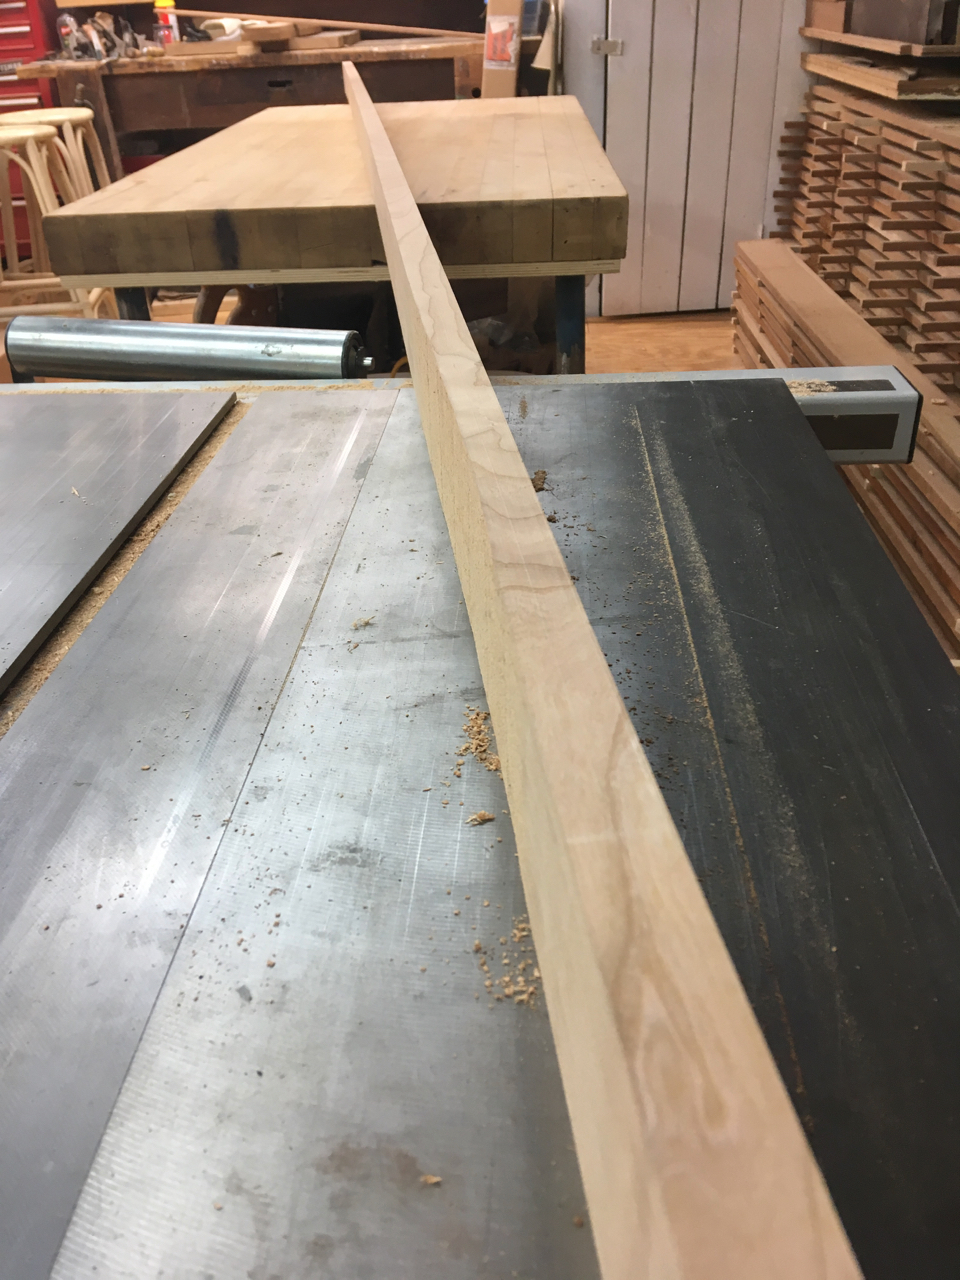
The dip remained after a few passes through the thickness planer.
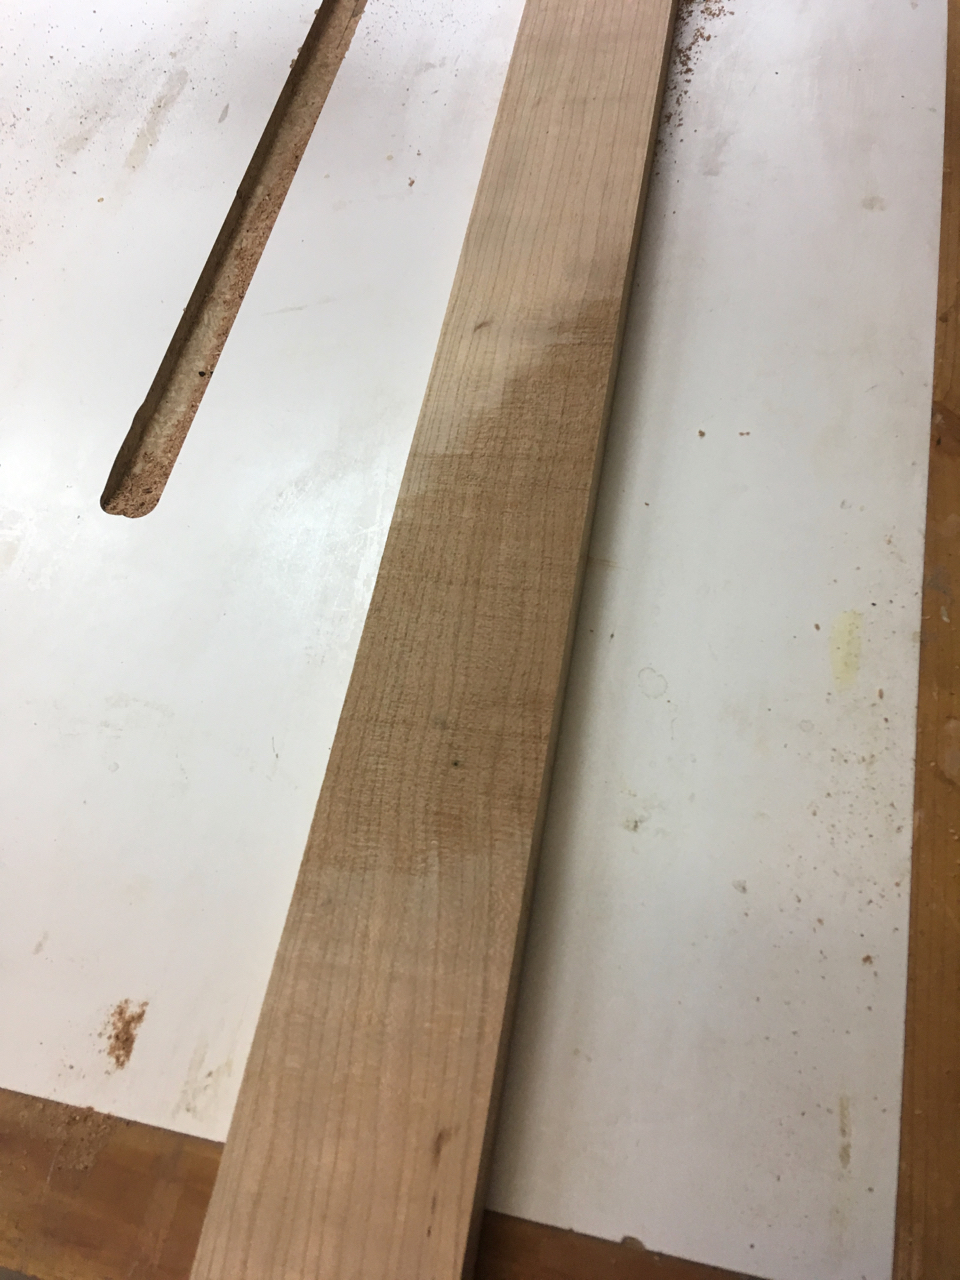
Another couple of passes and that was gone, and the board is still not quite down to final thickness. It’s also stll somewhat wide, which is good since there’s some sapwood I still need to remove.
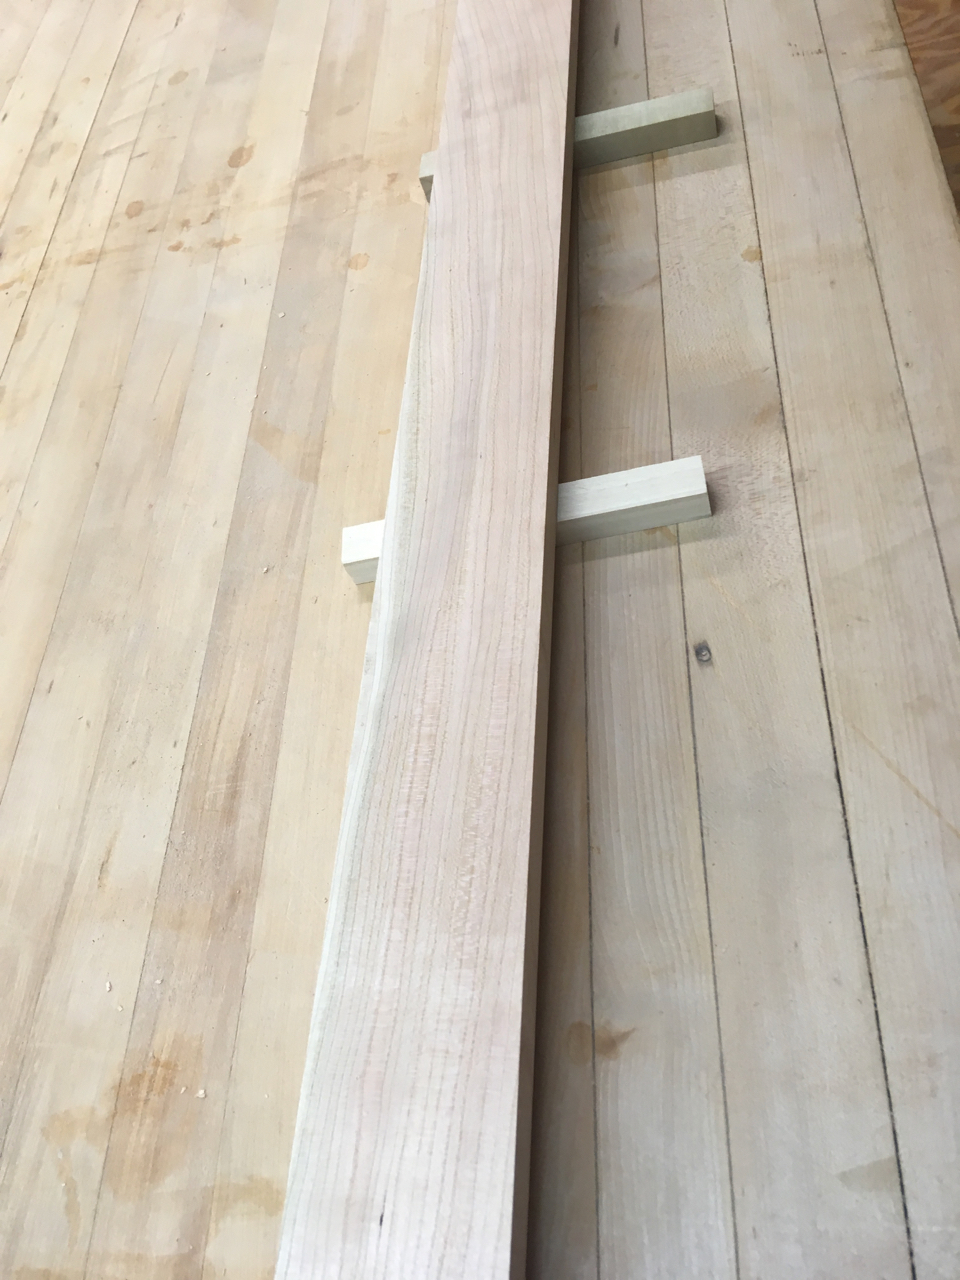
I put the board on stickers and will let it sit until tomorrow, hoping it doesn’t warp on me. If it doesn’t, I’ll rip it close to final width and plane it close to final thickness before hand planing it in preparation for sanding.
I’m hoping it’s just as straight and flat tomorrow as it was when I left the shop.