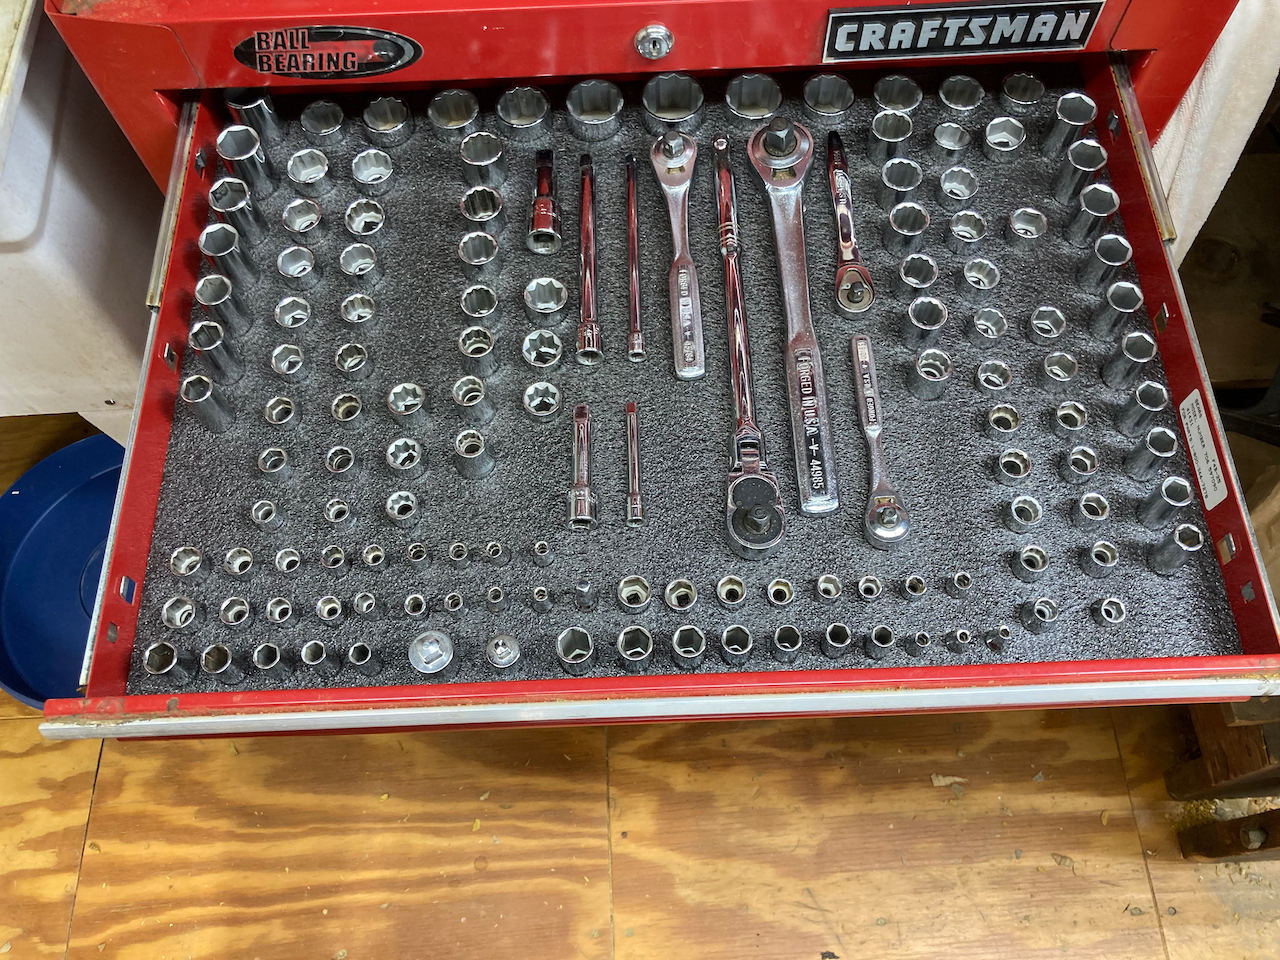
I’ve had a large socket set for pretty much my entire adult life. I bought a set shortly after graduating college, and then replaced it when it went missing after an unhappy break-up with an old girlfiend. It’s not a full mechanic’s set, but has many sockets in both imperial and metric in 1/4", 3/8", and 1/2" drive sizes, a number of extensions & adapters, and related drives. I also purchased a couple of drives over time. The set has been tremendously valuable in those many years, meaning I’ve never had to buy a socket in that time. The set is an old Craftsman set manufactured in the U.S.A. to a standard not generally available today.
This set has been literally knocking around a toolbox or my mechanic’s toolchest since I bought it. I tried various organizers, and none worked well for my situation. For example, I had some plastic inserts but they weren’t the right sizes, had vast swaths of unusable space, and didn’t support long sockets well. But those inserts were on the right track for me. I wanted my sockets in a way that made it easy to find the one I want, not knocking about in a toolchest (as my mate in Australia, Bruce, would say).
I’d imagined making wooden inserts that would hold the sockets, the drives, the extensions, etc. But the sockets have very odd outside diameters, and I realized making such a system would be challenging. Then last week I happened to find some closed-cell foam organizer inserts I could purchase. So I bought some and this weekend I set out to get my sockets organized.
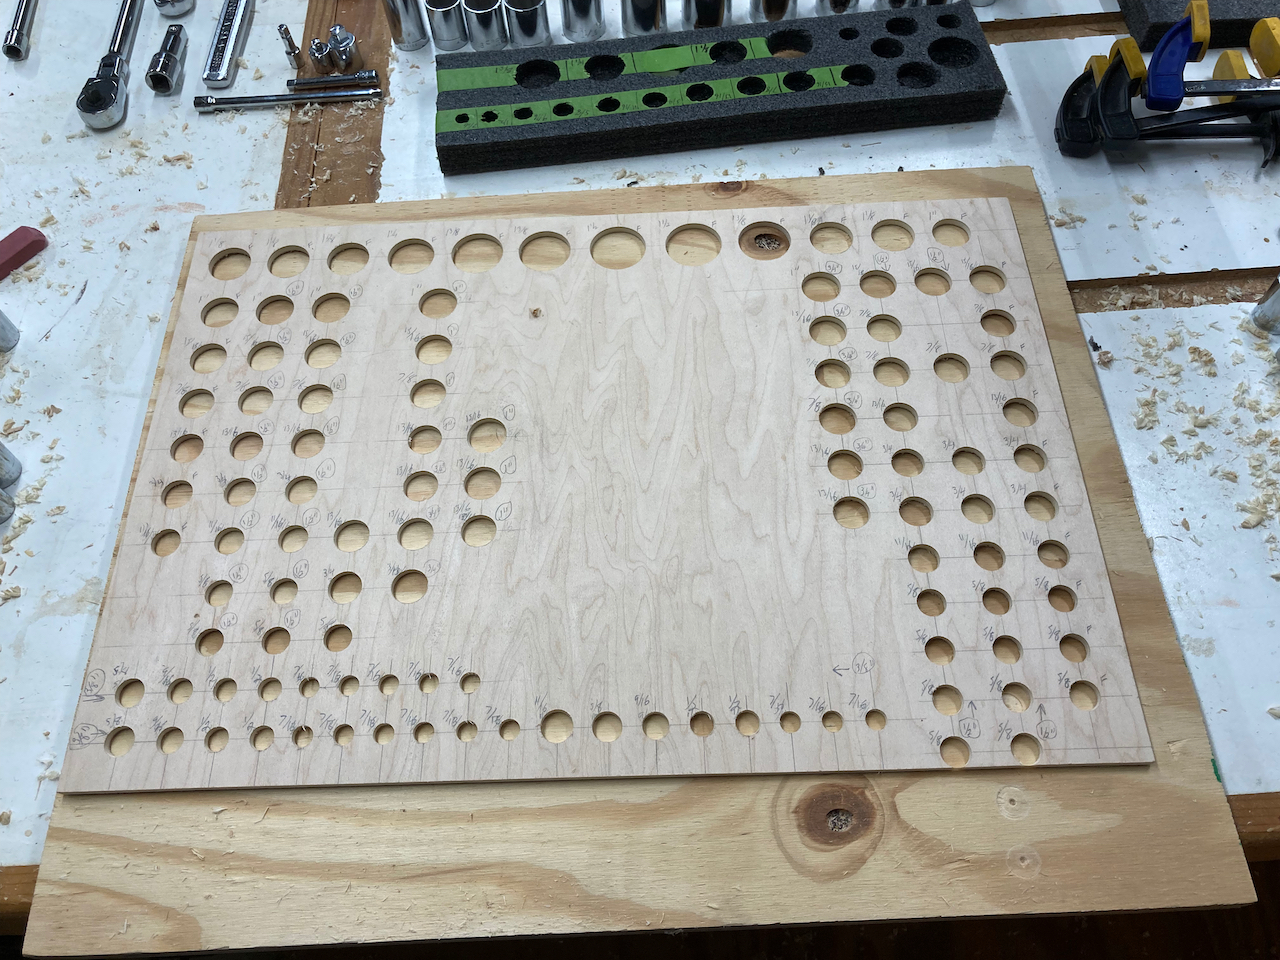
Once I received the foam, I measured the drawer of the toolchest and cut a piece of 1/4" plywood to the right length. It was not quite deep enough to represent the entire drawer, but it was a great way to lay out the sockets. I knew that I wanted the really big sockets at the back since I rarely use them. And I wanted the long sockets at the edges, so they wouldn’t be sticking up in the midst of shorter sockets, making it hard to access them. I spent time figuring out a layout that I liked.
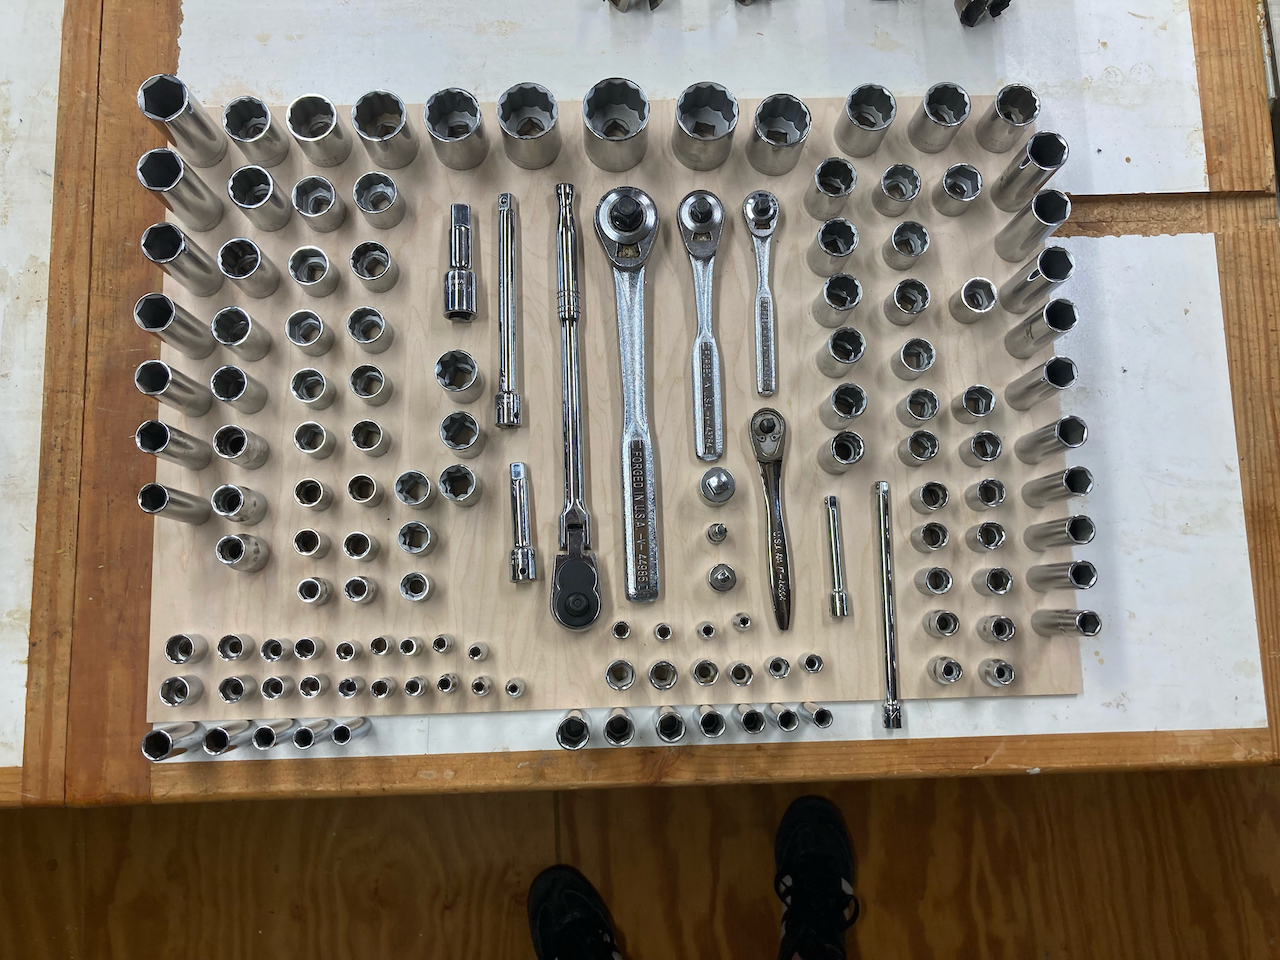
This wasn’t the final layout, but it was close enough to get working.
I experimented with ways to cut the foam for the sockets. I tried wrapping flashing around a socket to get a perfect fit but that didn’t work. The flashing wasn’t both flexible enough and hard enough to make a smooth circle. So I tried several types of drill bits and ultimately found that forstner bits work well as long as I am slow to feed the bit in when starting the cut.
It took a while to lay things out. I have several types of sockets that fit the same nut/bolt, depending on whether they are designed for hex (6 and 12 points) or square nuts/bolts and depending on the drive size. Of course, they have different outside diameters. Since I want the sockets organized by the size of nut/bolt they work with, I had to lay things out accounting for the largest socket diameter in each row and column. This keeps things aligned vertically and horizontally without anything being too close together for easy access. It also takes a lot of time.
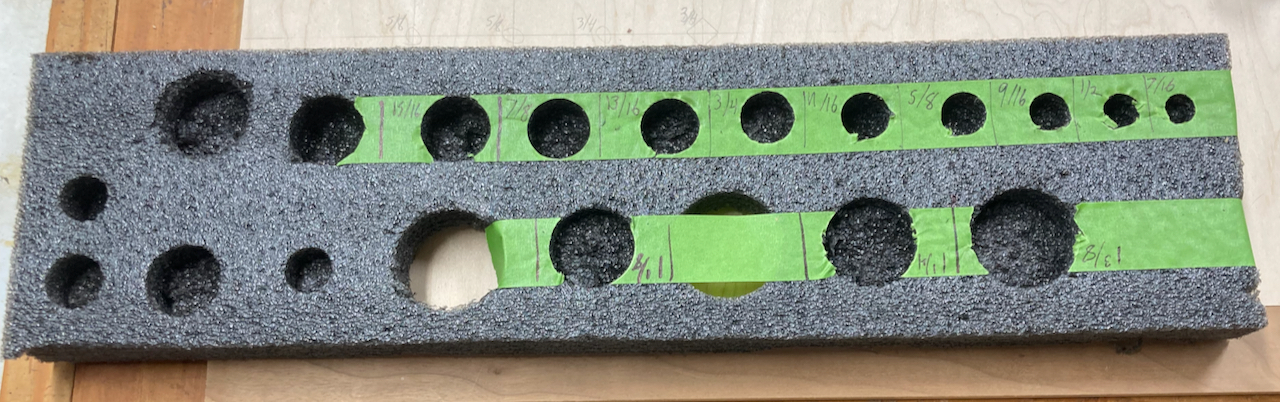
I used my test strip to determine what size hole was needed for each socket. Since the foam is somewhat flexible, I could use hole sizes in 1/16th inch increments, but it was still painstaking work. After rather more time than I’d expected, I had a map for drilling.
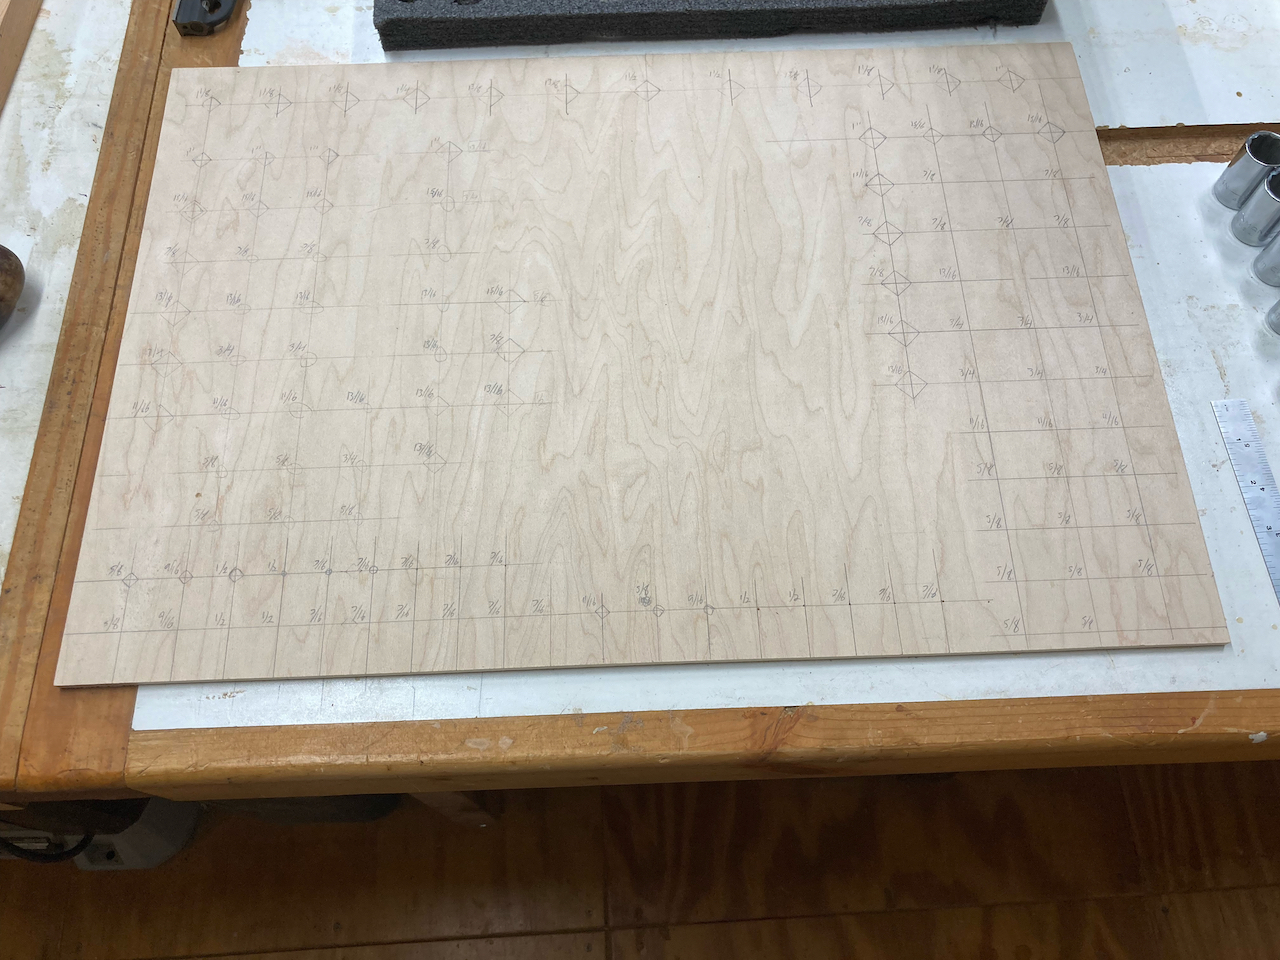
It was at this point that I realized it was going to be almost impossible to drill out the holes without some kind of template. I’d imagined laying out green tape and using that to locate the holes. But when drilling the test/sizing holes I realized how imprecise drilling into green tape with a black marker dot can be. So I decided to use my layout board as a drilling template.
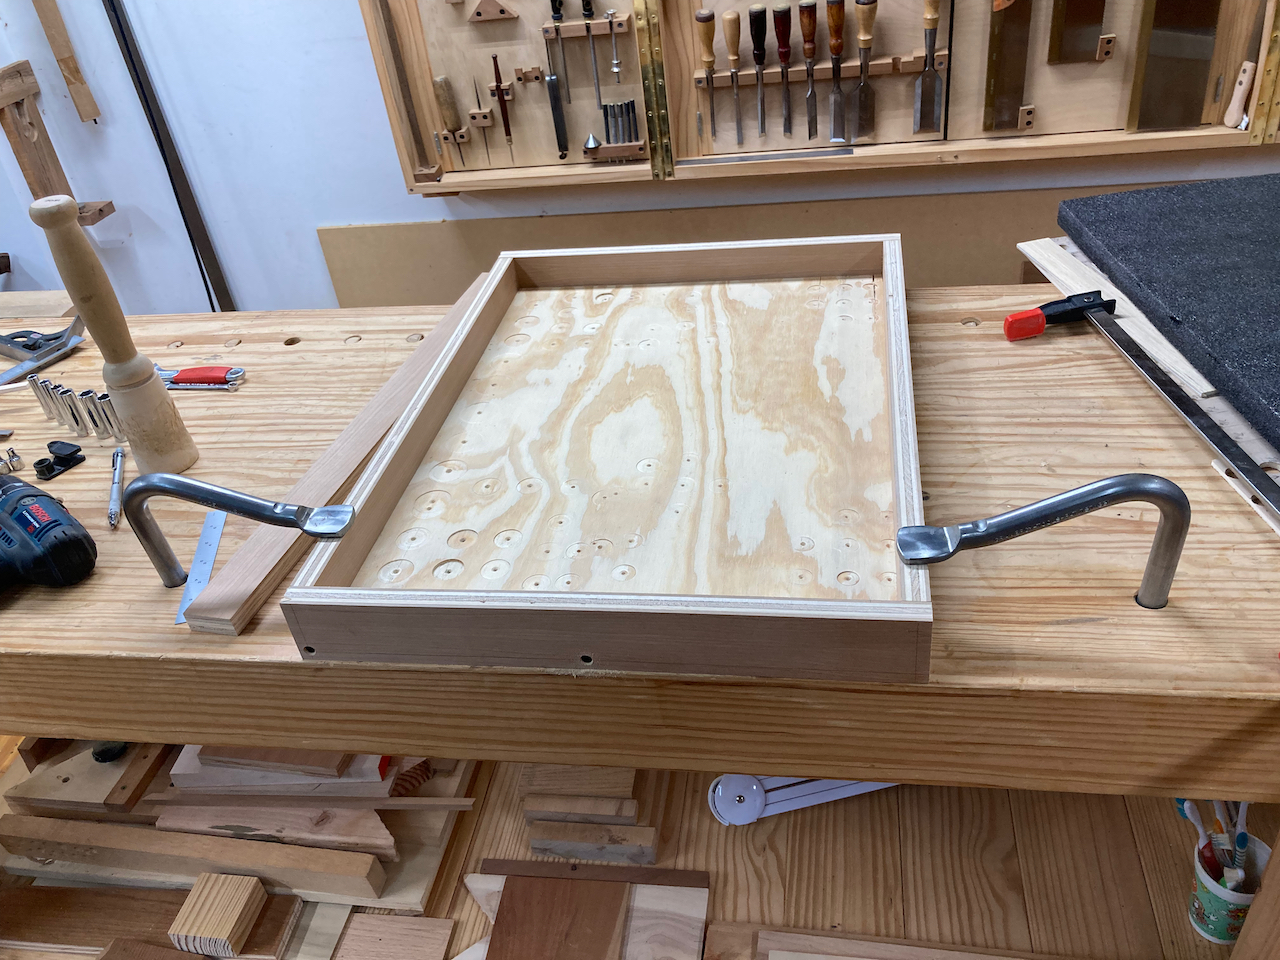
I found a piece of 3/4" plywood larger than the needed size and used it as a sacrafical board for driling out the template.
As I was drilling out the template, I realized by how it moved around that I’d have trouble keeping it and the foam from sliding around and getting out of alignment. I’d learned that trying to drill freehand wouldn’t work as the bit tends to grab the foam, pulling it out of alignment and making a ragged, off-center hole. So I decided to make a shallow box that would hold the foam with the template over it while drilling.
After all the work to make the template and box, the drilling went smoothly.
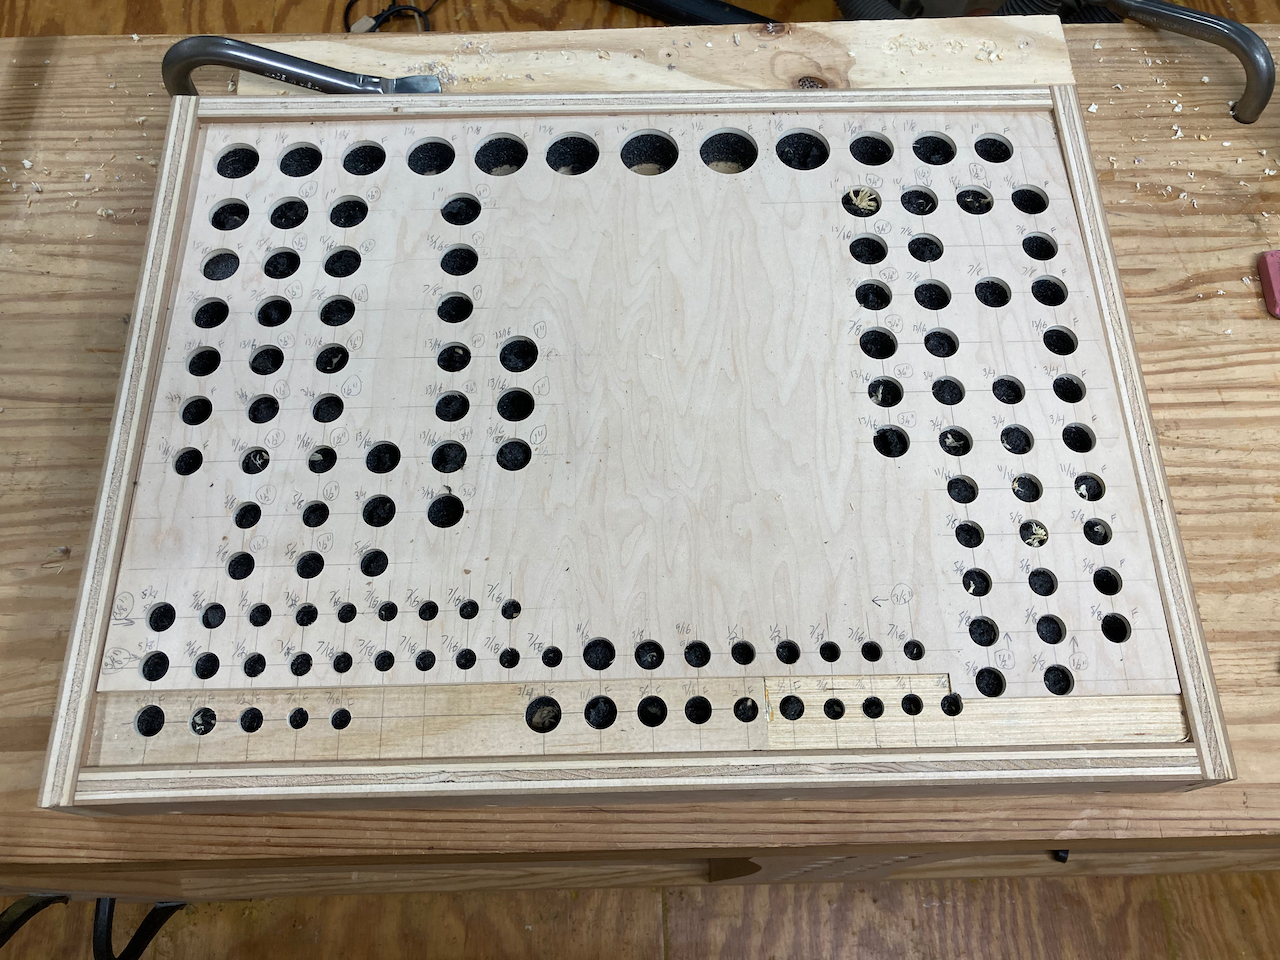
Of course I missed a few holes and had to go back and drill them. Can you spot the hole not drilled in the picture above? It’s more obvious when looking at the foam without the template below (though I didn’t notice it at the time).
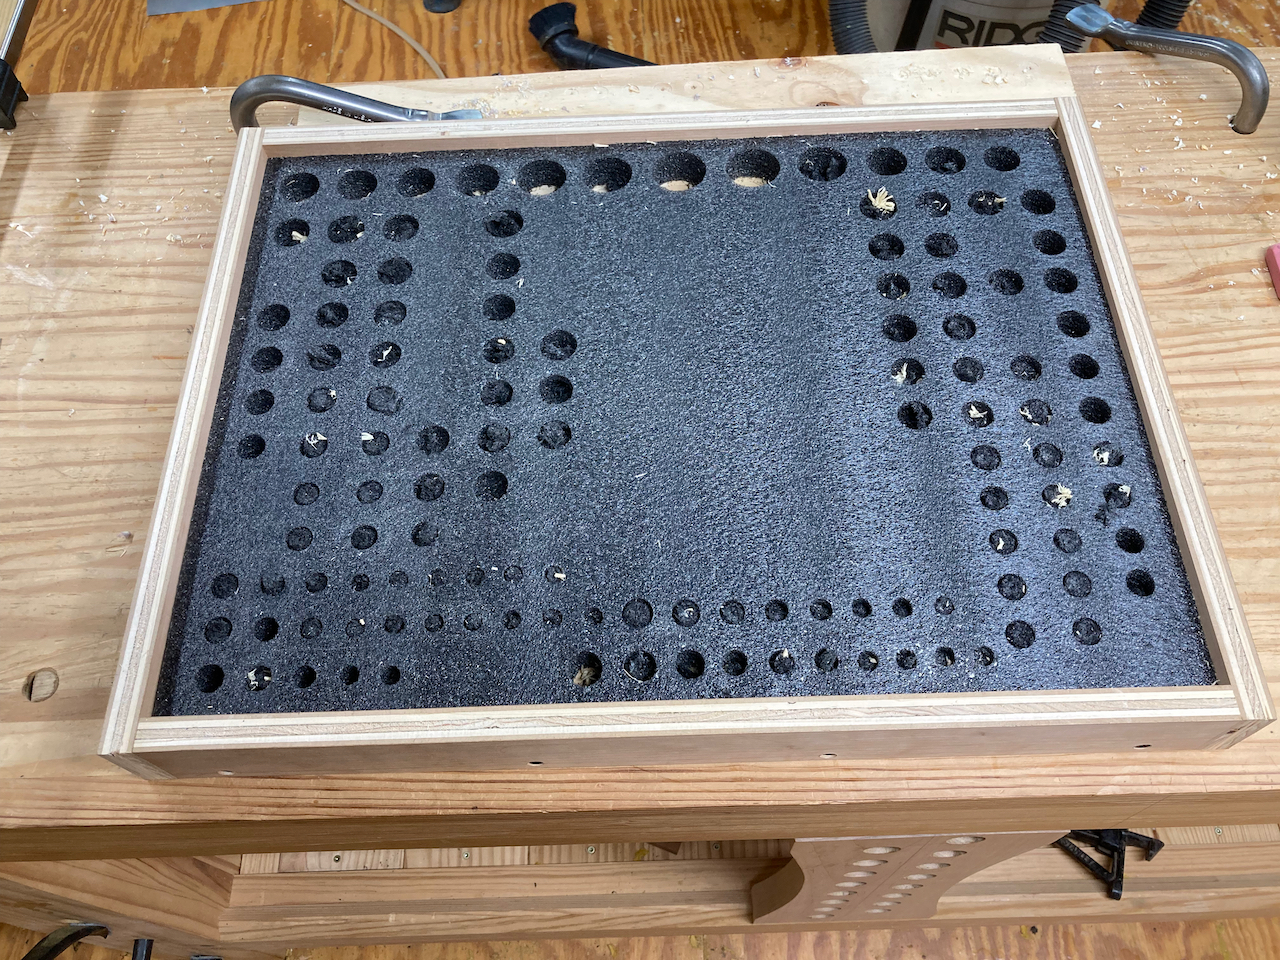
I still need to cut out for the drives, extensions, and adapters, but I’m happy with the results.