Over the last couple of weeks I’ve found bits and pieces of time to work on the lowrider. First I trimmed the leg tenons down close to flat. At this point I left them a bit proud as I planned to scrape/sand the top and knew I’d get them completely flat at that point.
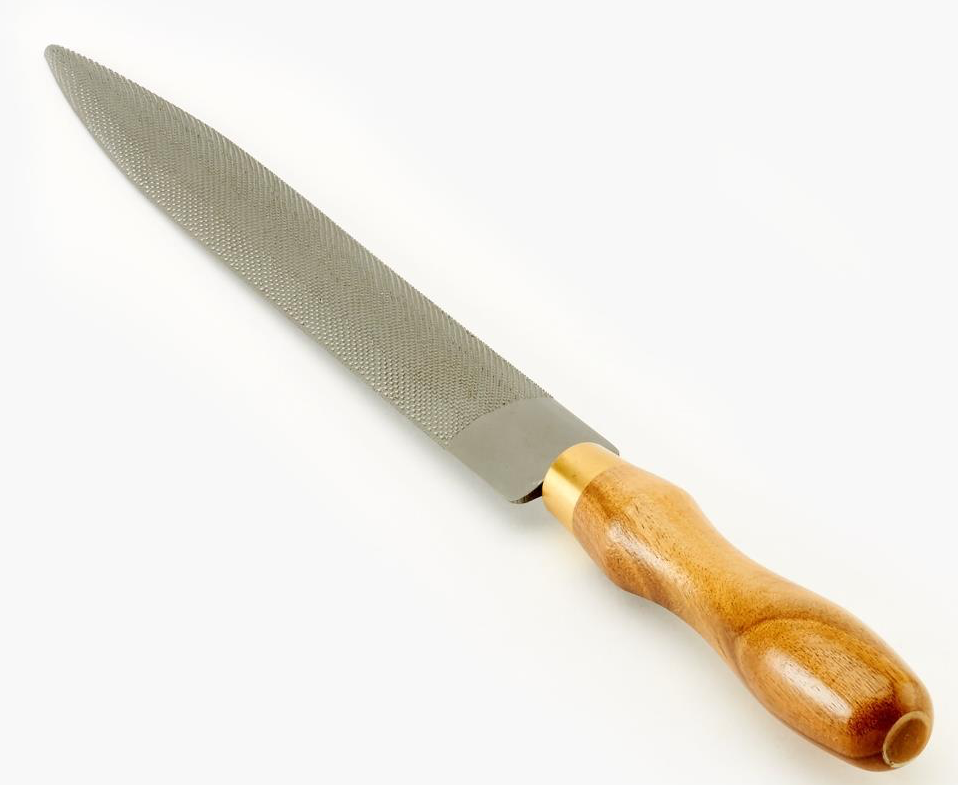
I trimmed the legs off as accurately as I could, but of course they were not perfect. Two legs were slightly long, and the osage orange wood is so hard I knew trying to hand plane the bottoms would just make a mess. So I used one of my Auriou rasps to get them all flat to the floor.
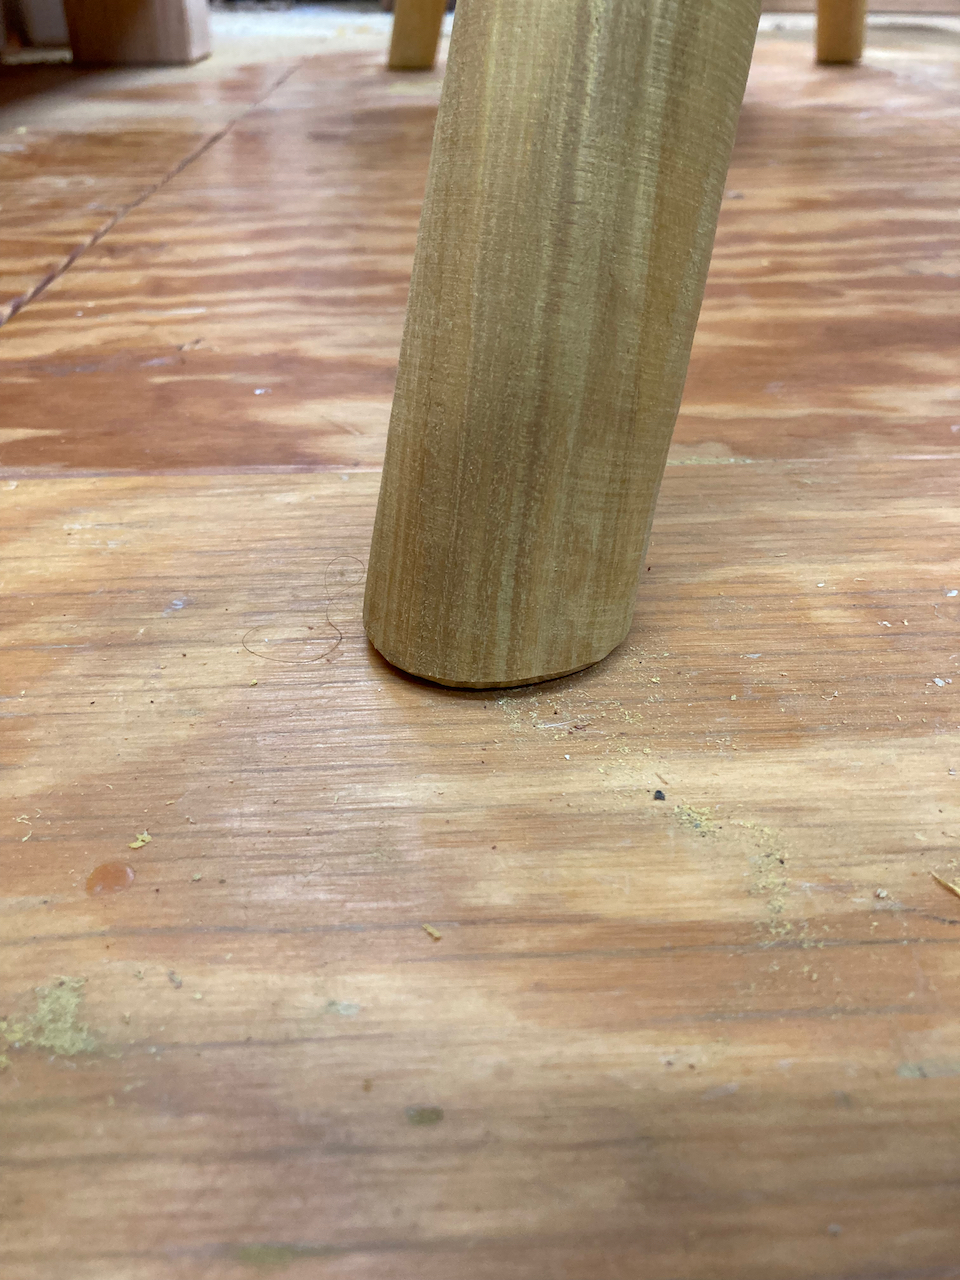
Once I had them flat, I chamfered the edges so when I drag or push the bench around it won’t tear out a long splinter of wood from the outside of the leg.
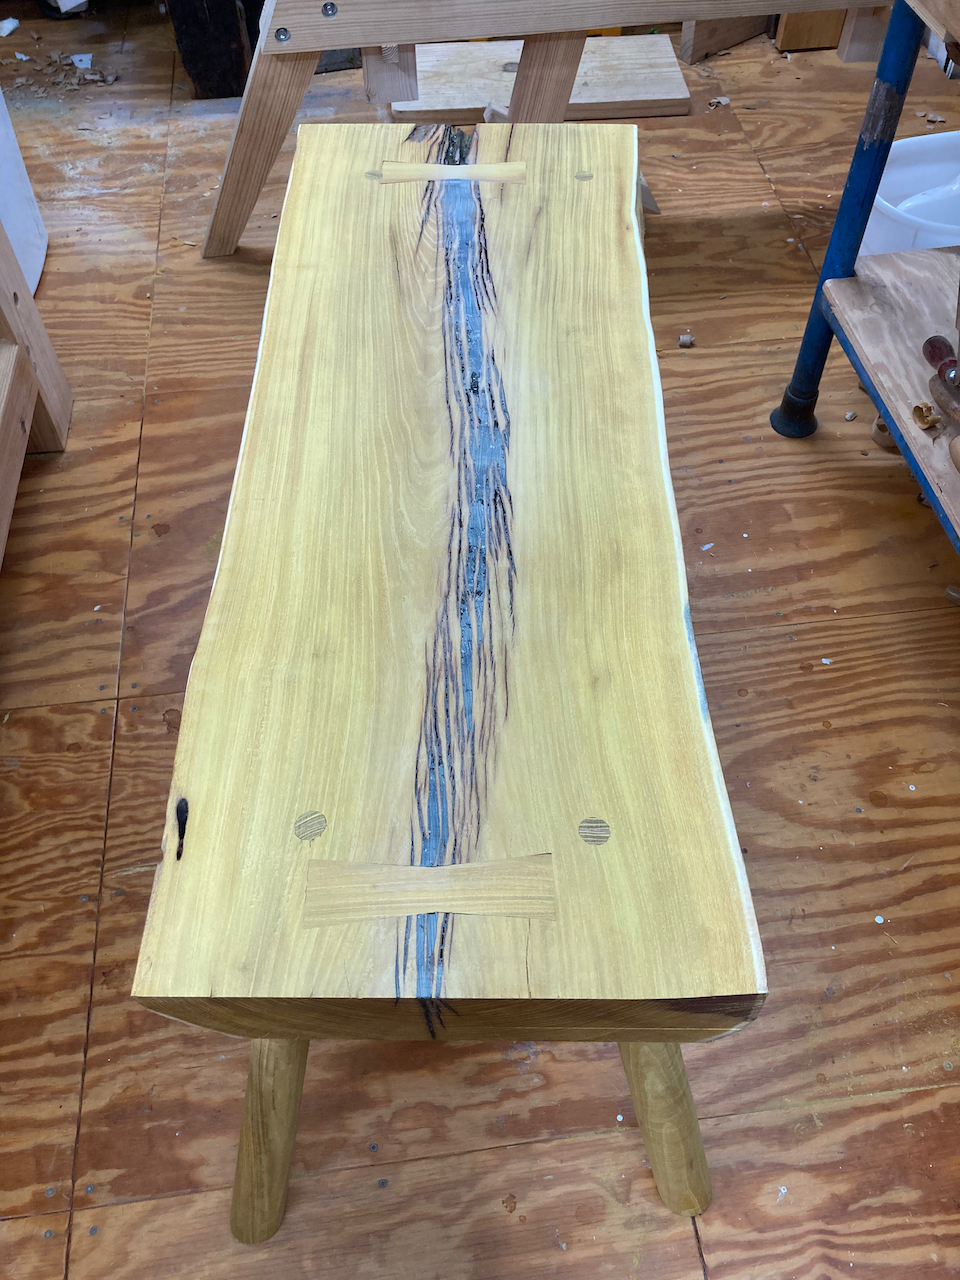
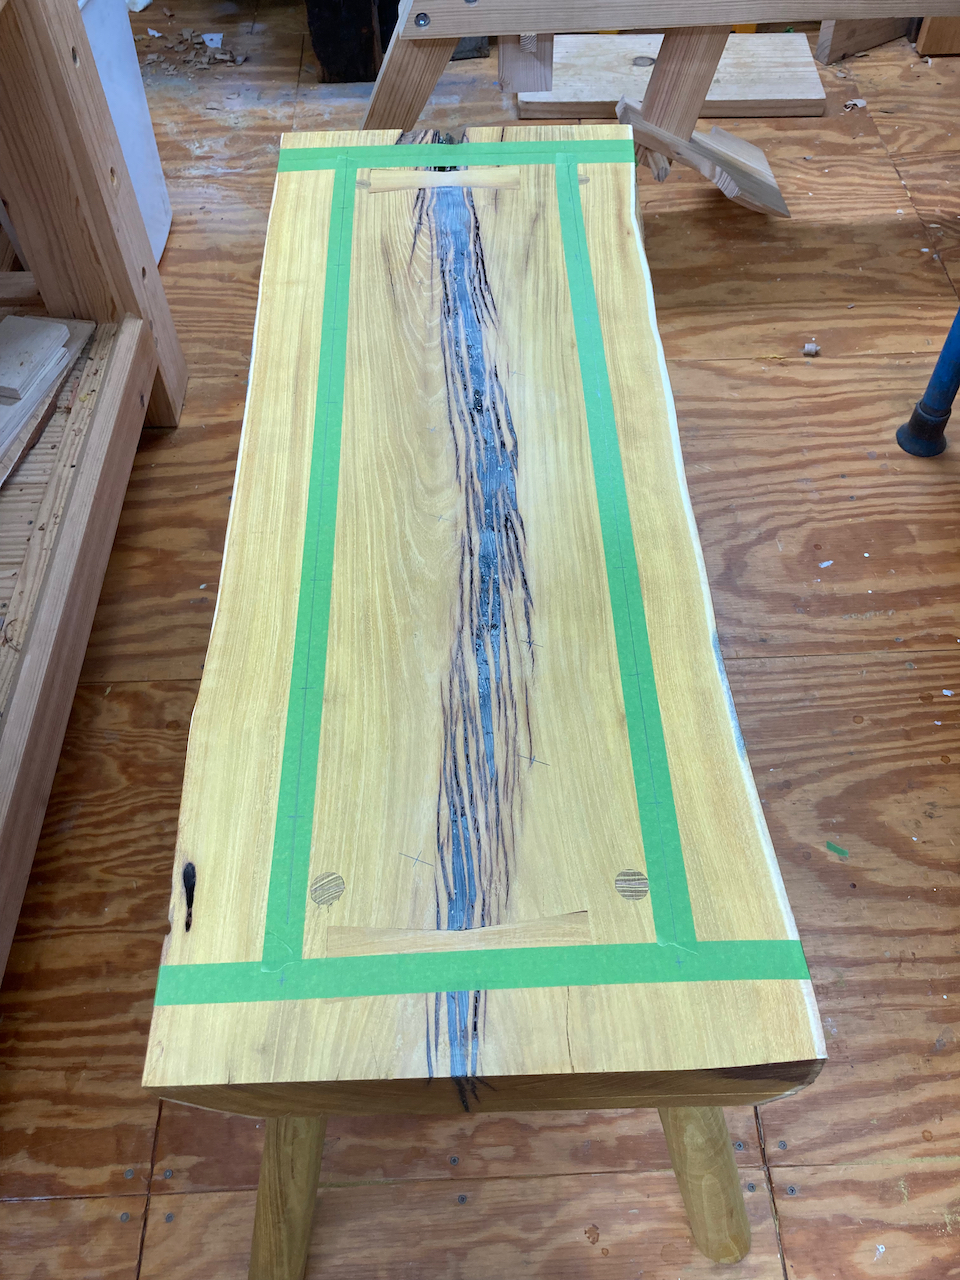
Then I laid out for dog holes, 3/4" holes that go all the way through the slab. They offer many workholding options for my holdfasts and some pegs I’ll turn. I was trying to figure out how to mark out for the holes and dreaming up complicated schemes involving pictures and drawing programs but then realized I could just lay things out with green tape.
I wanted to get some experience drilling holes with my brace and an auger bit, so I went at it that way. I set up with a couple of engineering squares for sighting to help me make sure I was drilling the holes perpendicular to the top of the bench and got started.
One issue to avoid is blowing through the bottom of the slab. If you do that it will nearly always tear out badly. I know this was just the bottom of a workshop bench, but I’m trying to get this right for when it’s a windsor chair seat. To avoid blowout, you drill until the screw tip of the auger bit sticks out enough that you can drill back through from the other side in the right spot.
By happy chance, the smaller engineering square is just tall enough that the lower arm of the brace knocked it over when it was time to stop and check for depth.
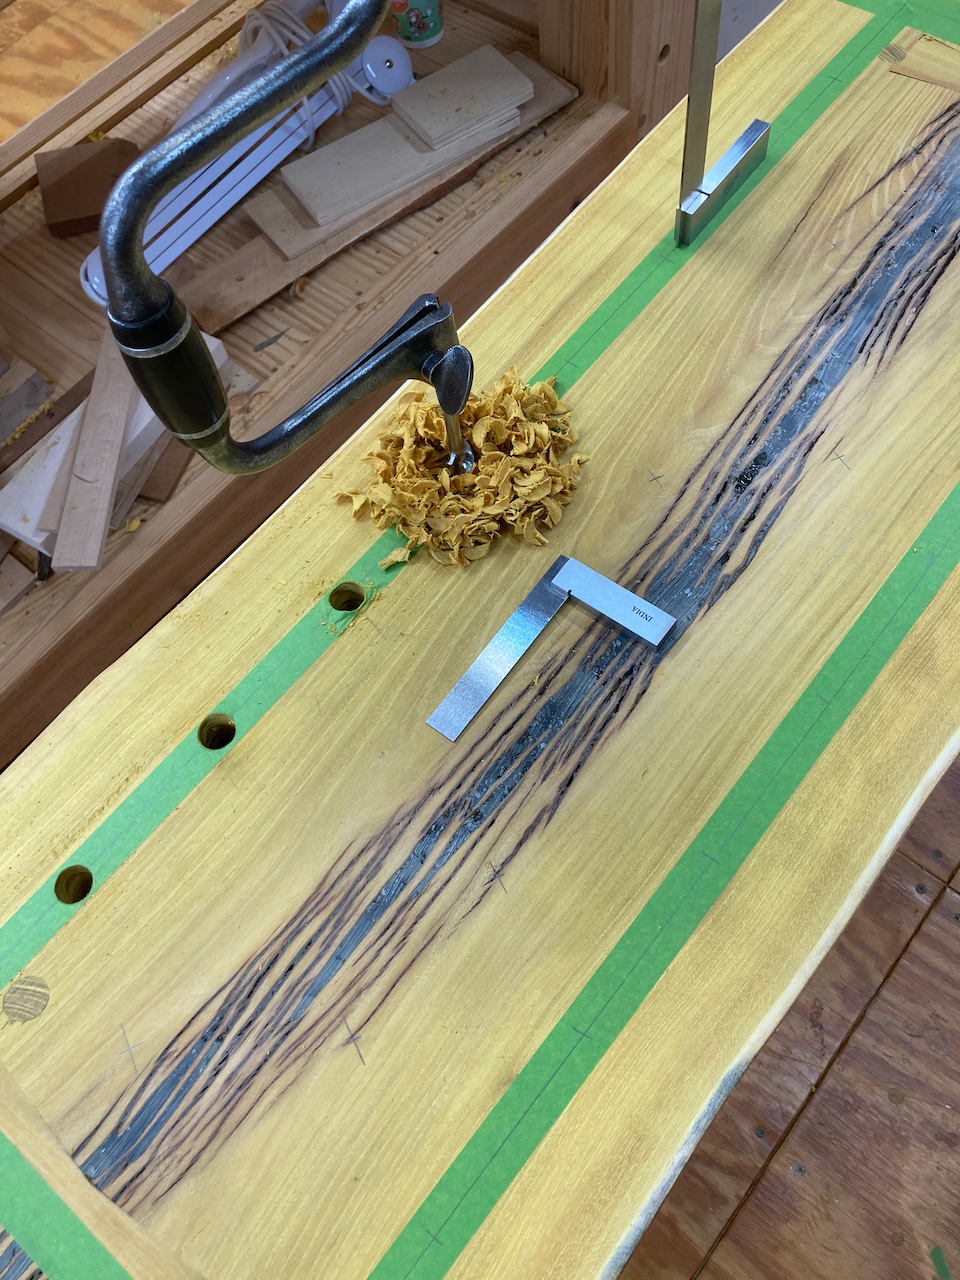
I completed eighteen holes yesterday with the brace and auger bit (two more after the photo below). And that was quite the workout. Osage orange is hard. I got quite the workout, and felt I’d learned quite a lot.
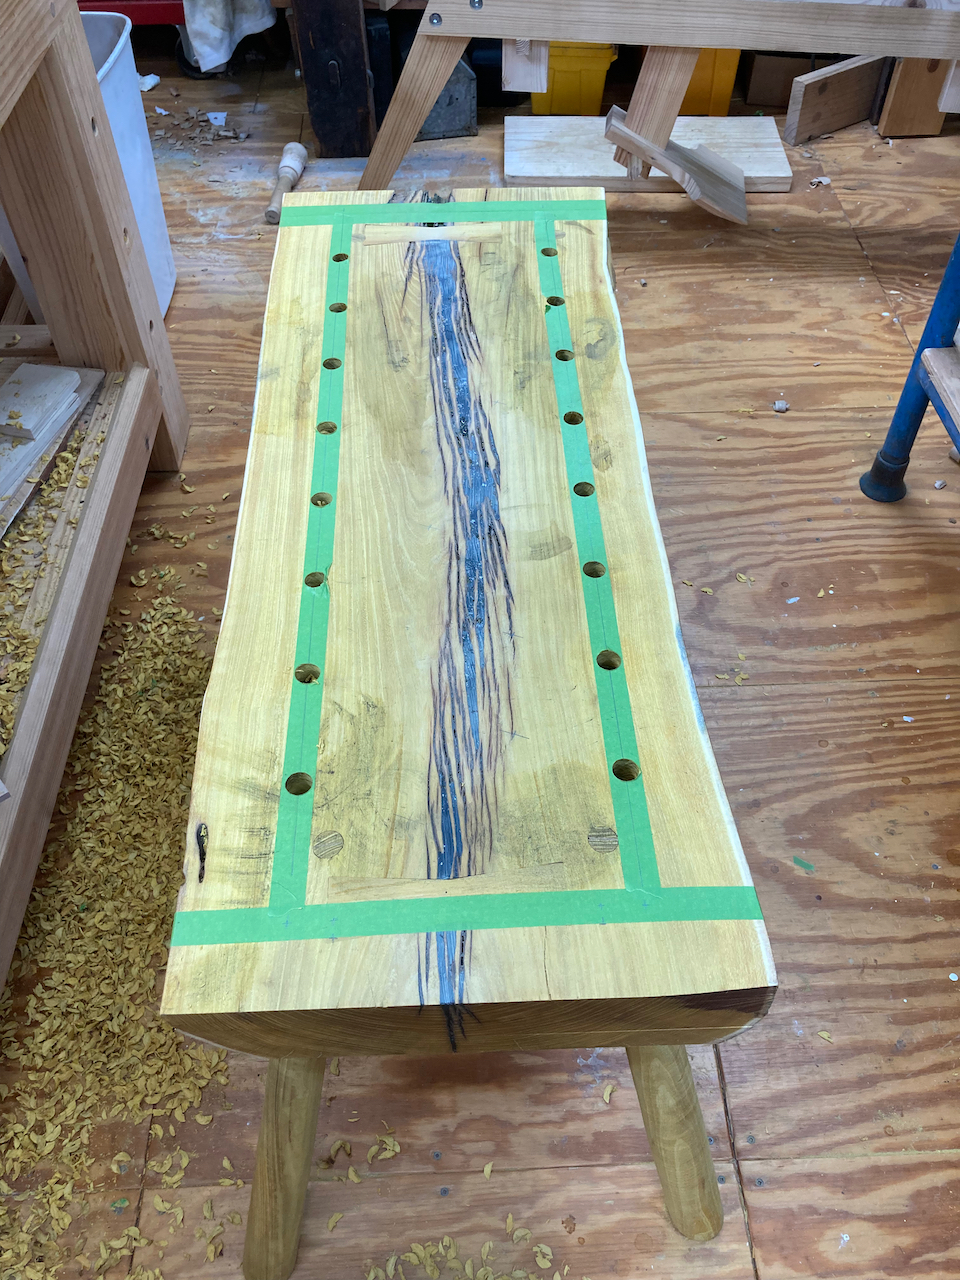
So today I went and bought a 3/4" spade bit for a power drill and used it to drill the remaining holes. I had to clamp a sacrificial piece of poplar to the bottom of the slab to avoid blowout, but it was still much easier and faster. I then drilled from the bottom of the slab to finish the holes drilled by hand.
Once I’d drilled all the holes, I used my belt sander to sand the top one final time. This took off some dirt and left a nice ‘grippy’ surface since I used a coarse belt. I then applied a coat of ‘Danish oil’ to seal the wood.
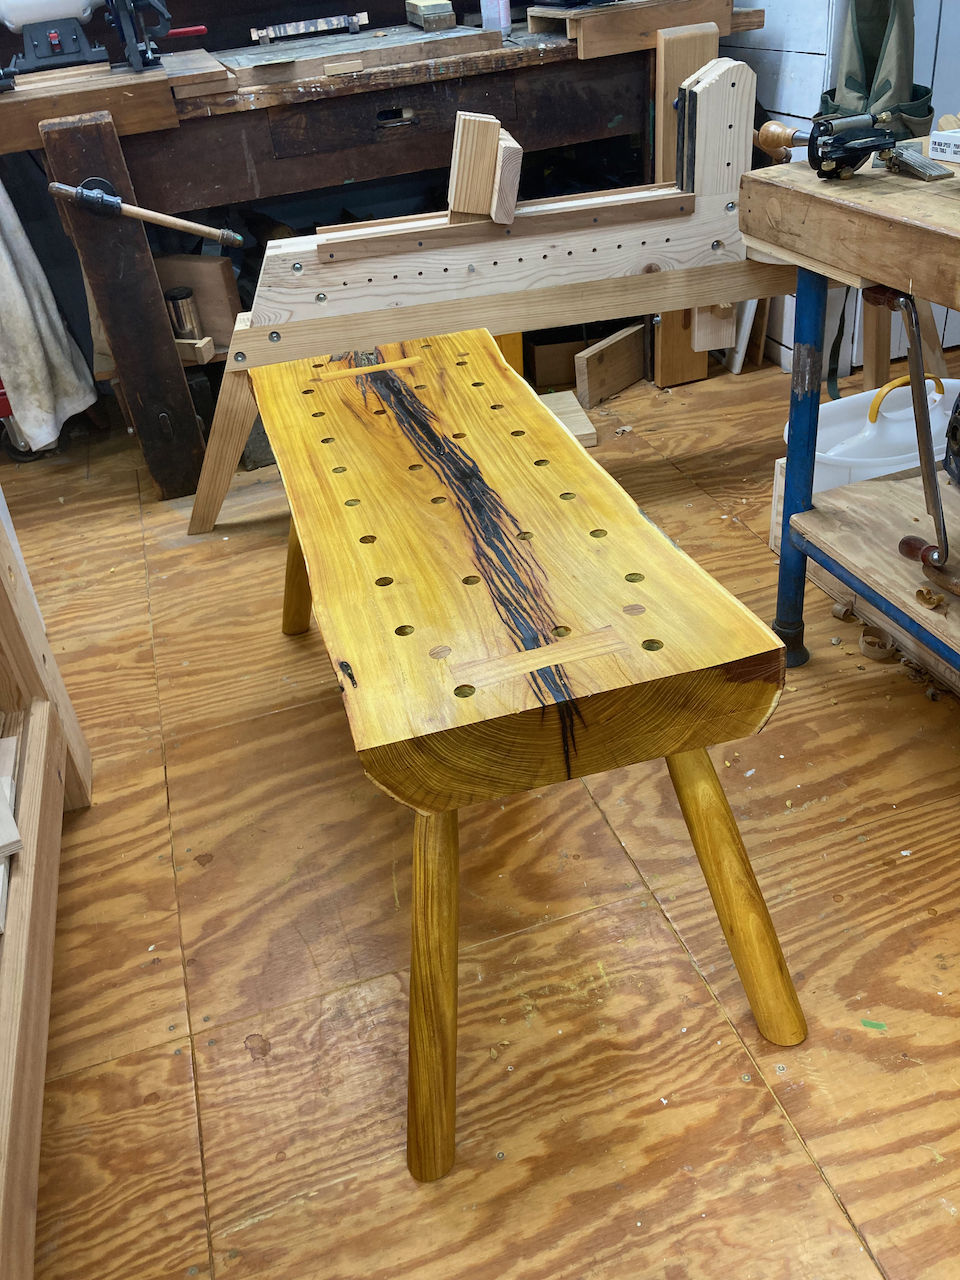
It took quite a while but the lowrider is finally ready for a ride.