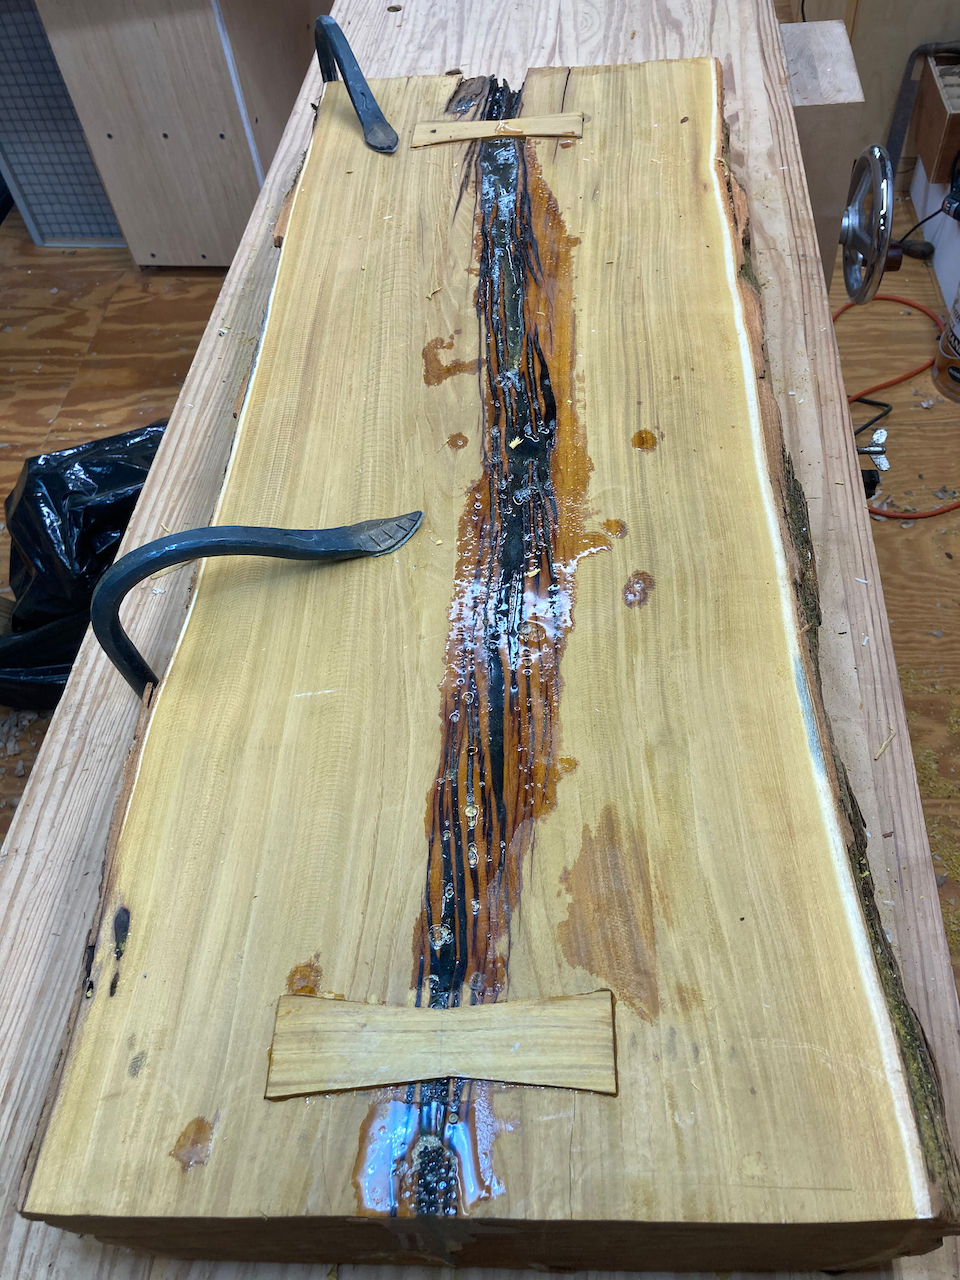
I found some time today to work on my low bench (or as David Fisher calls his, a ‘lowrider’). Since it’s a section of a slab from a tree with a wound down the center, I wanted to use bowties to reduce the chance of it splitting on me. There was one more bowtie I needed to install, and today I had time to install it.
I made the bowtie from a small section of osage orange I’d cut a while back and stashed in my kiln to keep it dry. The piece had warped slightly so I flattened it and cut it to shape.
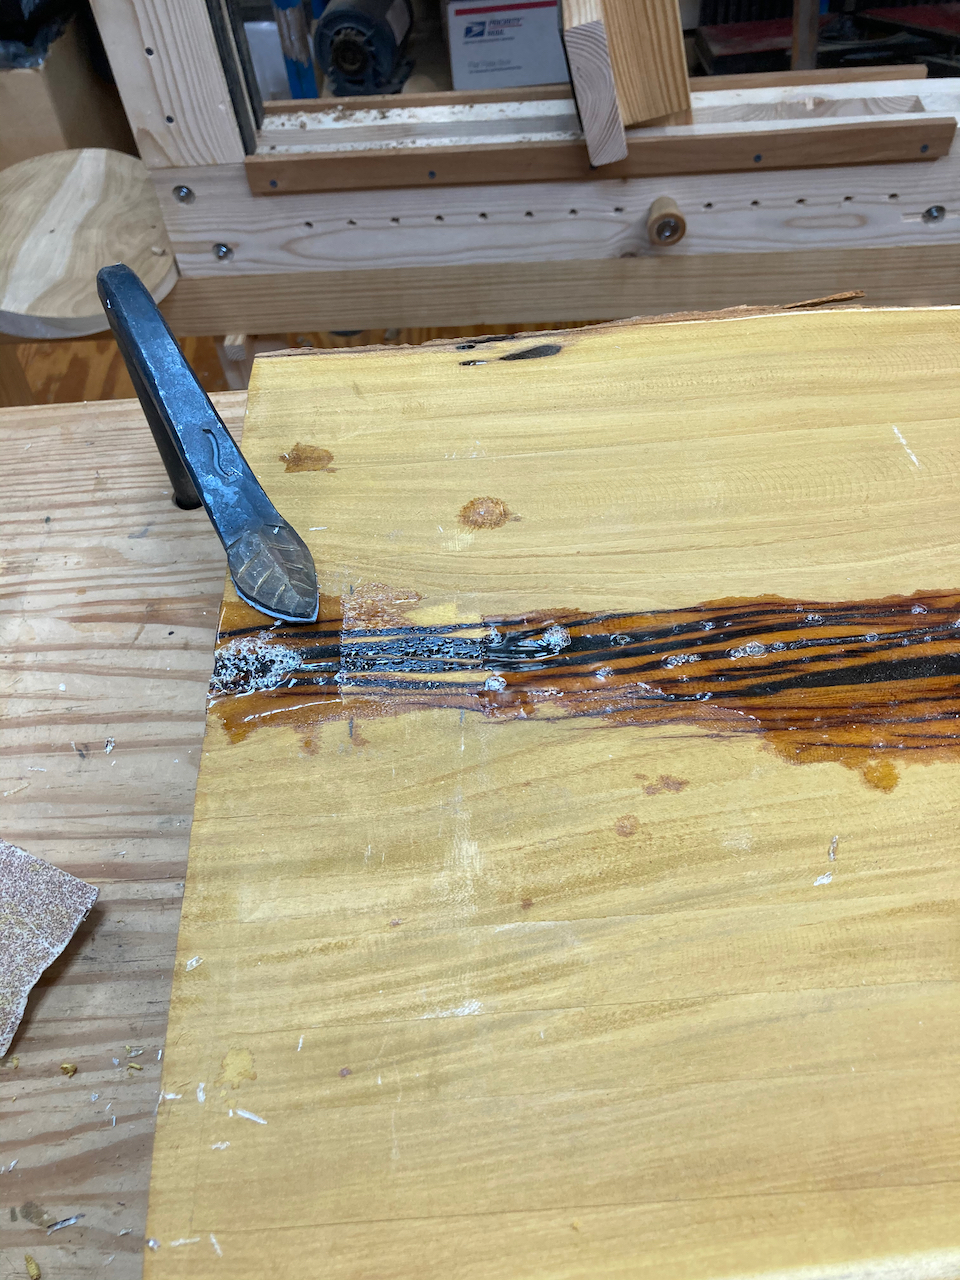
A while back, I used epoxy to fill and stabilize the wound area, and haven’t yet re-flattend the surface. But I needed to flatten the area for the bowtie so I could excavate for and install it. I picked where to place the bowtie and cleaned up that area.
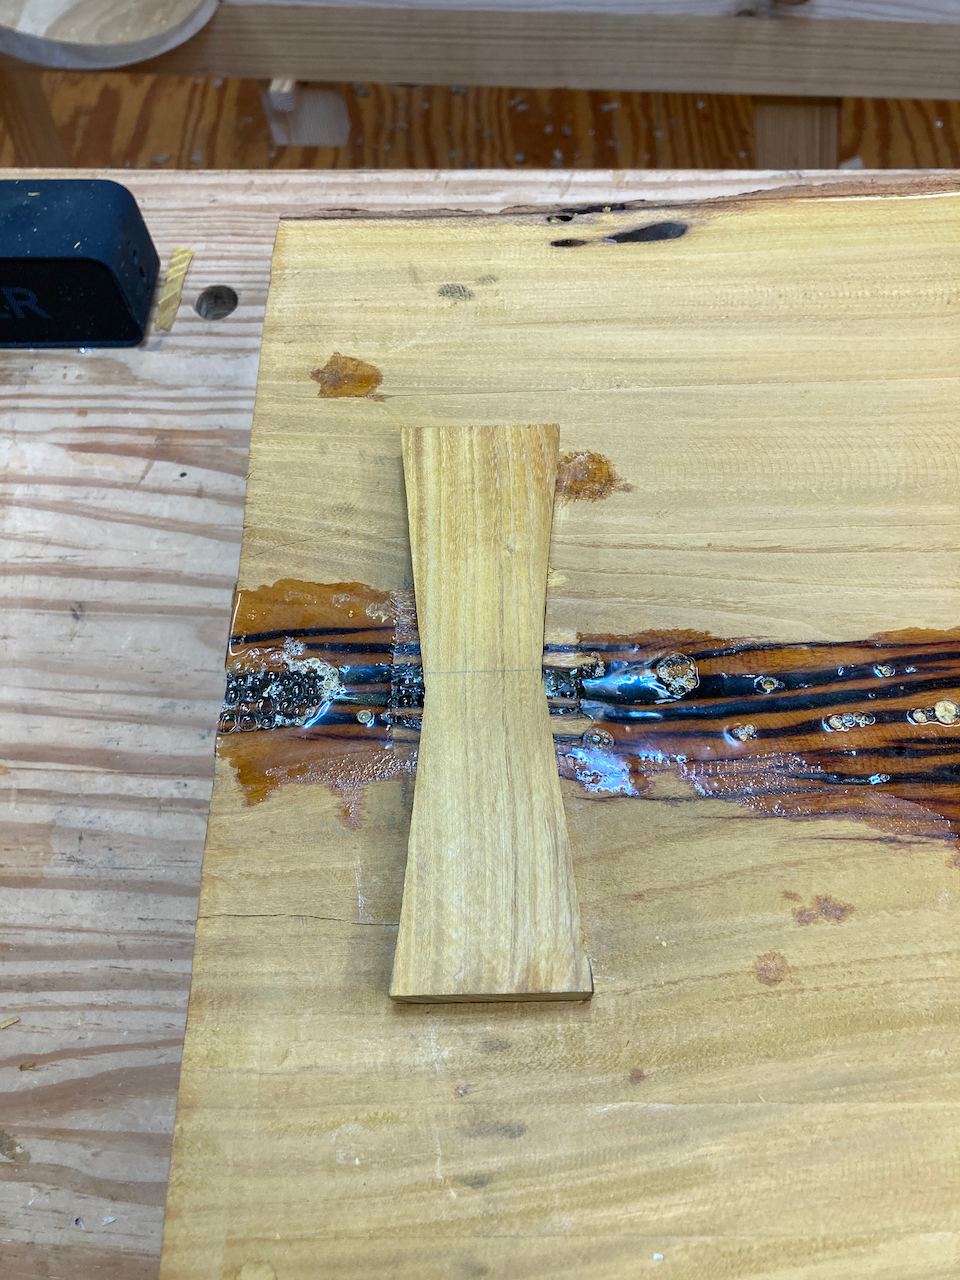
Then I placed the bowtie.

And marked where the cavity would be.
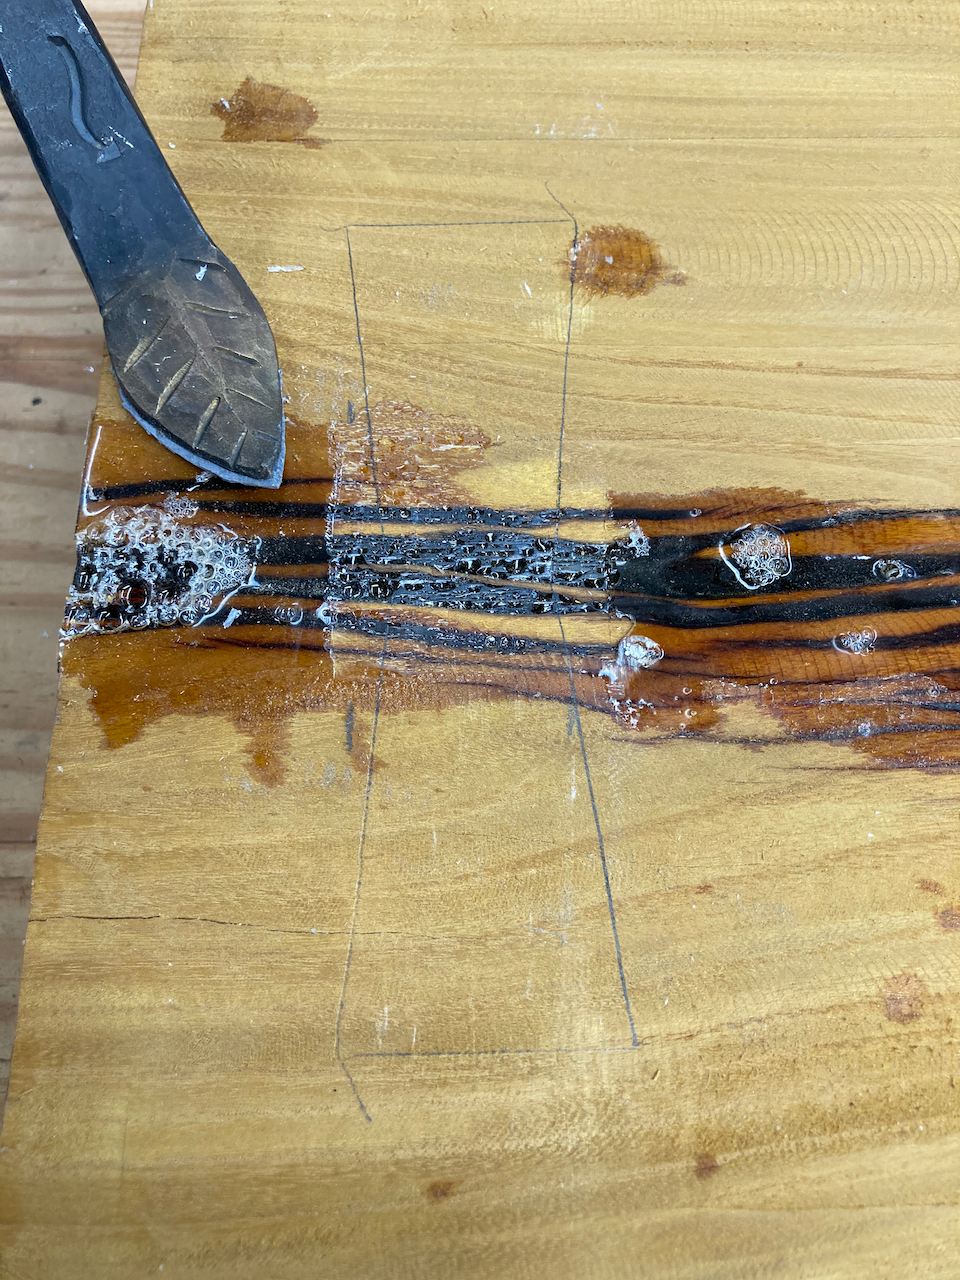
I used chisels and a mallet to excavate down about 1/8", keeping a bit inside my pencil line. Then I excavated most of the material with my small router and began paring the sides.
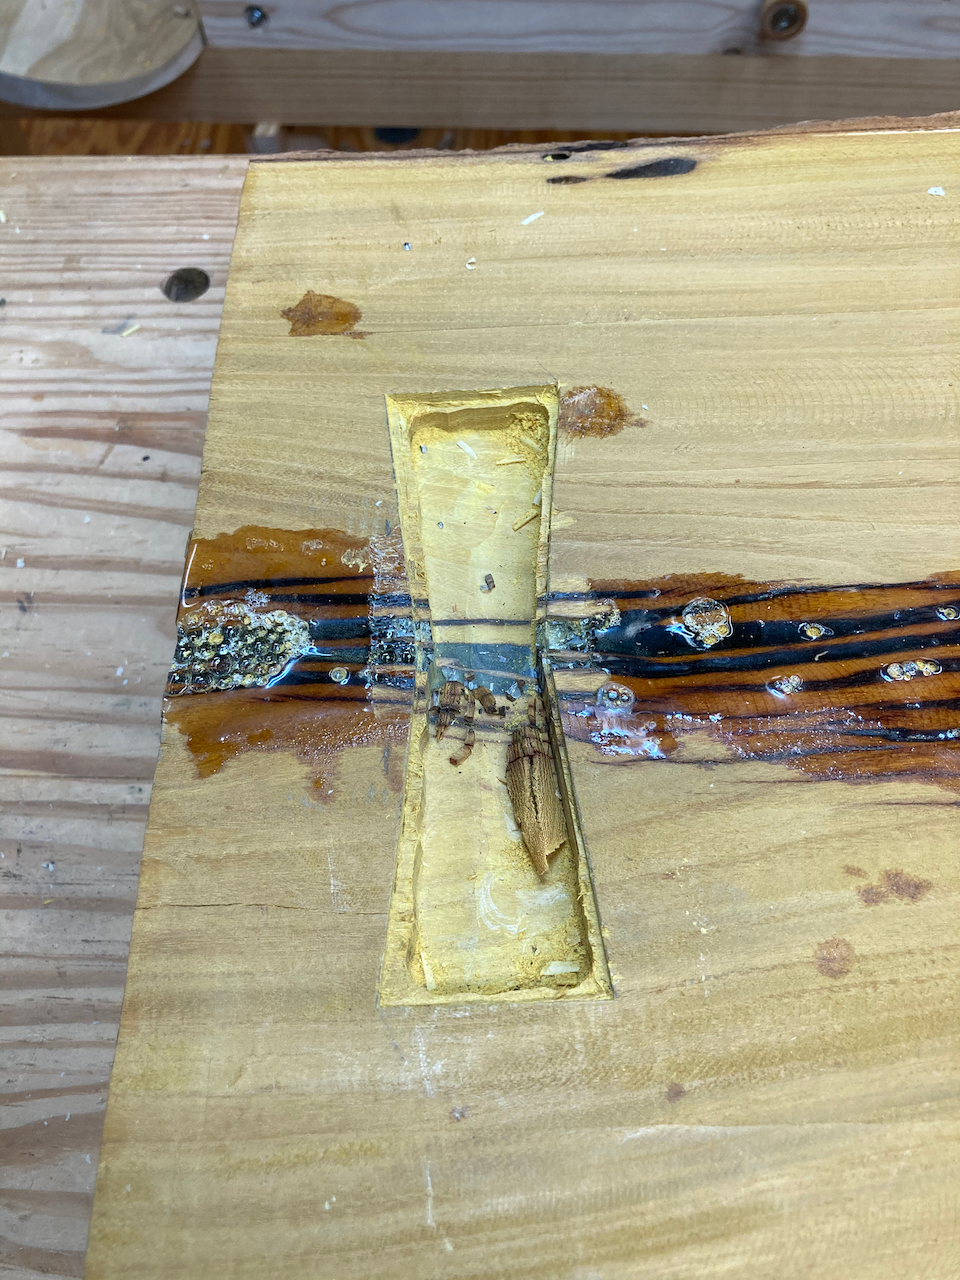
The next stage actually took about half the total time, as it’s a careful process to fit the bowtie to the cavity. Some people would make a template and use a router with a matching bit and collet to make both the bowtie and the cavity. And if I was doing this every day many times a day, I’d opt for that. But making the template and making the parts would have taken as long or longer than fitting it by hand. I might have saved a bit of time overall since there are four bowties in the slab (two on top and two on the bottom). But I want to build my hand/eye skills and finesse with hand tools, not skills in setting up and adjusting power tools. To each their own.
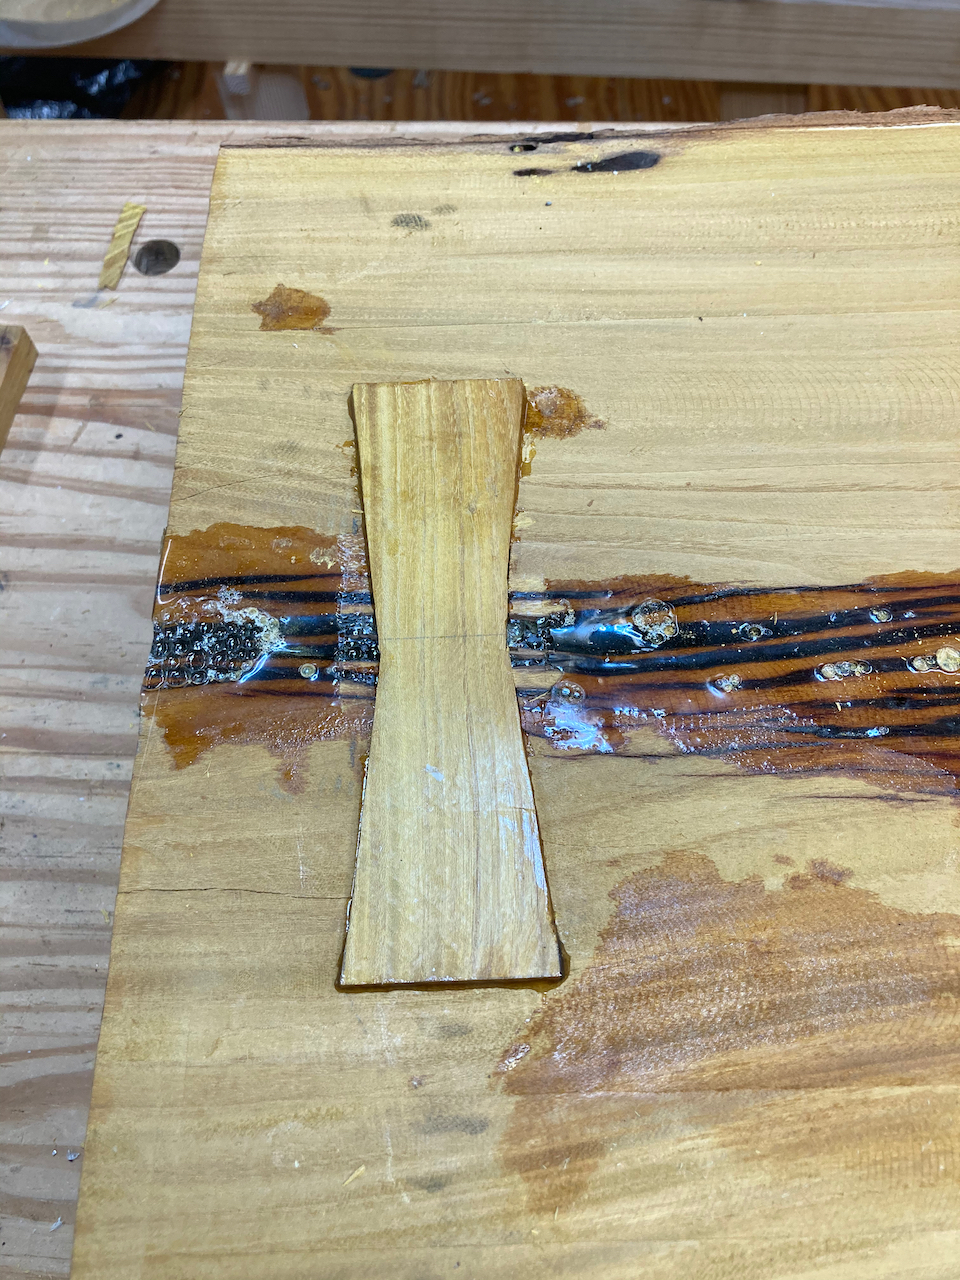
After some work while listening to music (no need for hearing protection or a dusk mask), I had the bowtie ready to install.

It only took a few minutes to apply glue and whack the bowtie into place with a huge mallet and a block of wood. The bowtie is sitting proud of the slab so it’ll be flush when I reflatten the whole surface, hopefully in the next few days.
The slab is ready for final flattening. Then I’ll bore holes for the legs and holdfasts and install the legs. I’m looking forward to having a low bench suited to lots of hand tool work.