I’ve been juggling several projects along with the rest of my life. I’m making slow progress on my first bowl, finished up the bowl horse adapter for my shave horse, and continue building my ‘lowrider’ bench.
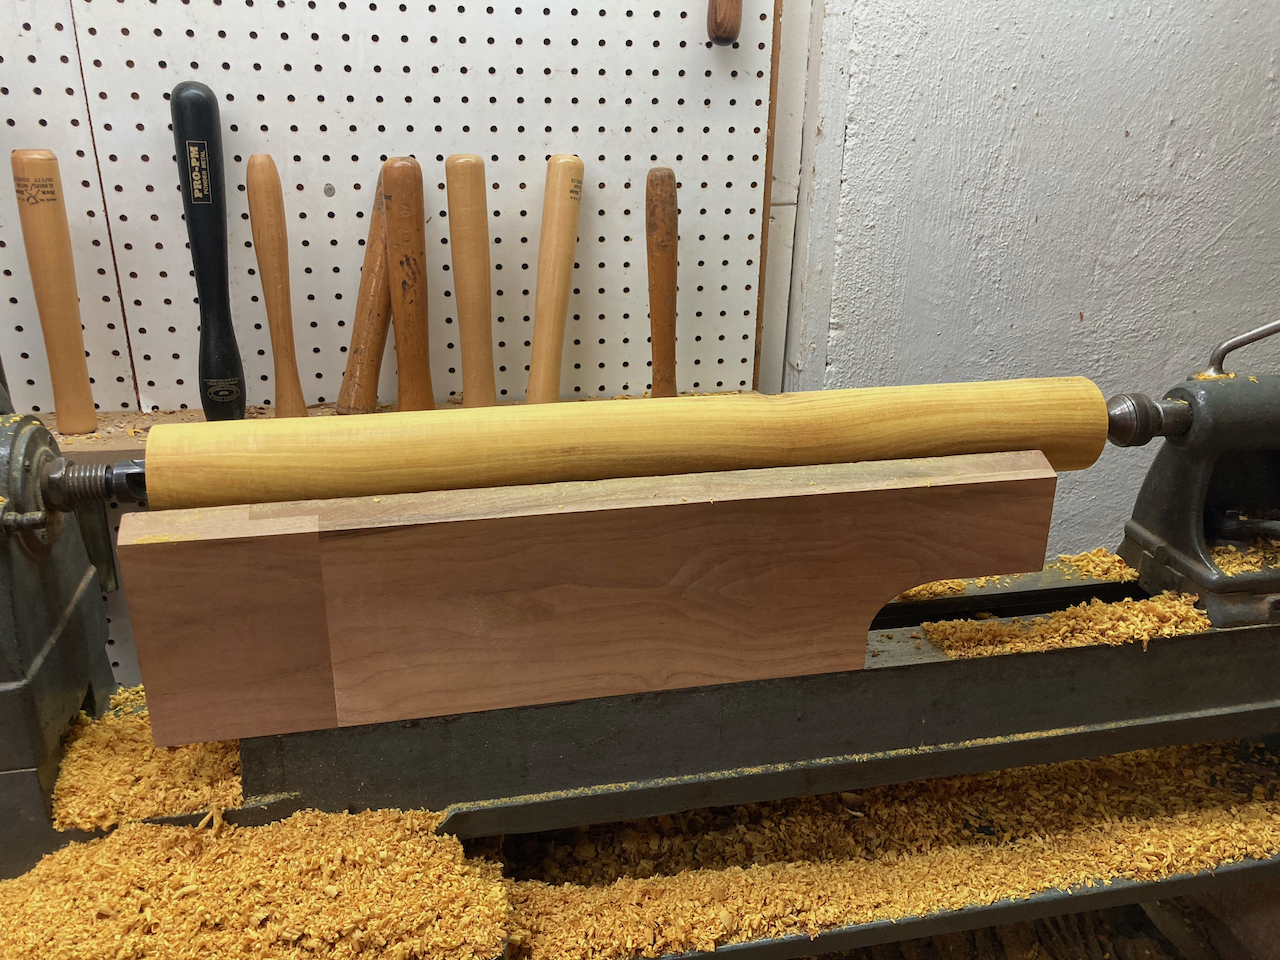
I turned the second leg blank for my lowrider bench, and I can tell I’m slowly learning more about turning. It’s such a subtle skill with so many dimensions and I know I don’t yet understand it, but feel I’m making some progress.
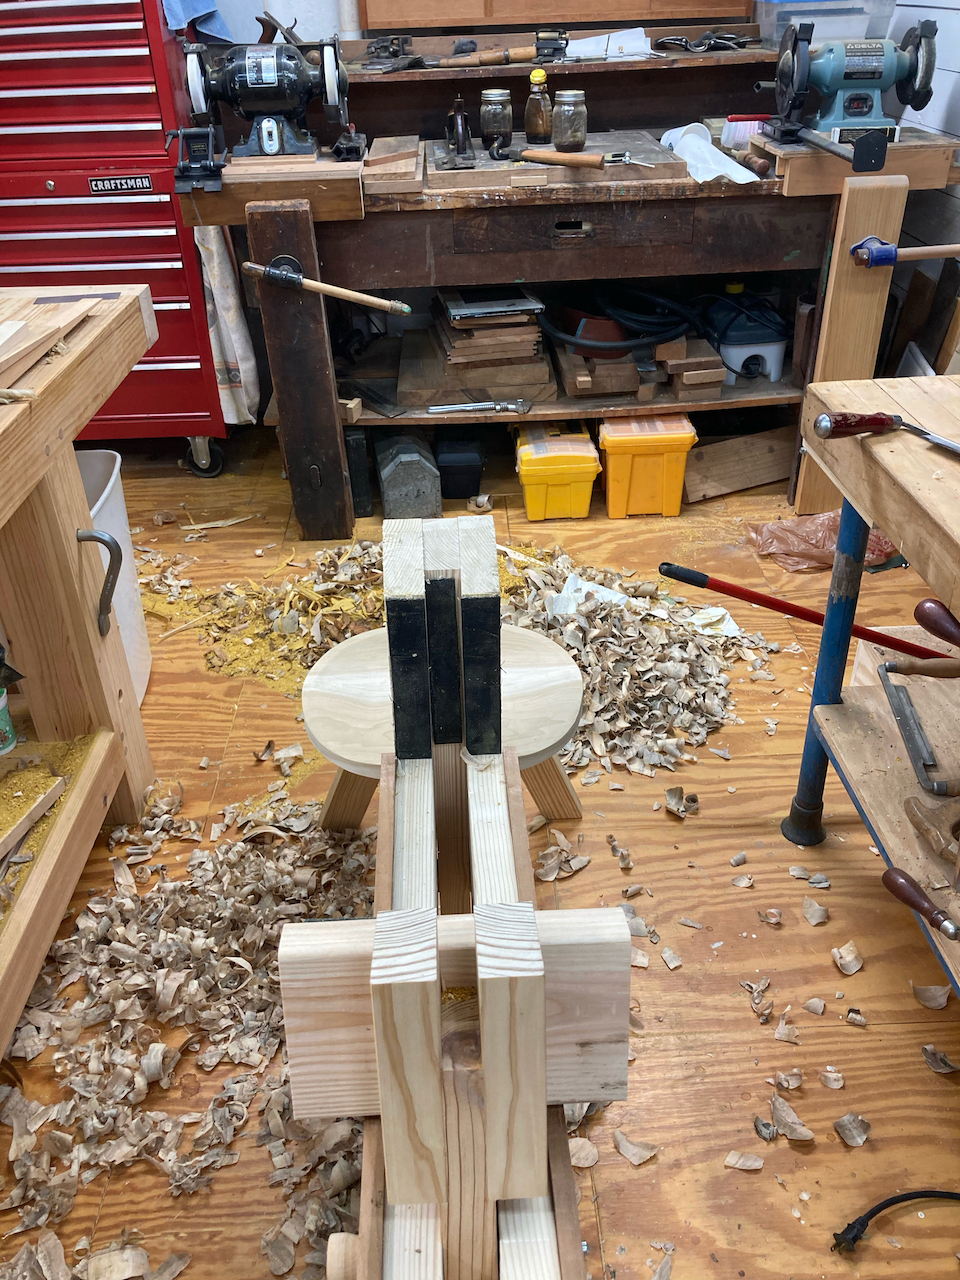
I finished my bowl horse adapter by adding some ‘grip’ to the ends that hold the bowl. Thanks to David Fisher I ordered some baler belt material, which is a rubber belt with a hard woven layer (of nylon?) in the middle. It adds an incredible amount of ‘grab’ to the ends of the bowl horse, making it much more effective. Thanks, David!

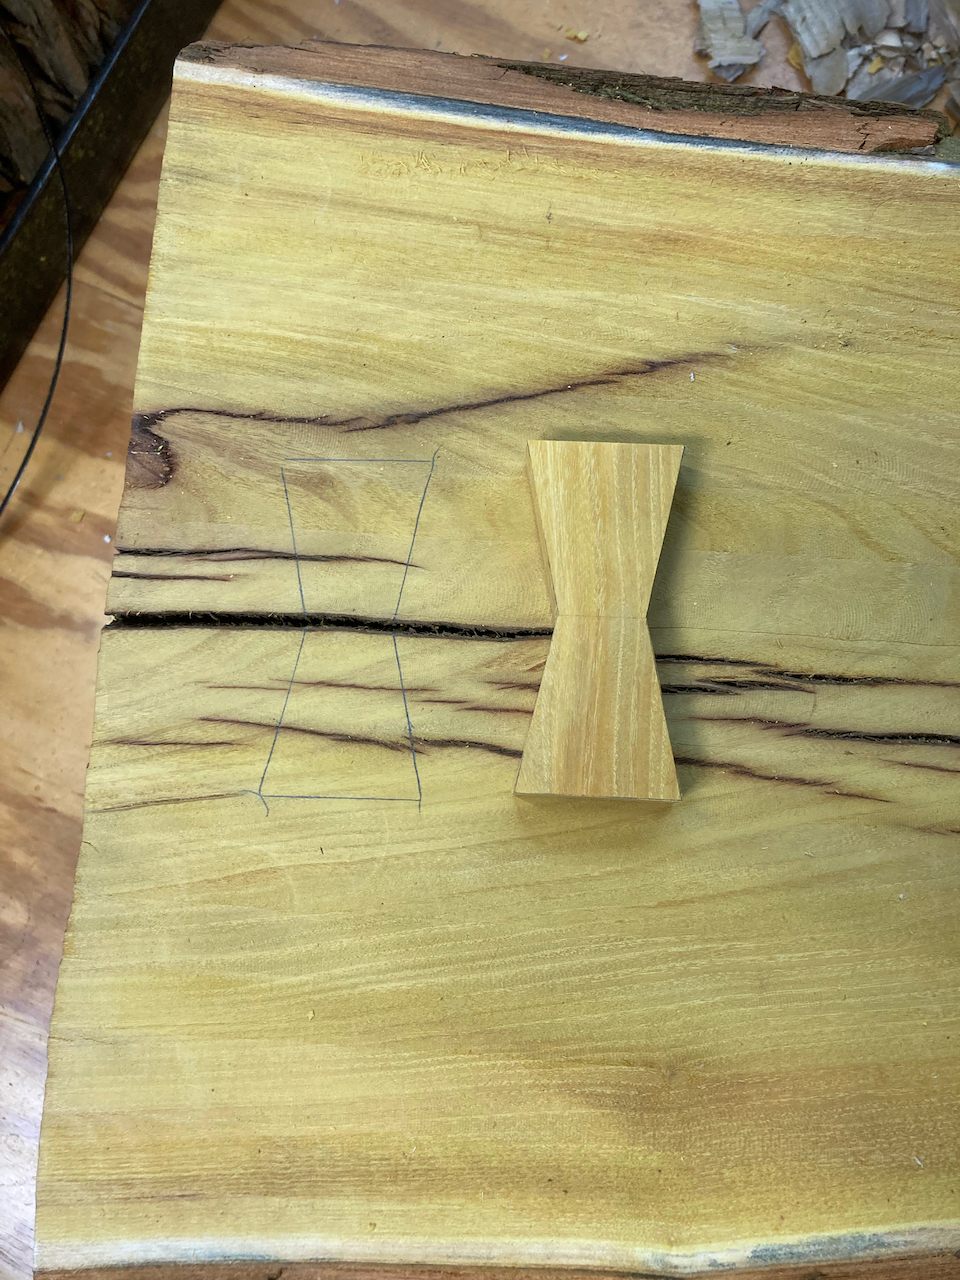
I also started putting ‘bowties’ into my lowrider bench slab of Osage Orange. The log/limb section had a wound where it was perhaps hit by lightning and had partially regrown around it. But the scar left a rotted area and when I made my slab not all of that was gone. I’m adding the bowties to help stabilize the slab and hopefully keep it from cracking further. I had good success with the cherry countertop slab for the study, so I’m hopeful.
First, I make the bowtie and mark the slab for it’s location.
Second, I route out the bulk of the material to slightly less than the thickness of the bowtie, leaving a bit of material at the edges.
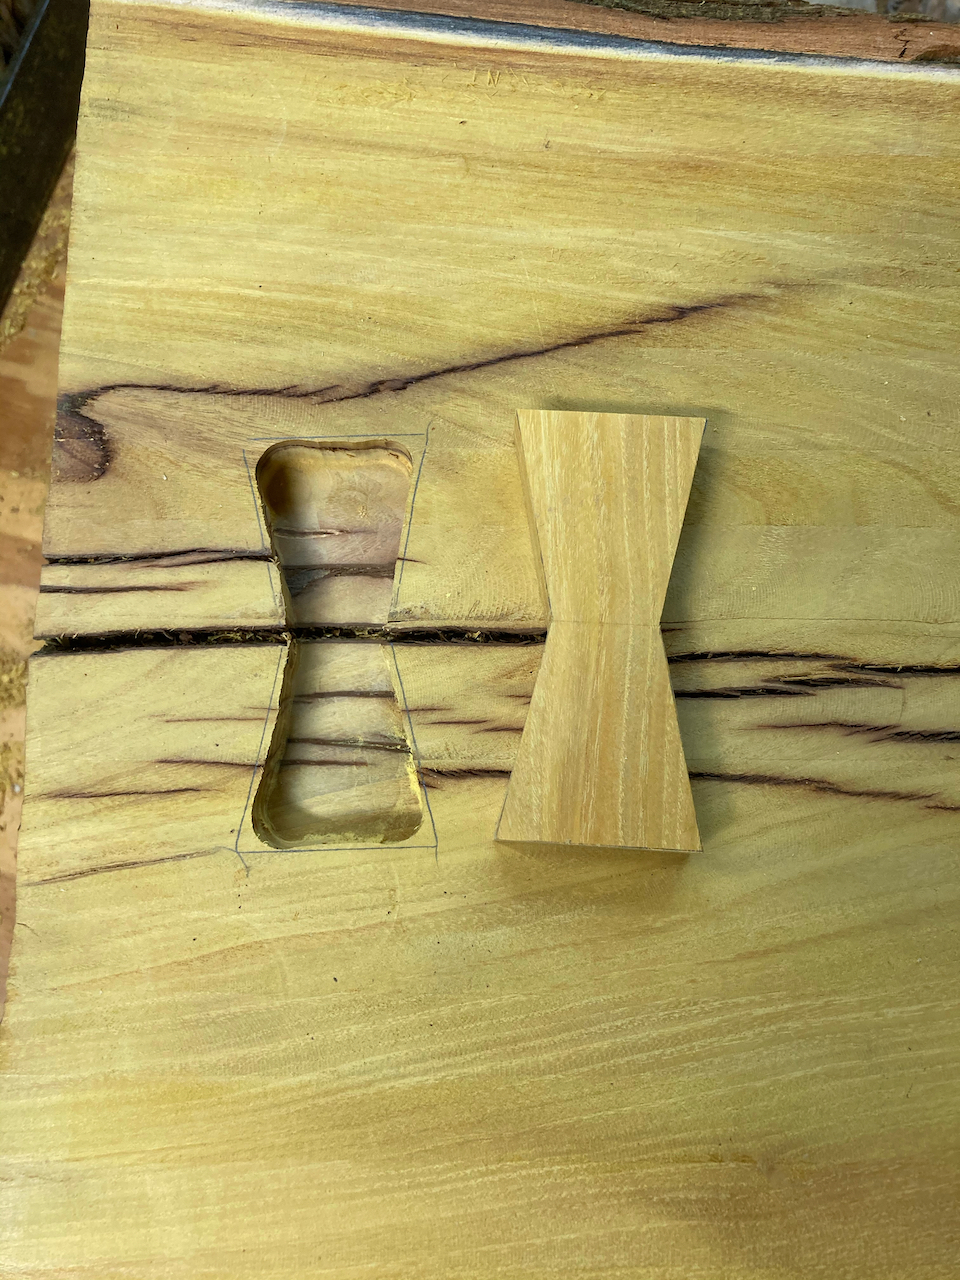
Third, chisel out the cavity edges, leaving the line to make a snug fit, before gluing the bowtie in place. In this case, I used epoxy because the wood is green and I hope it will hold better than regular glue in green wood. I’m not sure if that’s actually sound reasoning, but hopefully I’m not wrong.

And last but definitely not least, I’ve made some progress on my first carved bowl. It’s defintely slow going, due to several factors. Mostly, I don’t know what I’m doing and trying to figure things out. But I also had to sharpen my adze using David Fisher’s technique. And I also suspect my bowl blank is partially petrified soft maple. I know it can’t actually be petrified, but it’s very hard. I suspect it’s not actually green wood, or if it is then maple is “stinkin' hard”. It’s stained and has some spalting, but there’s no sign of any decay. I’m not sure how it will turn out, but I’m learning left and right as I give it a whirl.
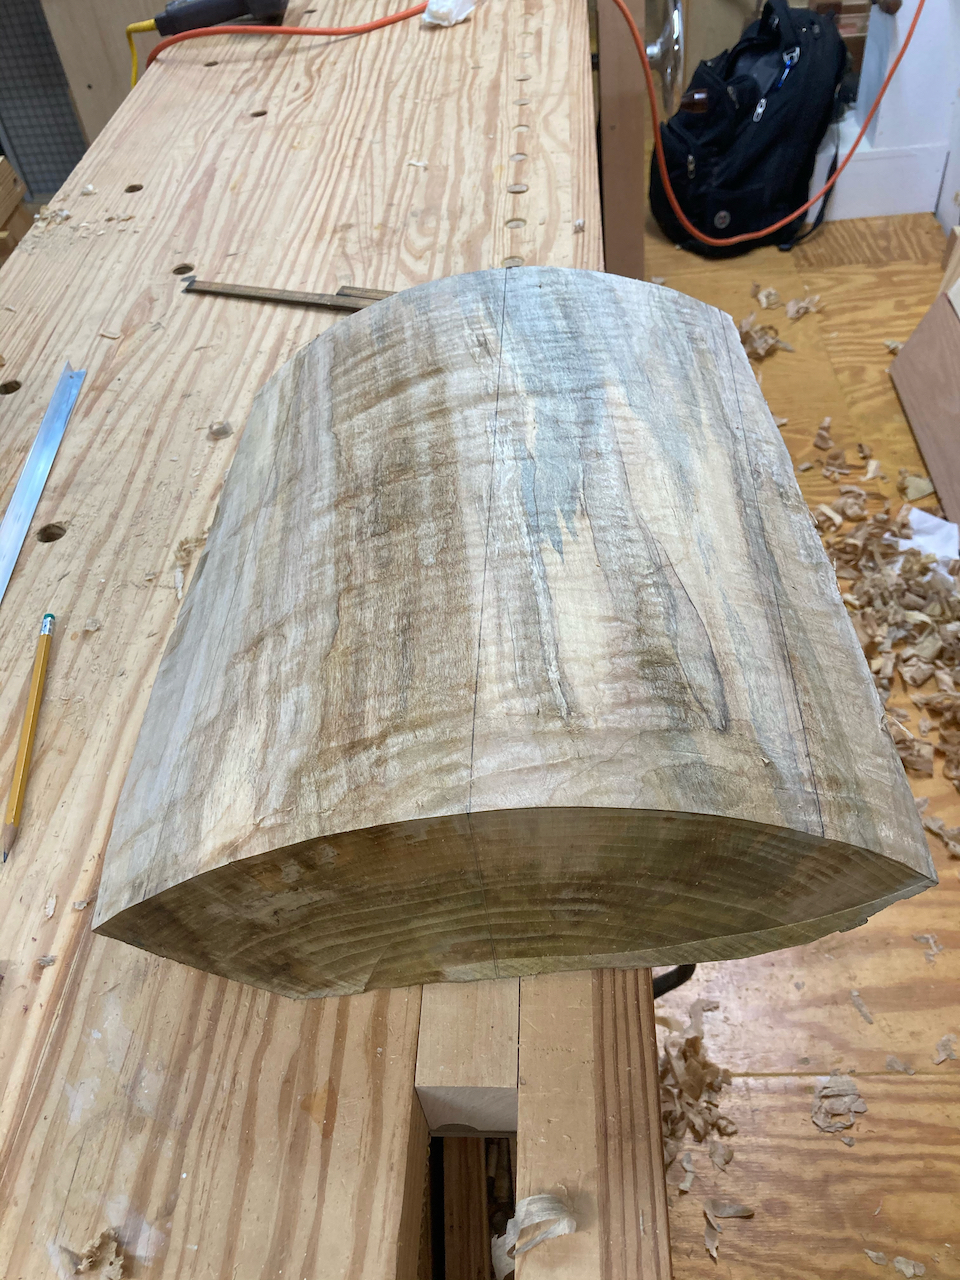
The blank is large for a first try from what I know. But it’s what I had on hand that I thought was green so it’s what I’m using.
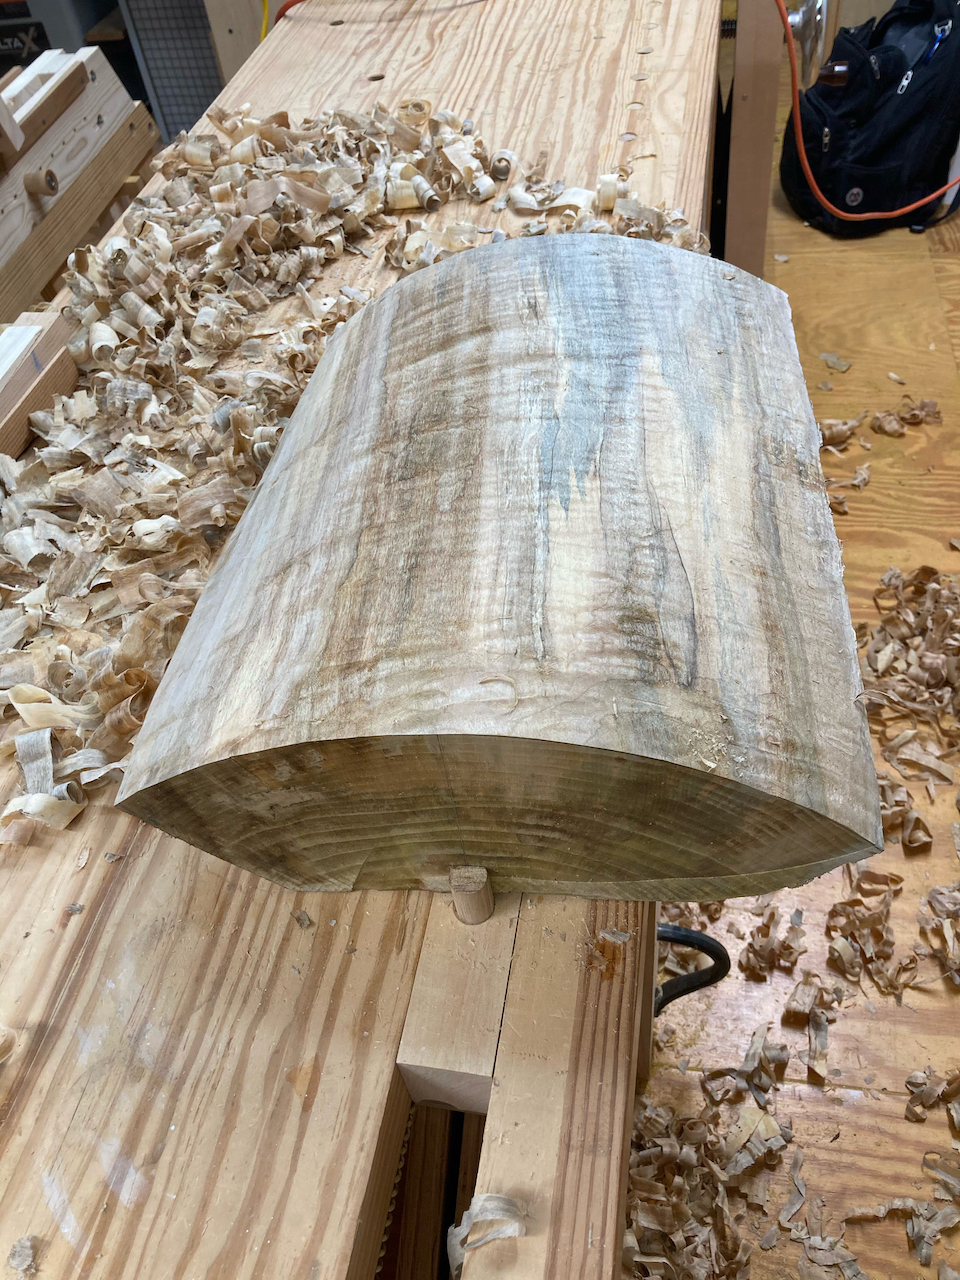
But the grain isn’t running straight through the section, and when I marked it along the center of the growth rings, this became obvious.
After considerable work and some learning about ‘flicking’ the adze rather than ‘muscling’ the adze, I have a very rough bowl cavity, including a rough sketch of the shape of the overall bowl. There’s still a lot of material to excavate and the sides and ‘bottom’ material to remove, which is a goal for this weekend (‘life’ permitting).
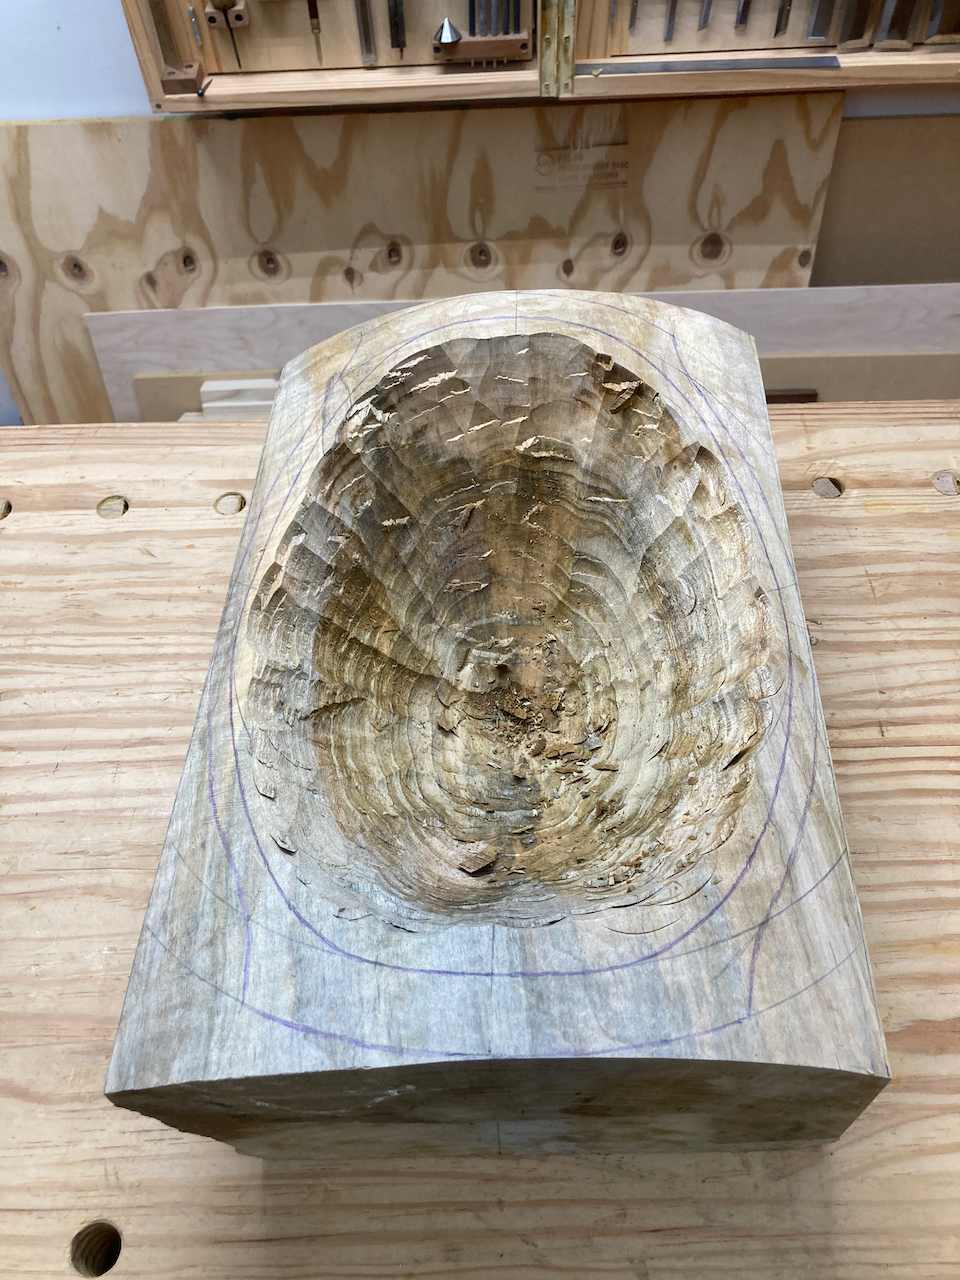
I like the bowl outline pretty well, but it’s still not right. I’ve been perusing bowls in David Fisher’s gallery of images looking for ideas, and there are some percolating in my head.
Tomorrow I hope get a bit of time in the workshop, to work on the lowrider or the bowl (but probably not both).