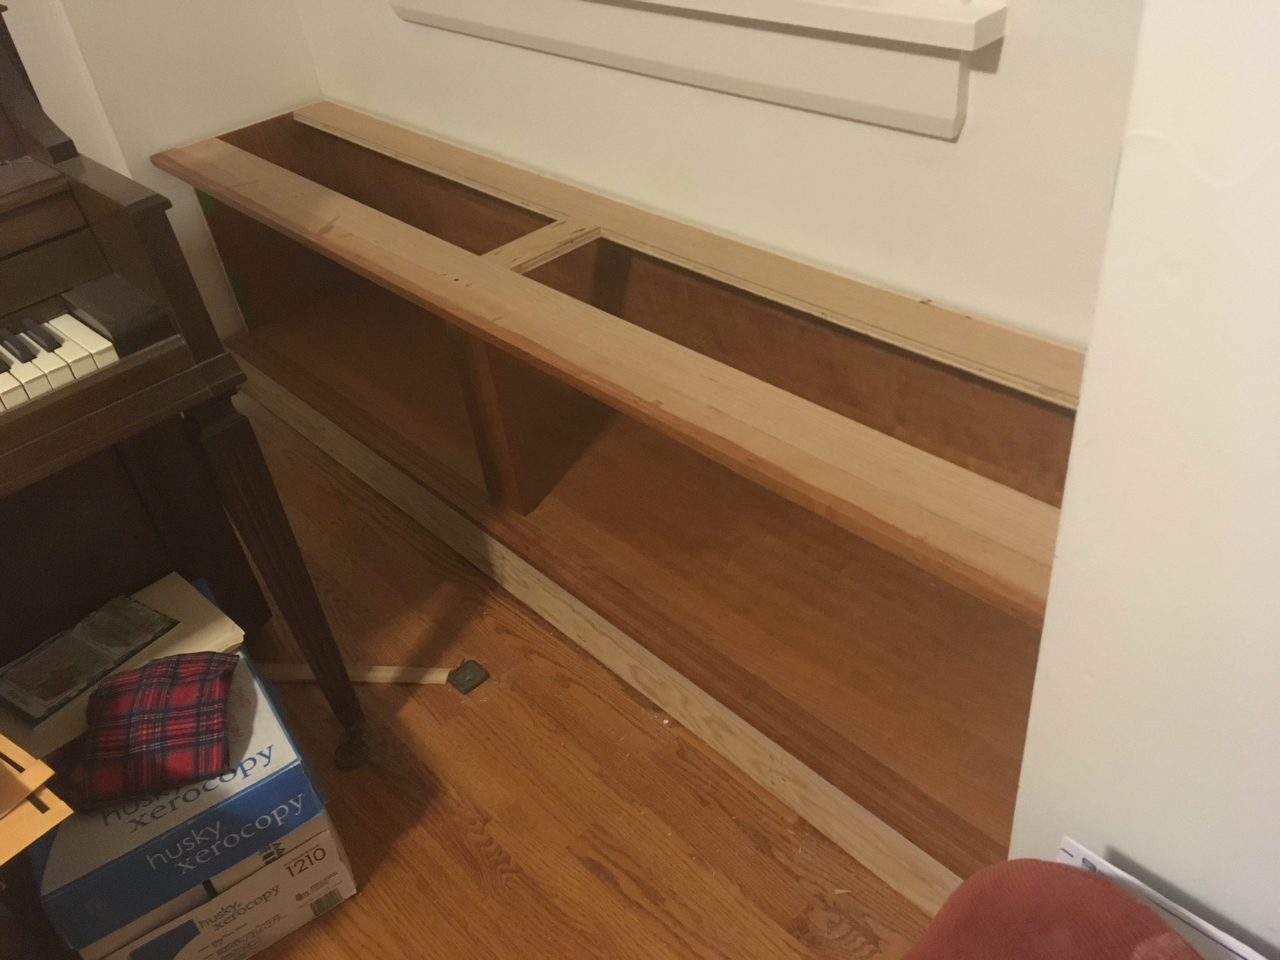
I spent time this week working on the window seat area. First I aligned the cabinet left-to-right. The window is not quite centered on wall, so I adjusted the cabinet to compensate. The side panels will be installed to hide the slightly larger void on the left. Then I fastened the cabinet to the platform and the walls to make it rigid enough for people to lounge on the window seat.
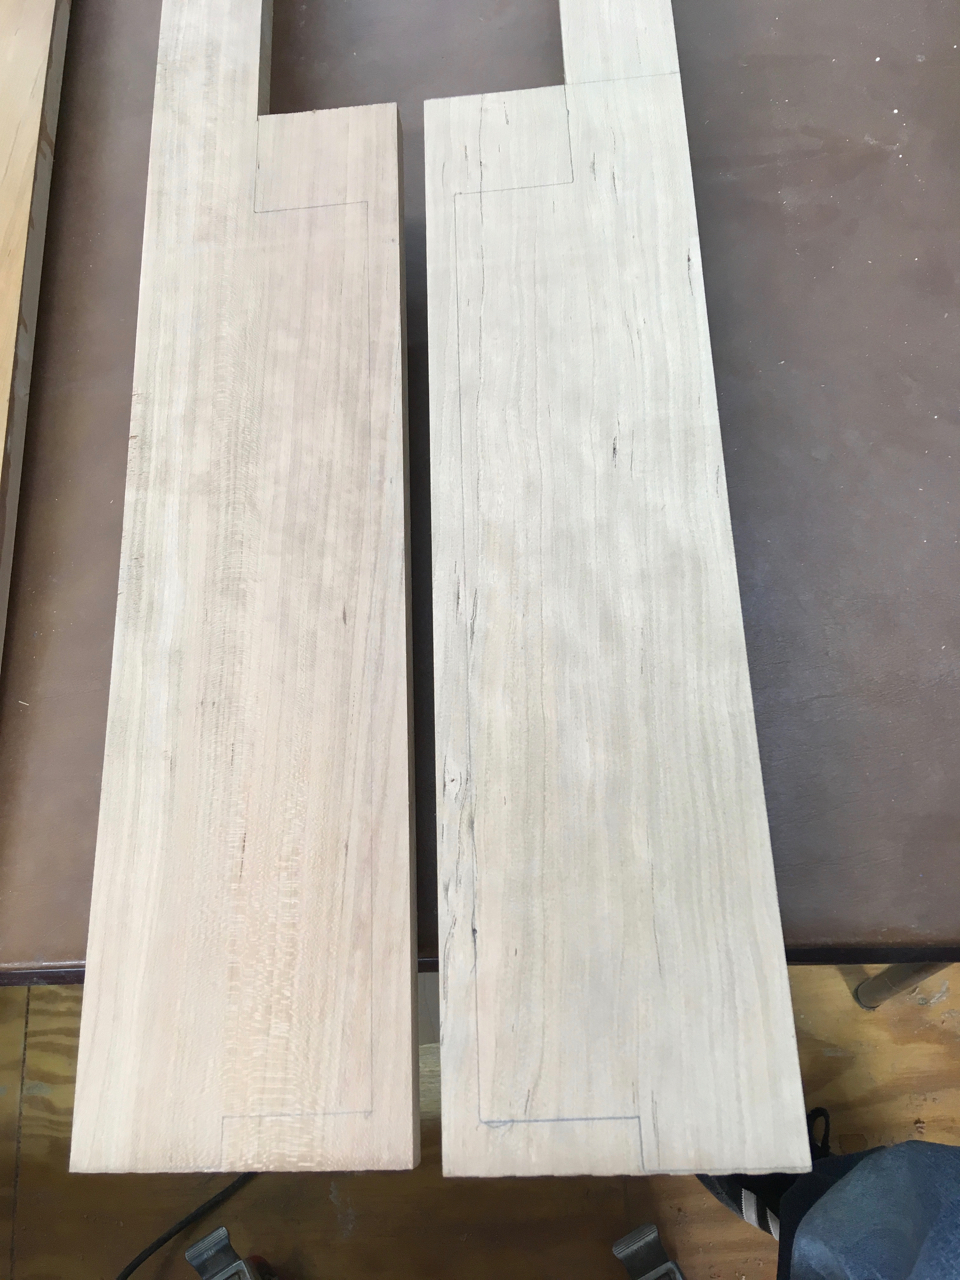
Before installing the slab, I worked on fitting the long boards on each side. These boards act as the front stile of the side wall panels above the window seat and carry down as the side trim for the front of the cabinet. This avoids a butt joint (a seam) that would have shown if I’d used two boards. But it’s a tricky thing to execute properly. So I made a template for the front trim (the thick strip of wood is a stand-in for the window seat slab).
Once I had my template, I could mark out the pattern on my boards.
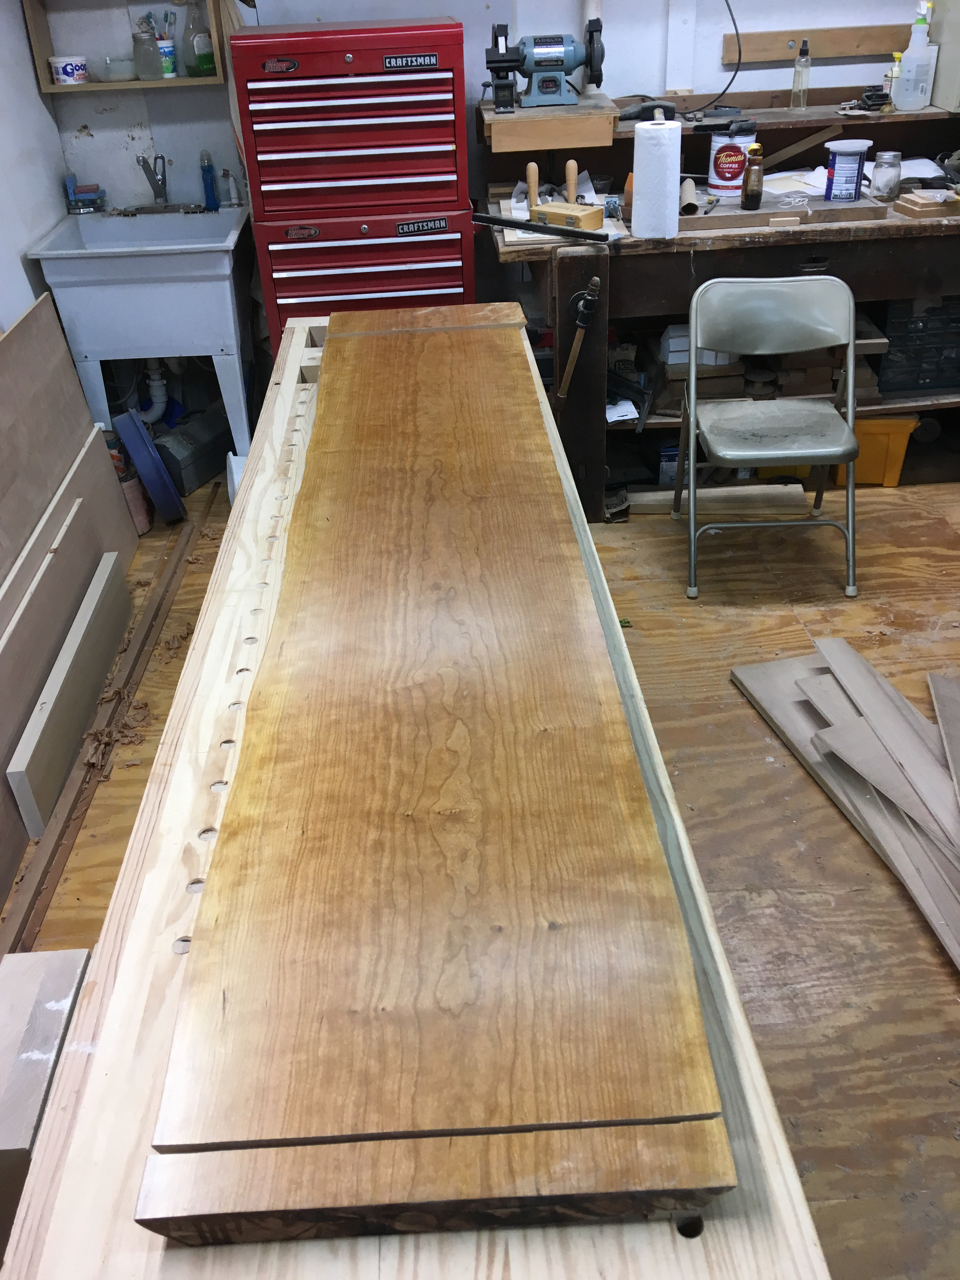
With that detail worked out, I turned my attention to making a full-size template for fitting the window seat slab. There was no way I was going to estimate this job and possibly ruin the slab.
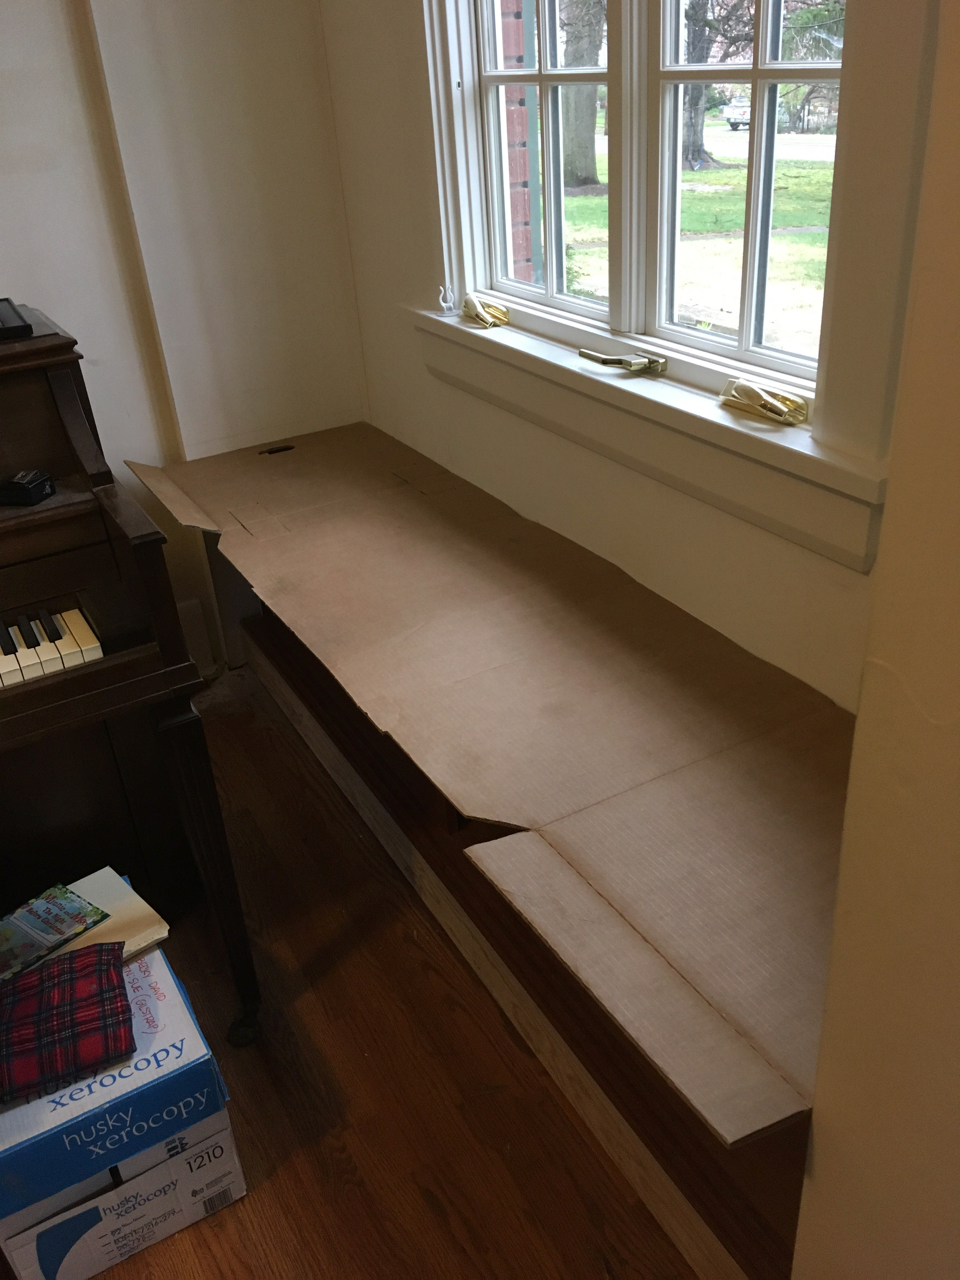
I used the template on the slab to figure out how to best cut, adjusting end-to-end and rotating it to make the most of the slab while ensuring the front edges won’t stick out past the side panels and front trim.
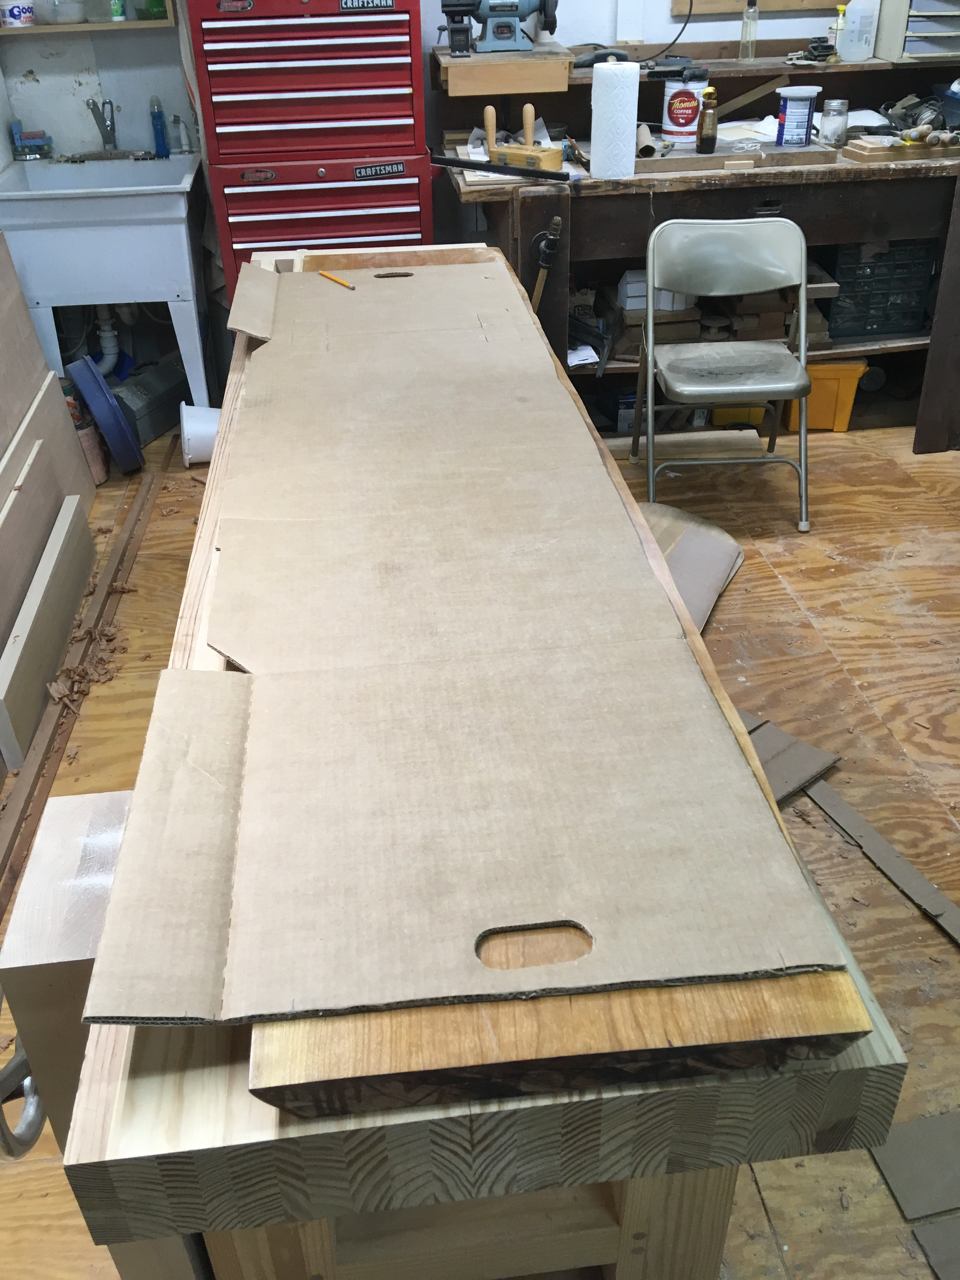
I then marked the slab for cutting, being very careful to not let the template slip out of place.
The jig saw I used made short and precise work of the cutting. Here is the slab with the two end pieces cut off and sitting near it.
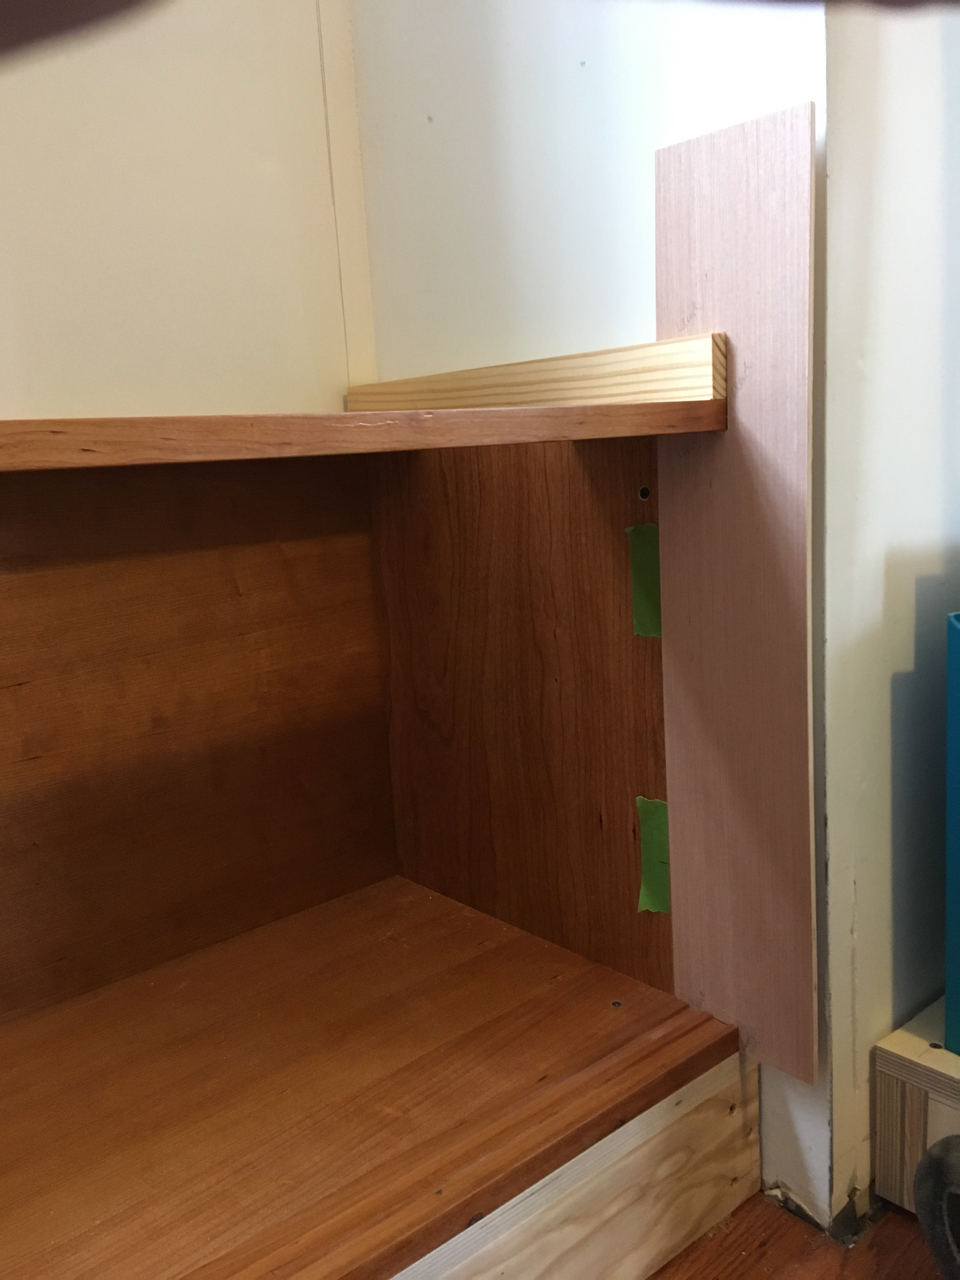
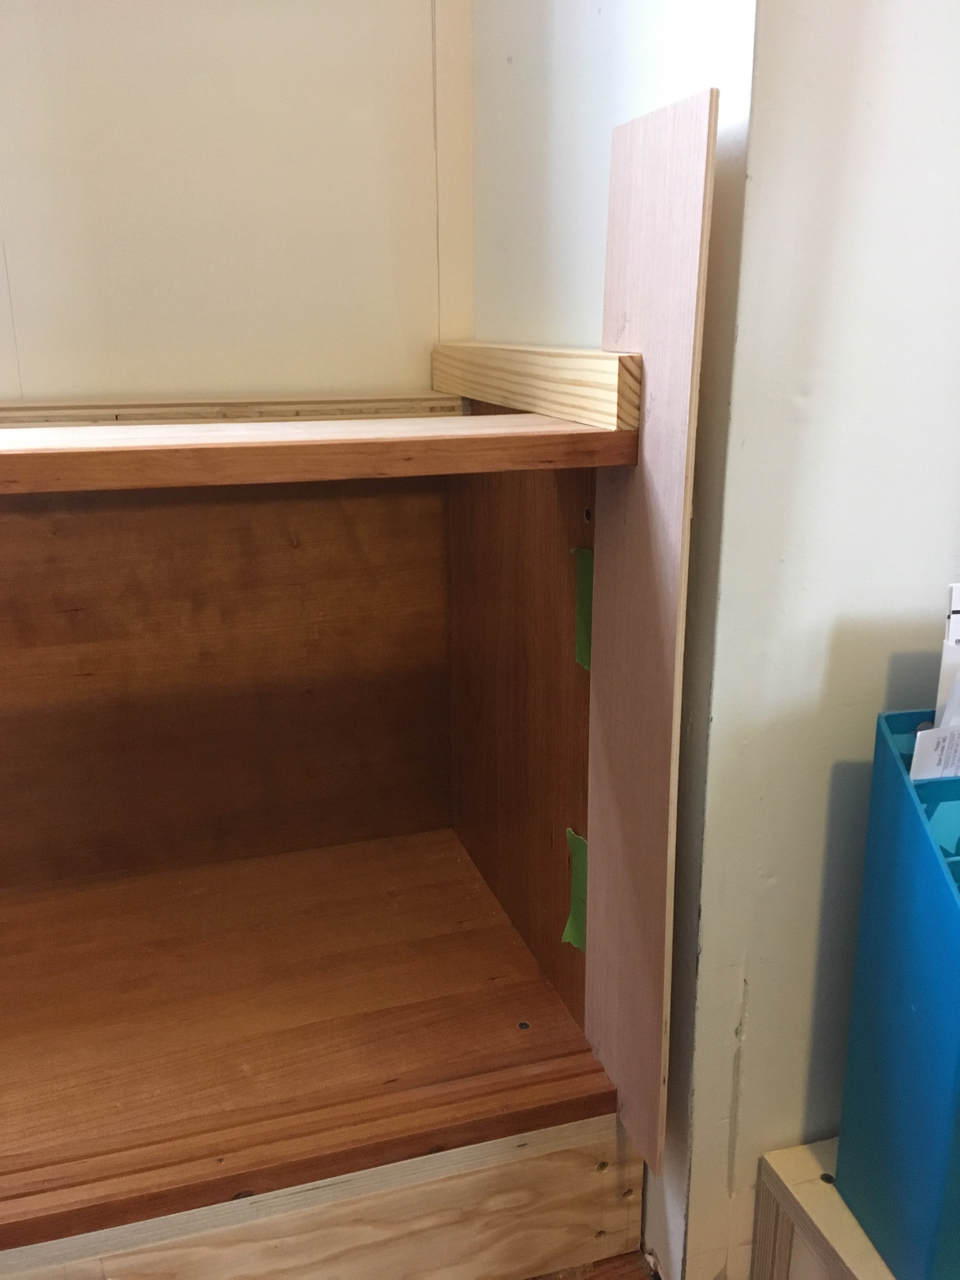
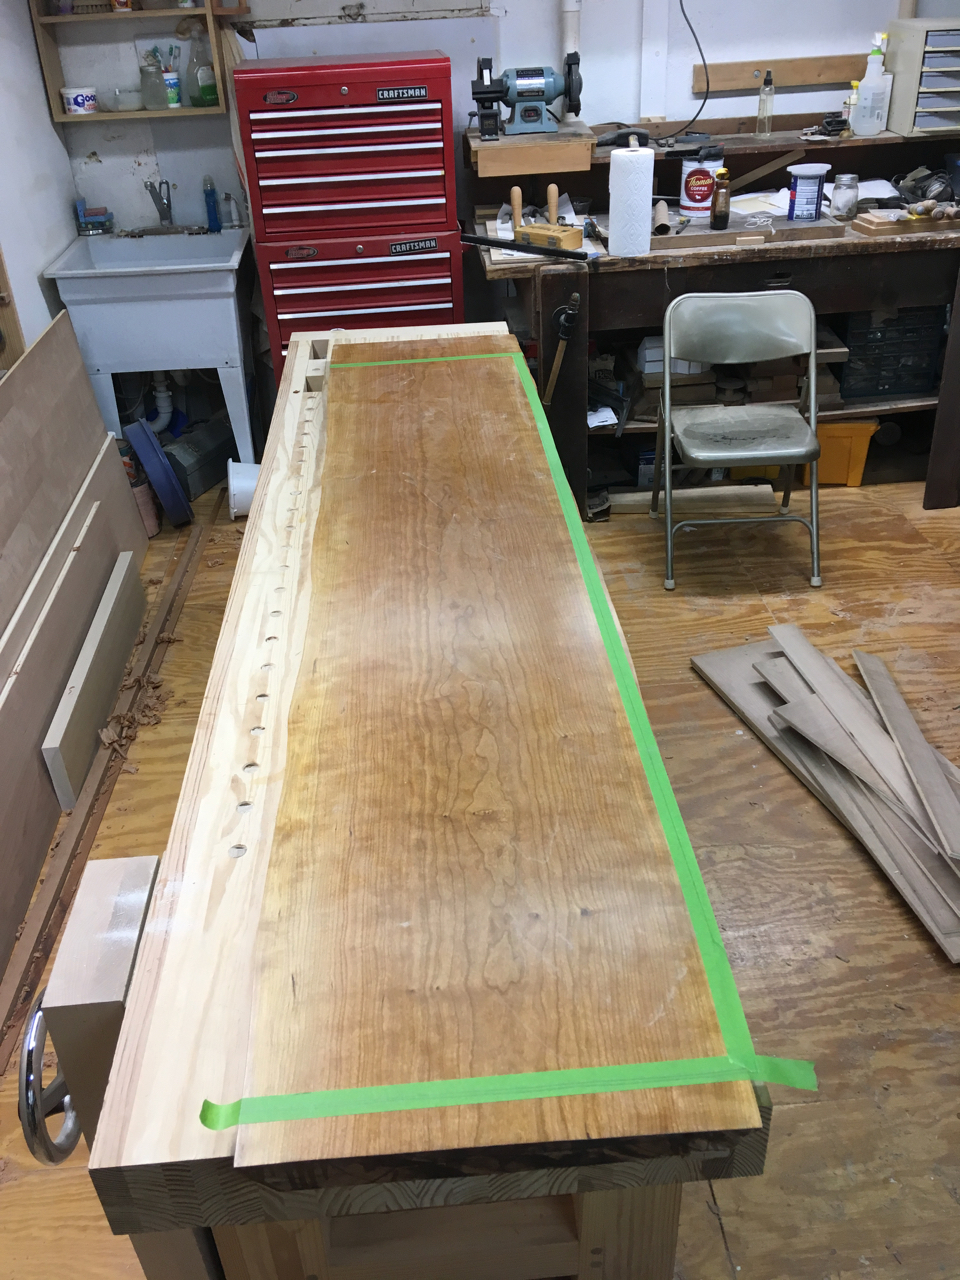
Before I could install the slab, I needed to finish fitting the stiles. So I spent time cutting the notches by hand and cleaning up the cuts with a chisel.
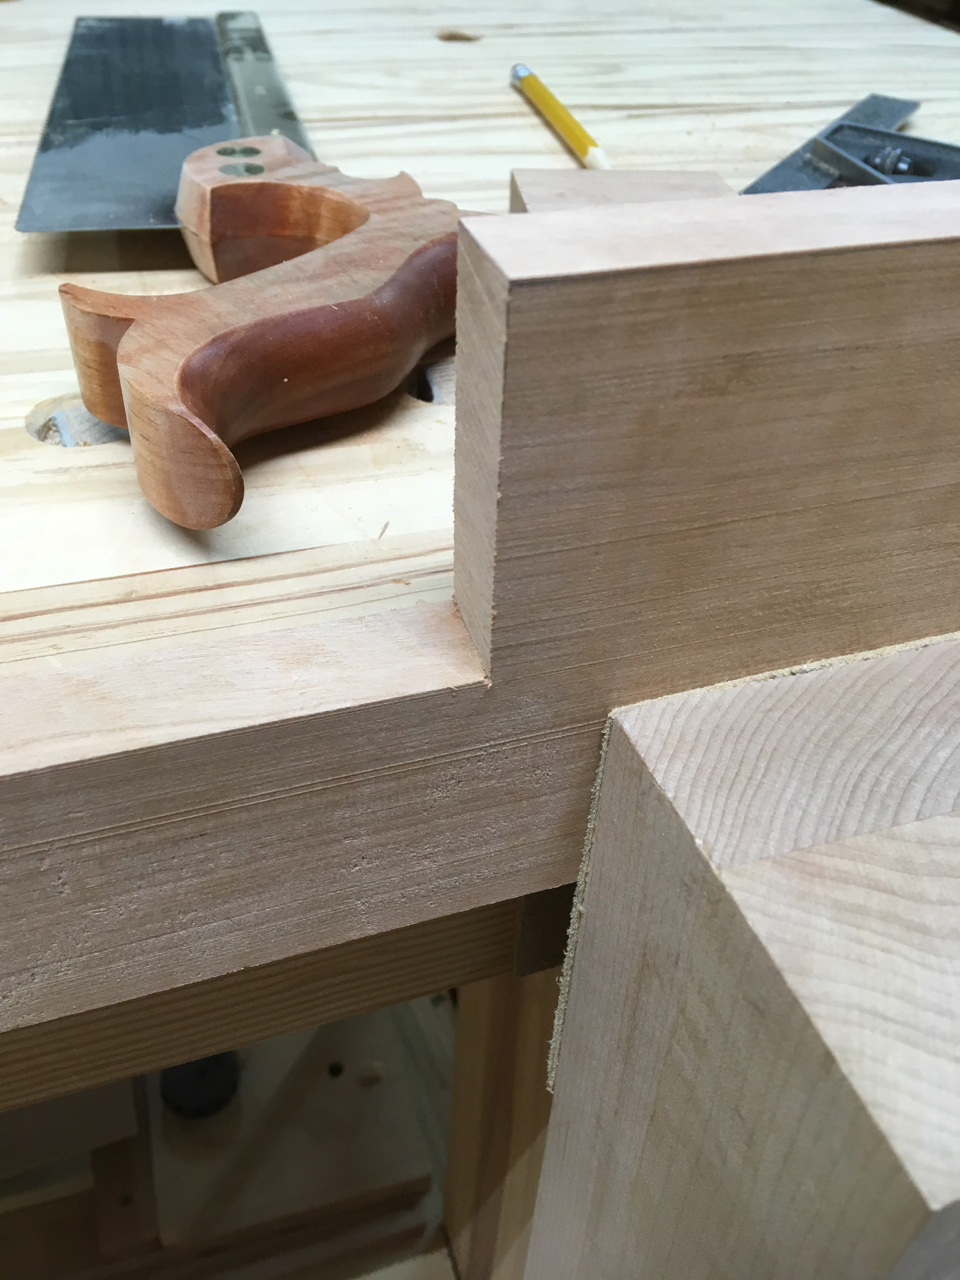
It took a couple of tweaks, but I got the stiles cut and fitted so they will mate to the sides of the cabinet properly.
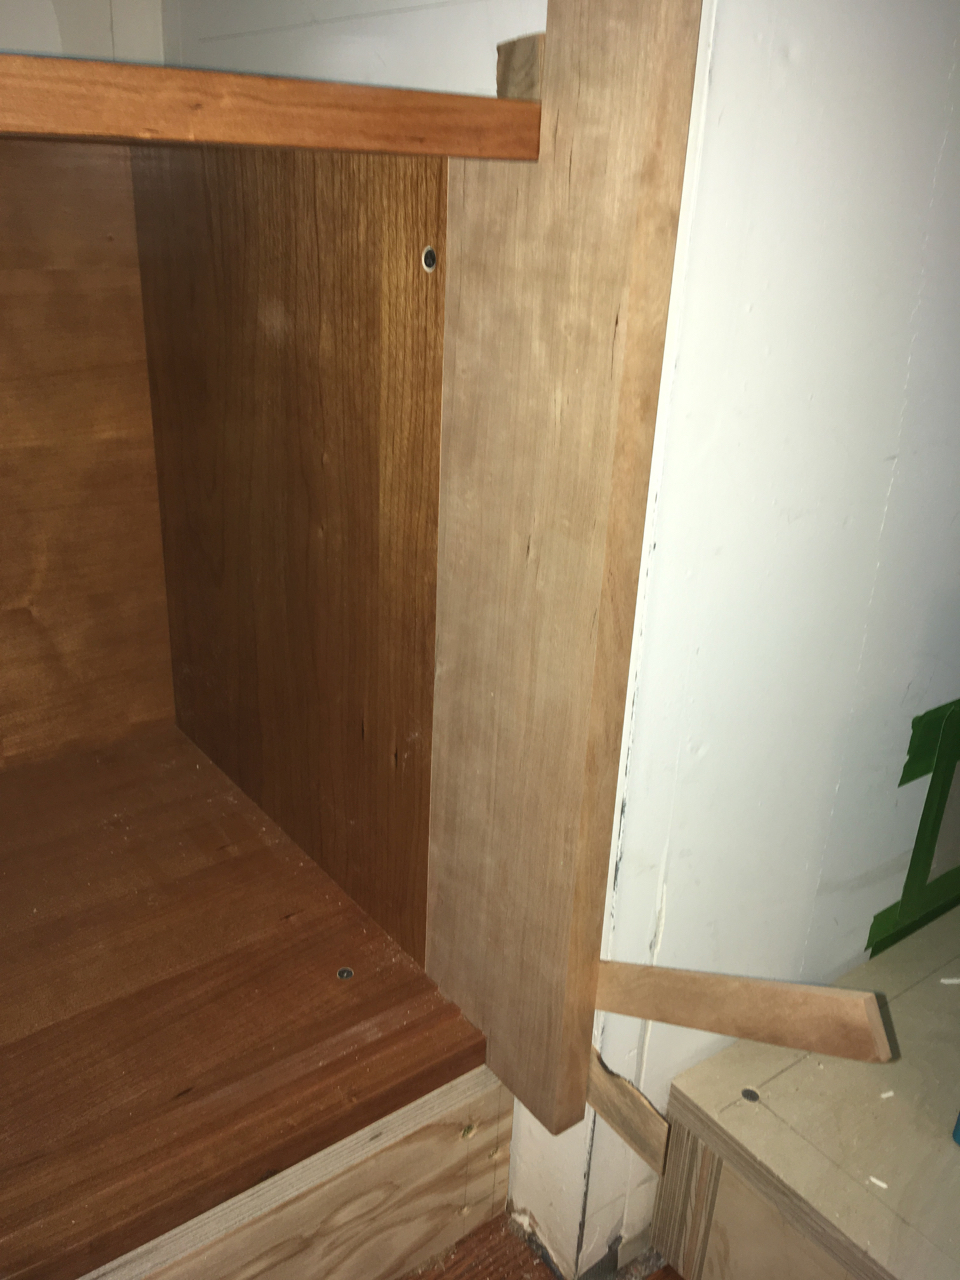
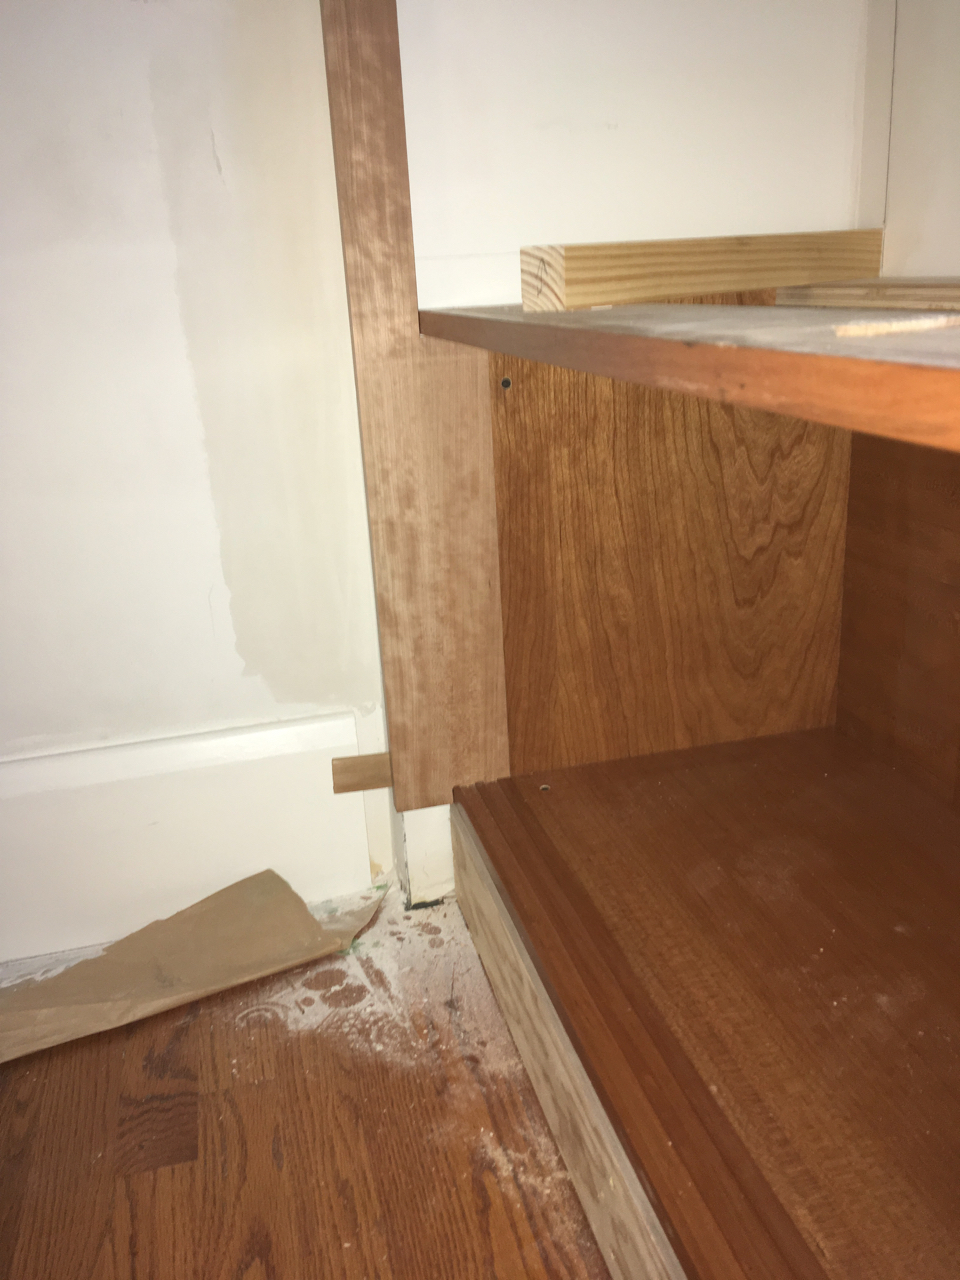
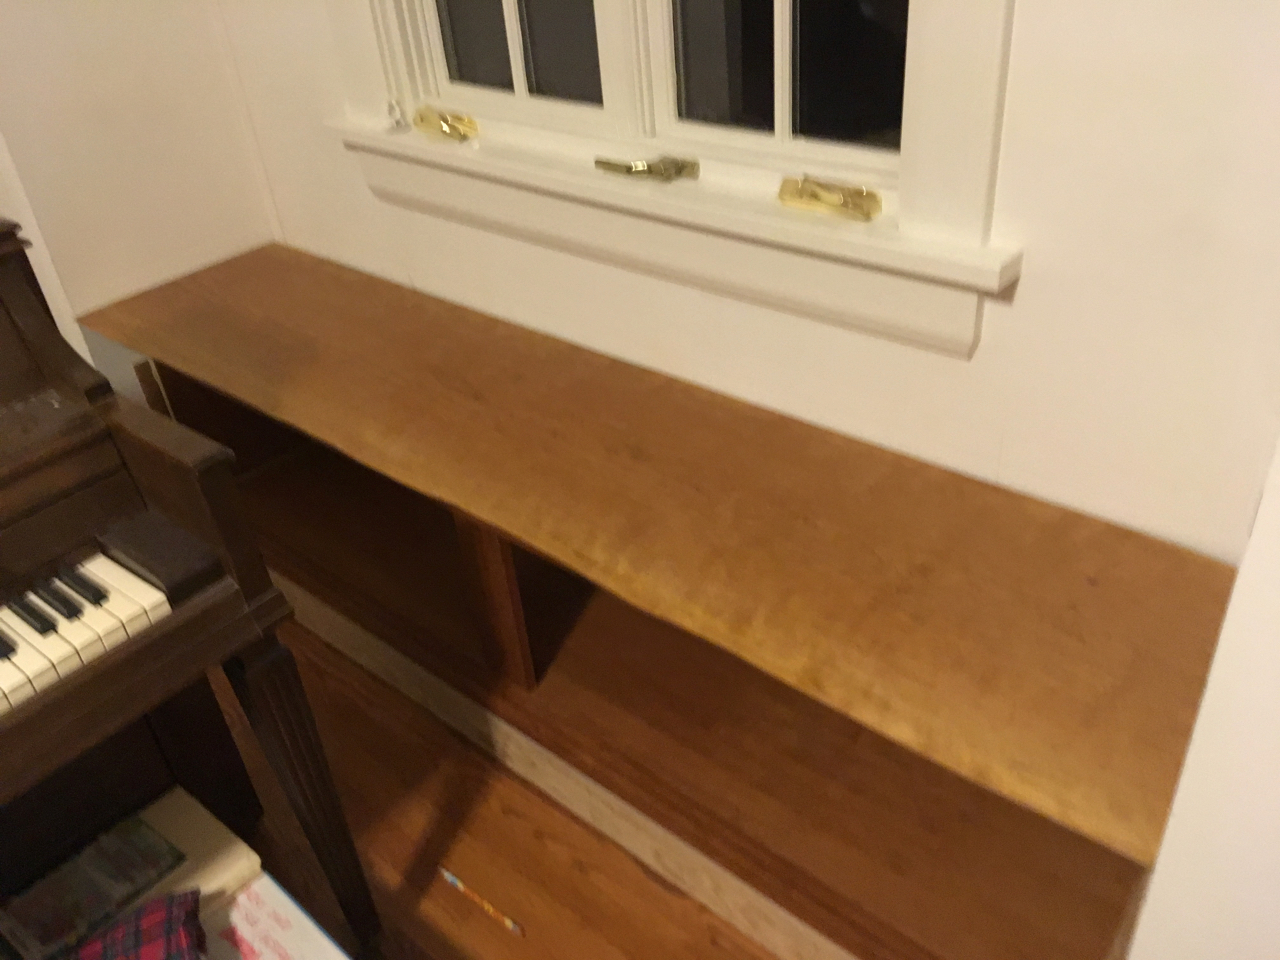
With the stiles cut, I could finally get to installing the slab. After dinner this evening, I drilled holes for the screws that will hold the slab in place. I made slots for the rear ones to allow the slab to expand and shrink front-to-back.
Teresa helped me carry up the slab and put it in place. I then drilled into the slab and fastened it down with screws from underneath.
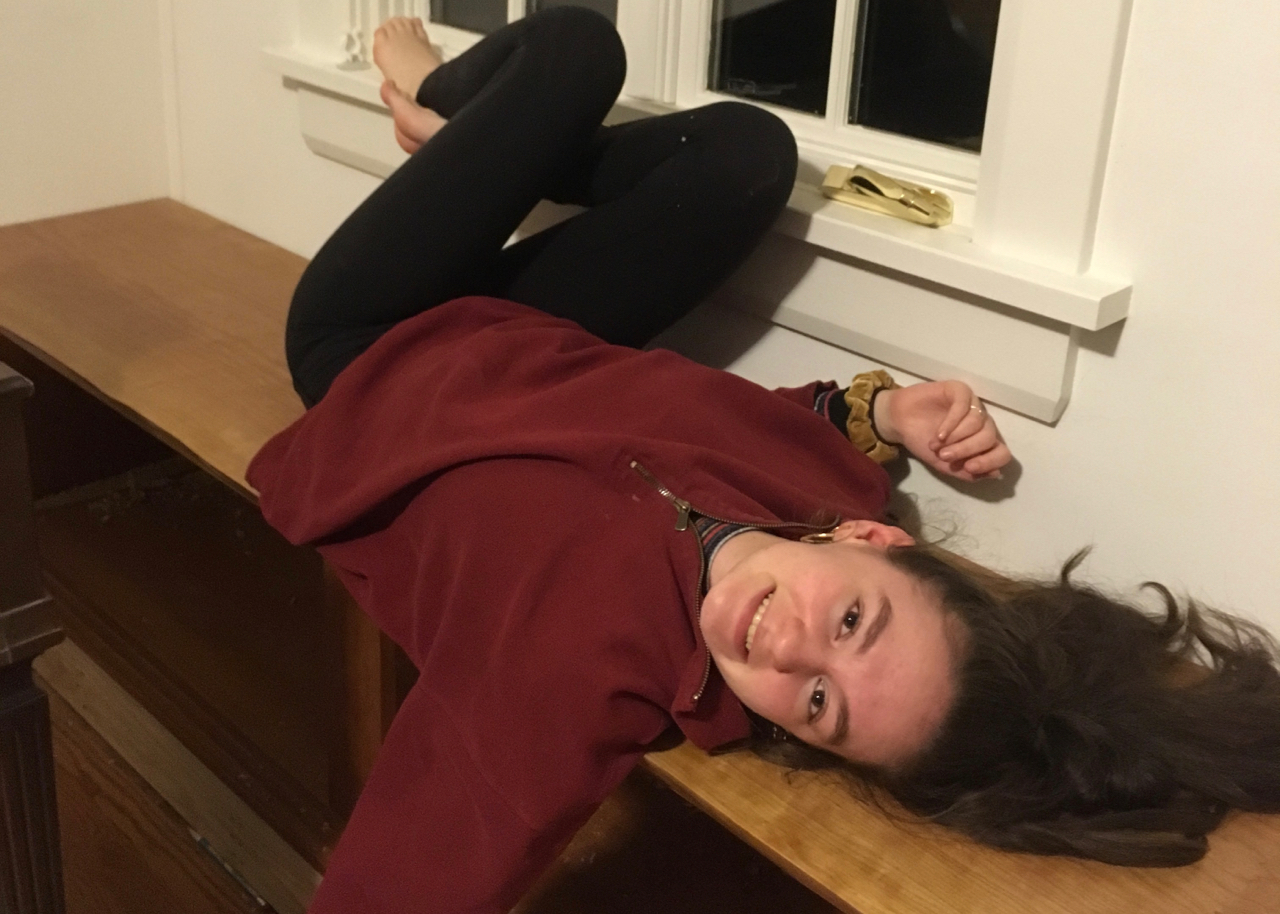
Eleanor was the first one to try it out.