Blog? What blog?
What do you do when your summer is busier than it ‘should be’ and you still want to make progress on the ‘big build’? You stop blogging. And so a month and a half has passed without blogging, but with considerable progress on the project.
A lot has been done, starting with a fix.
Fix the platform
I found I’d made the platform for the two bookcases too long, and needed to shorten it. After carefully removing it I removed the left end and made it 11/16 of an inch shorter. My new panel cutting jig was a huge help here.
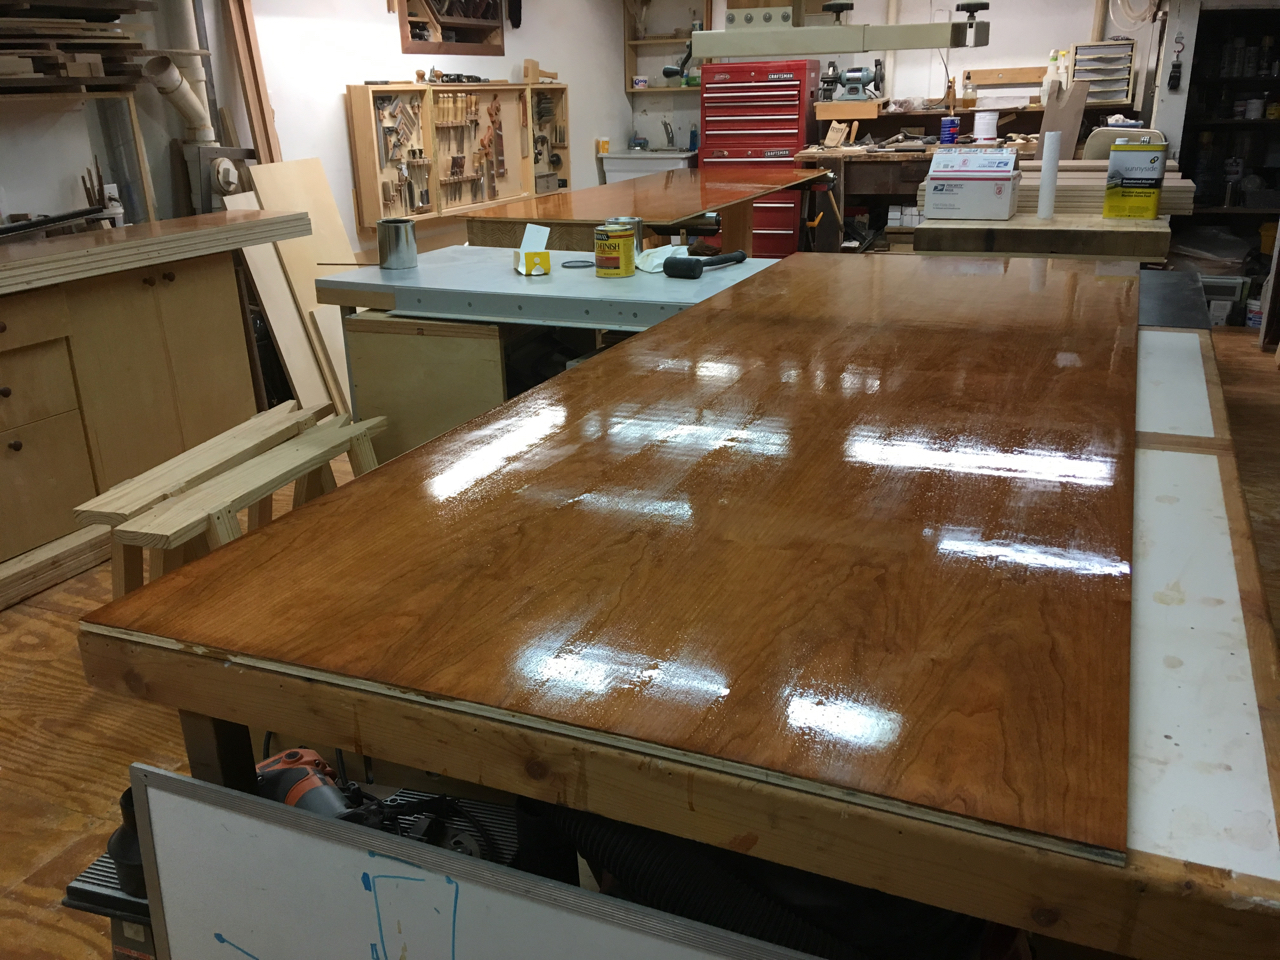
Finish the case parts (except the backs)
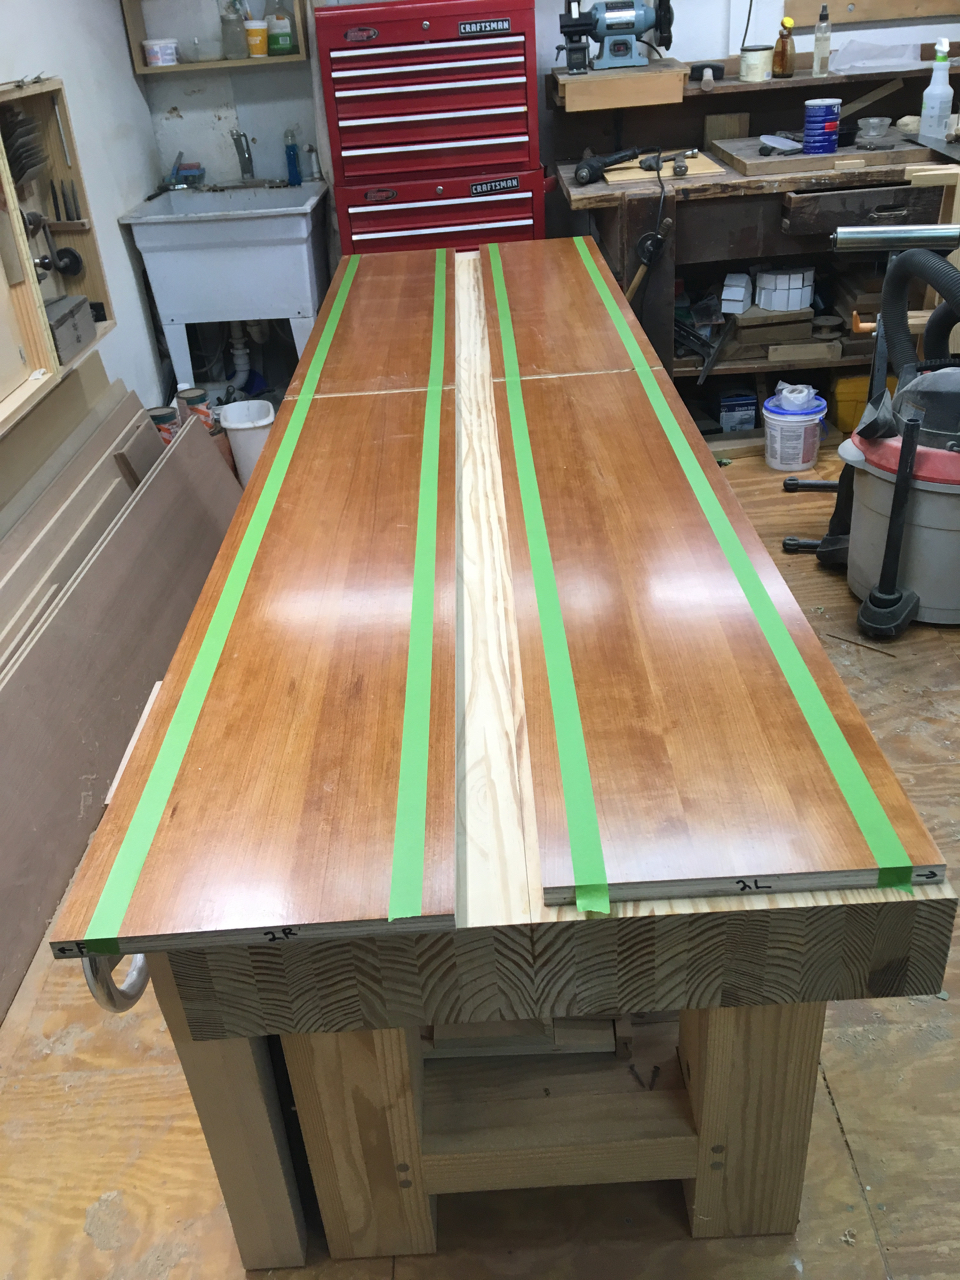
If you’ve read previous posts, you know the finishing drill: sand, seal, stain, stain, finish, finish, finish…I’ll spare you the details. Skip ahead to all the case parts except the backs finished and sitting on the two sheets of plywood for the backs.
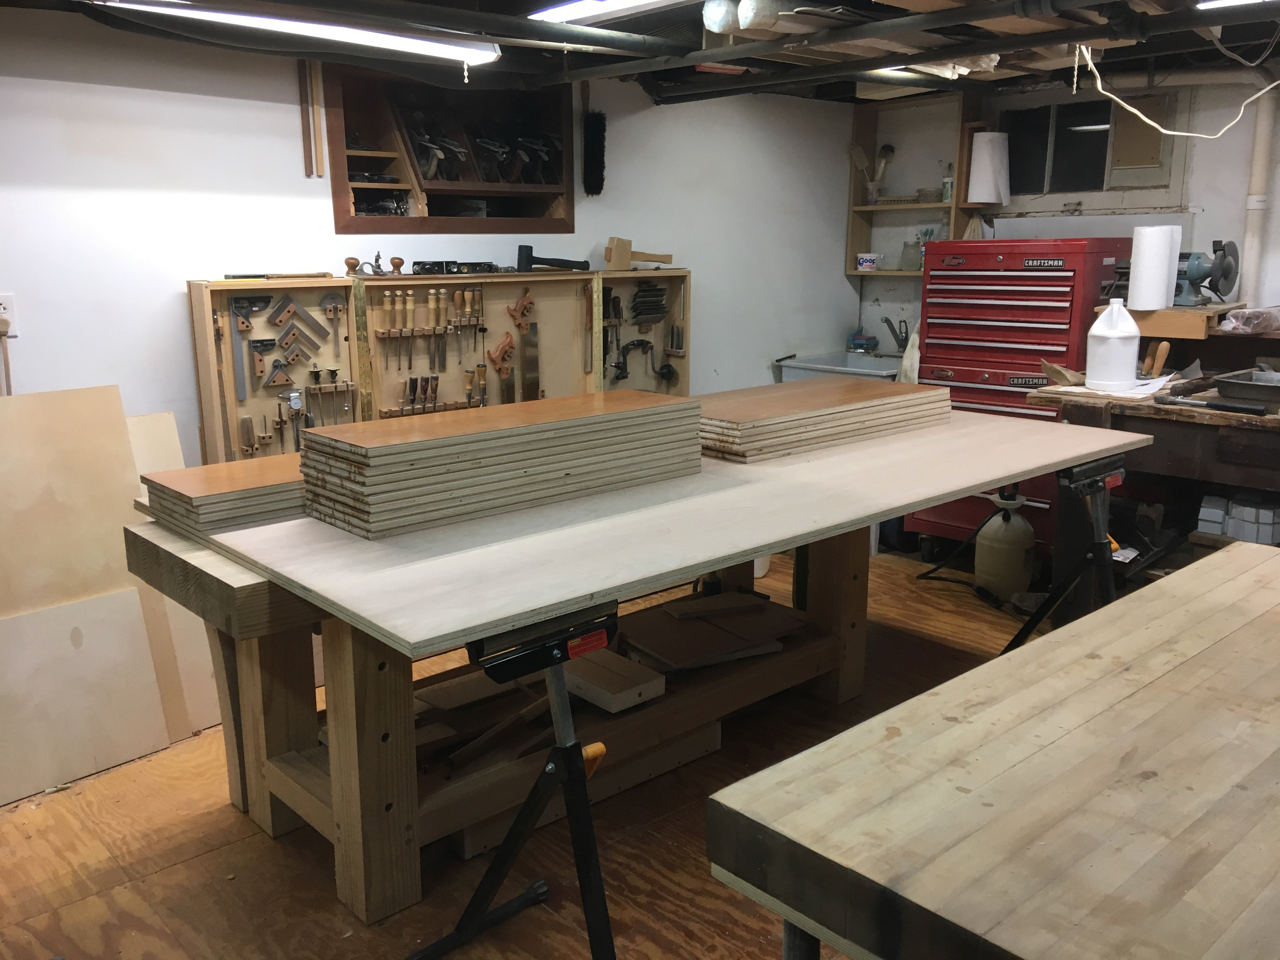
After considerable calculation and re-measuring (measure twice…or more…and cut once), I cut the sides of the bookcases to length (note on the left how the long panel rests on the chop saw station’s long table).
My chopsaw station is the same height as my table saw (which is the same eight as my infeed table, and outfeed table, and workbench…). That made it easy to use a stop block on the chop saw station to cut all the panels the same length.
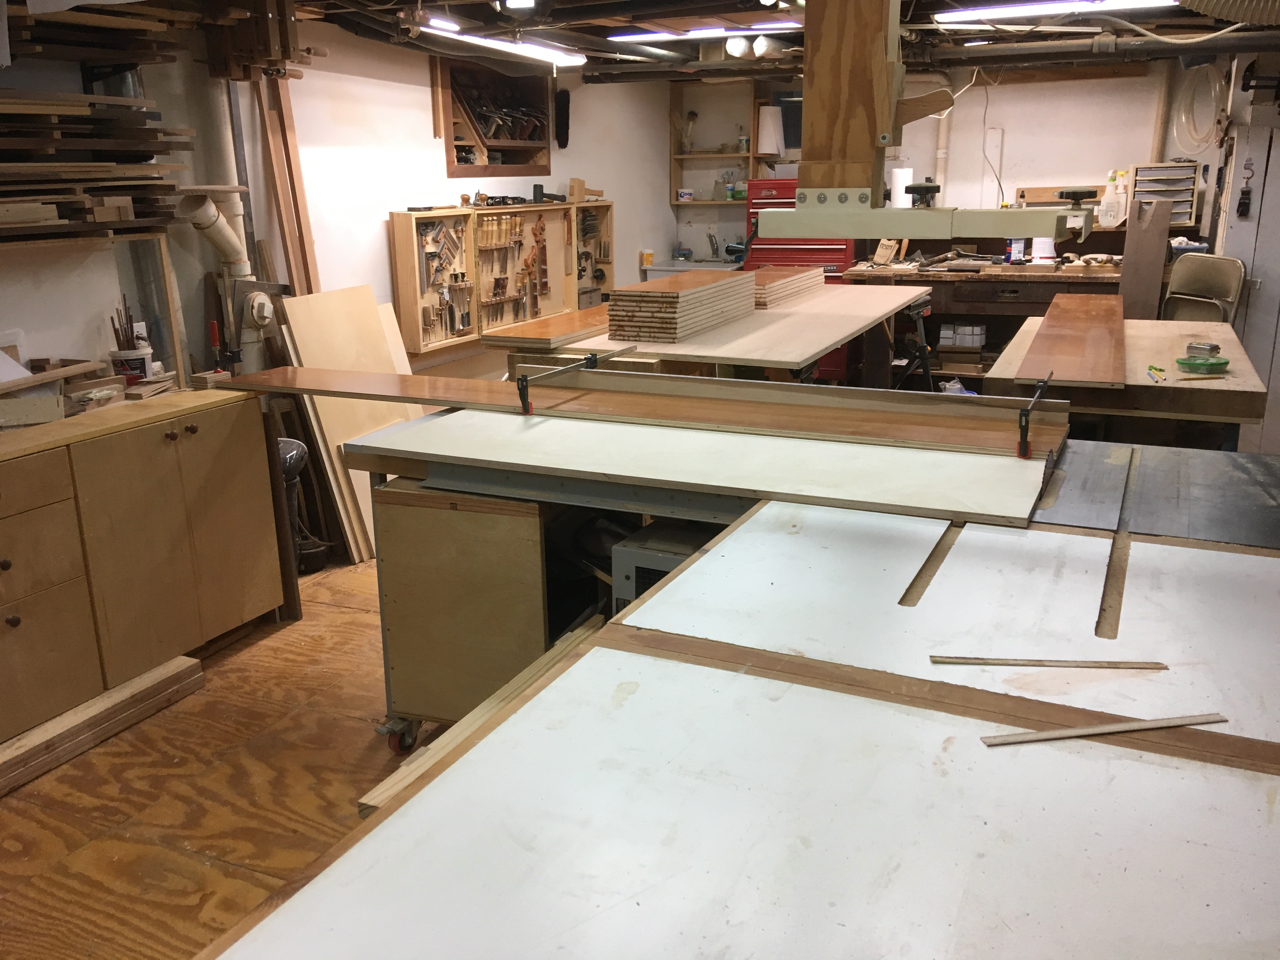
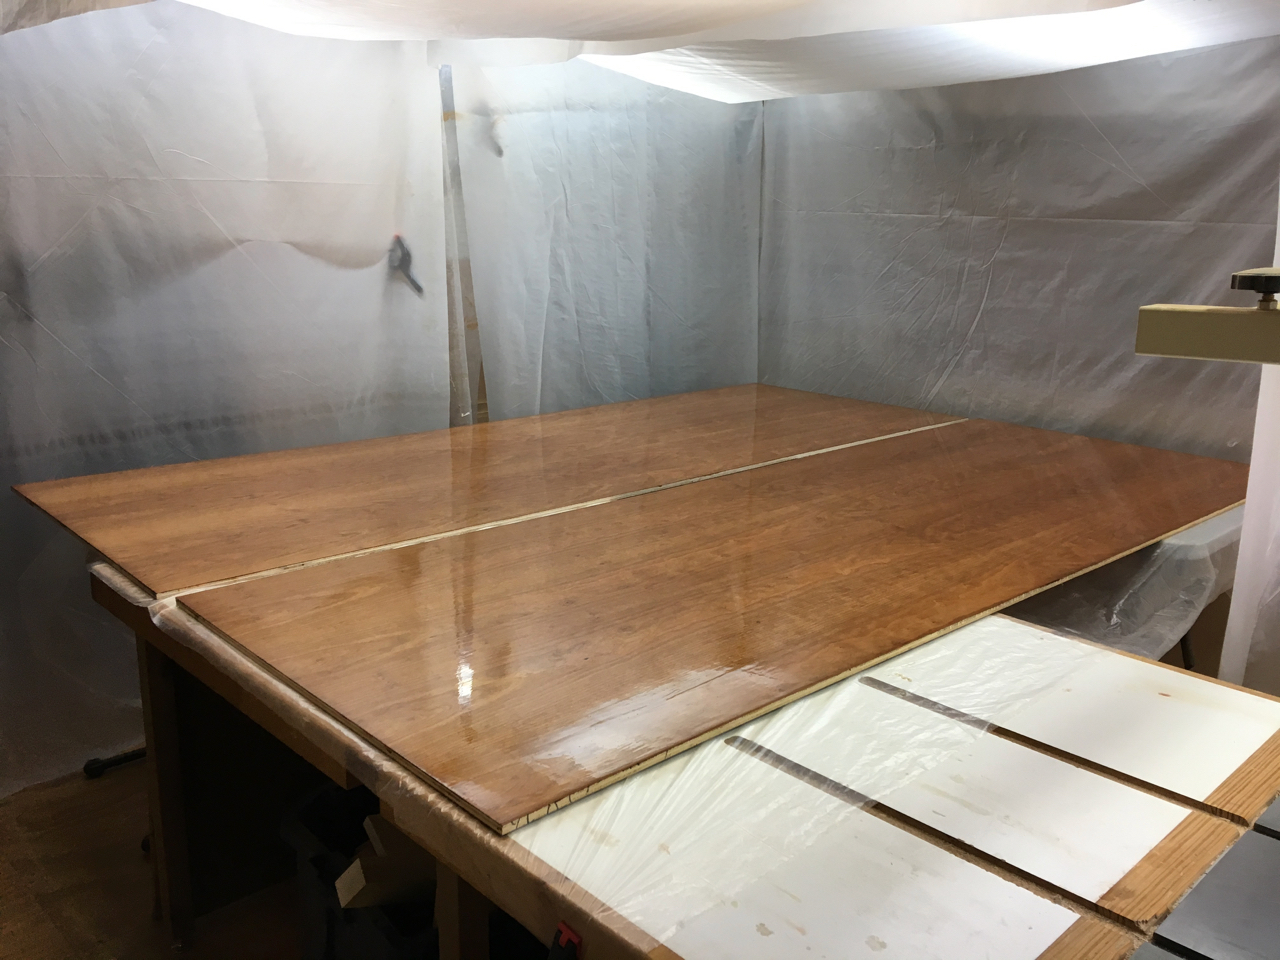
Finish the backs
And now for a few gratuitous finishing shots.
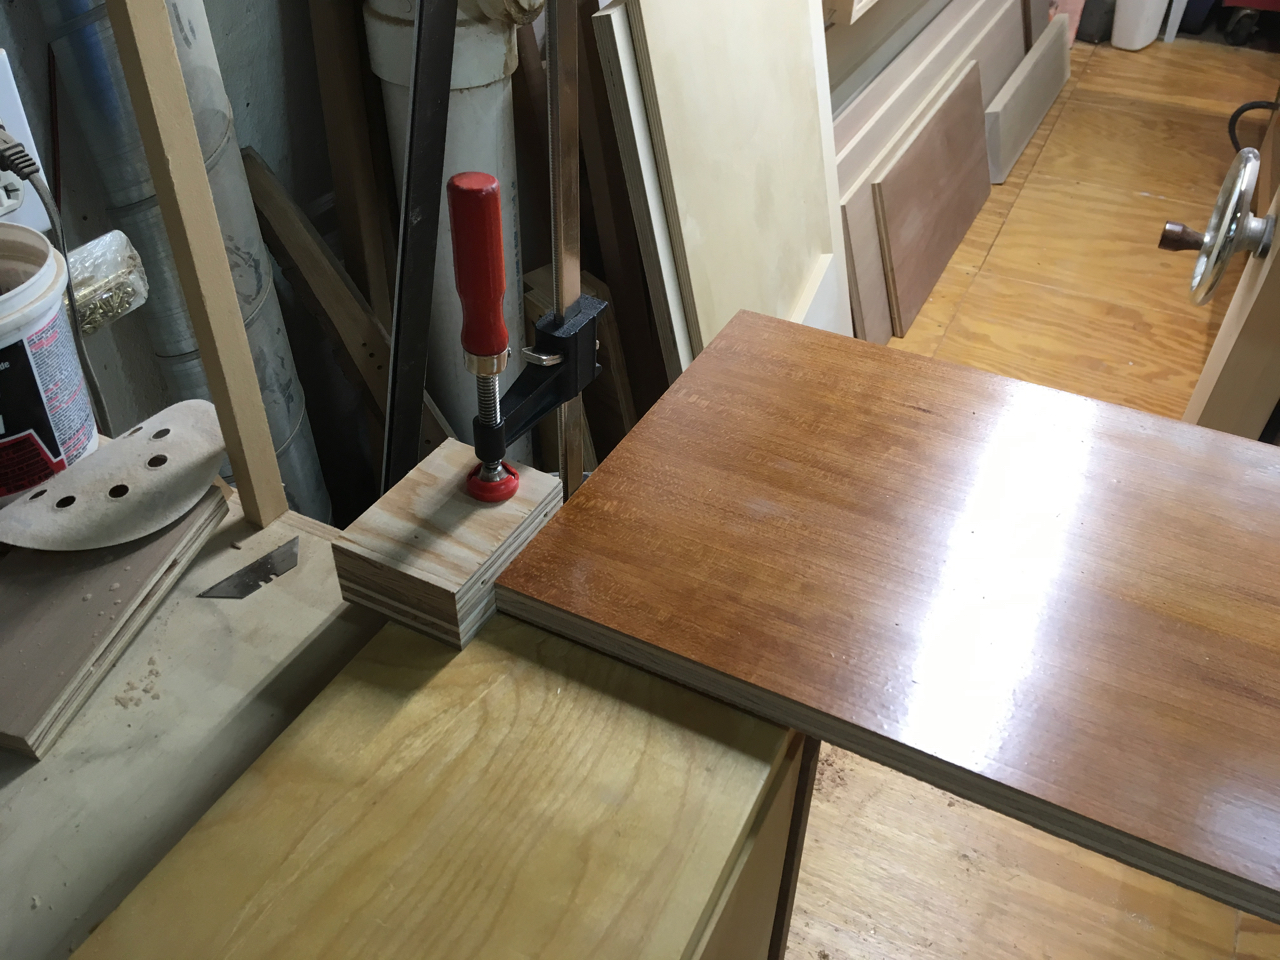
Work to Avoid Warp/Bow in Tall Cases
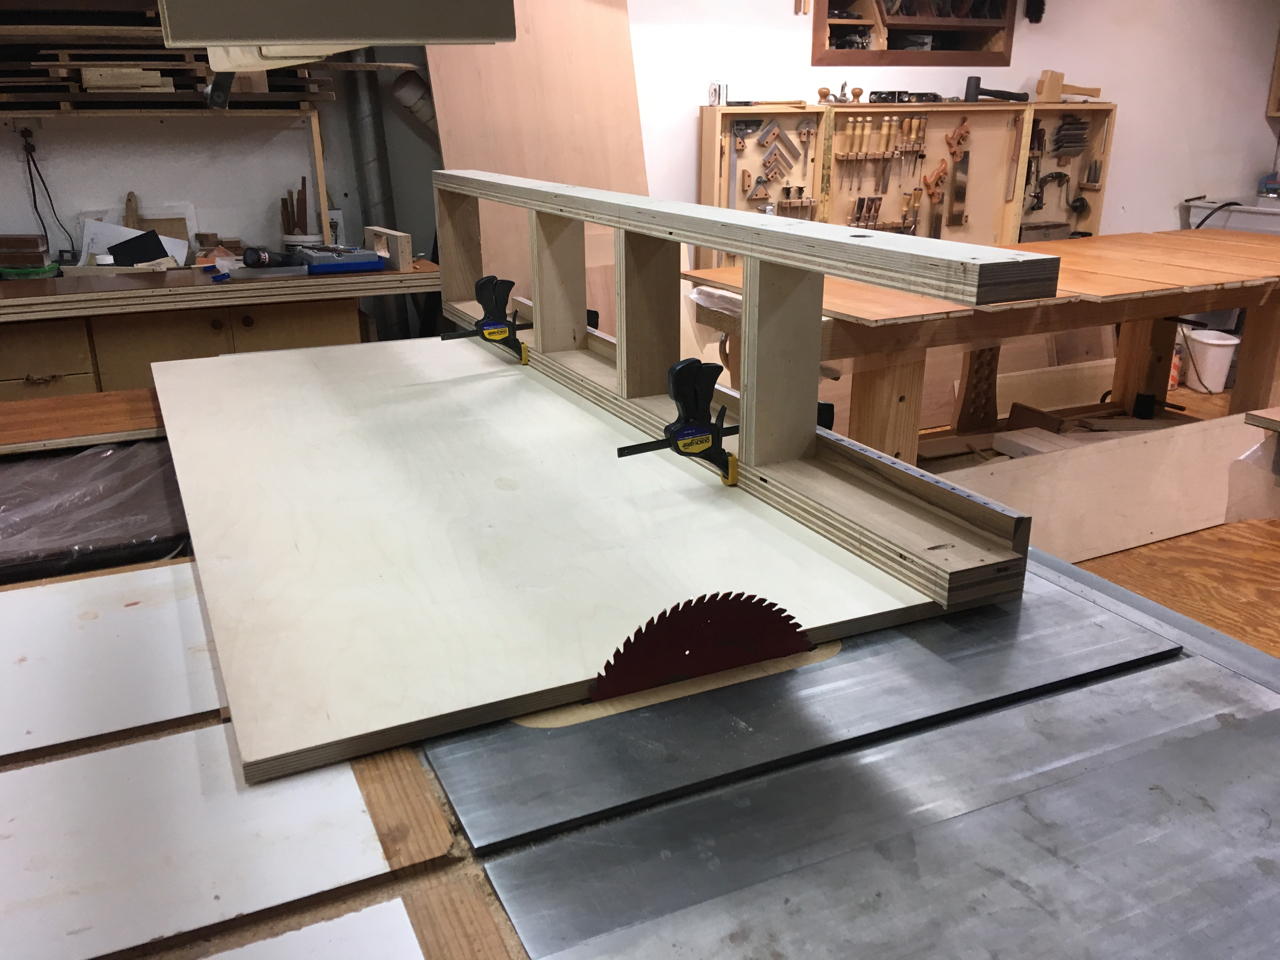
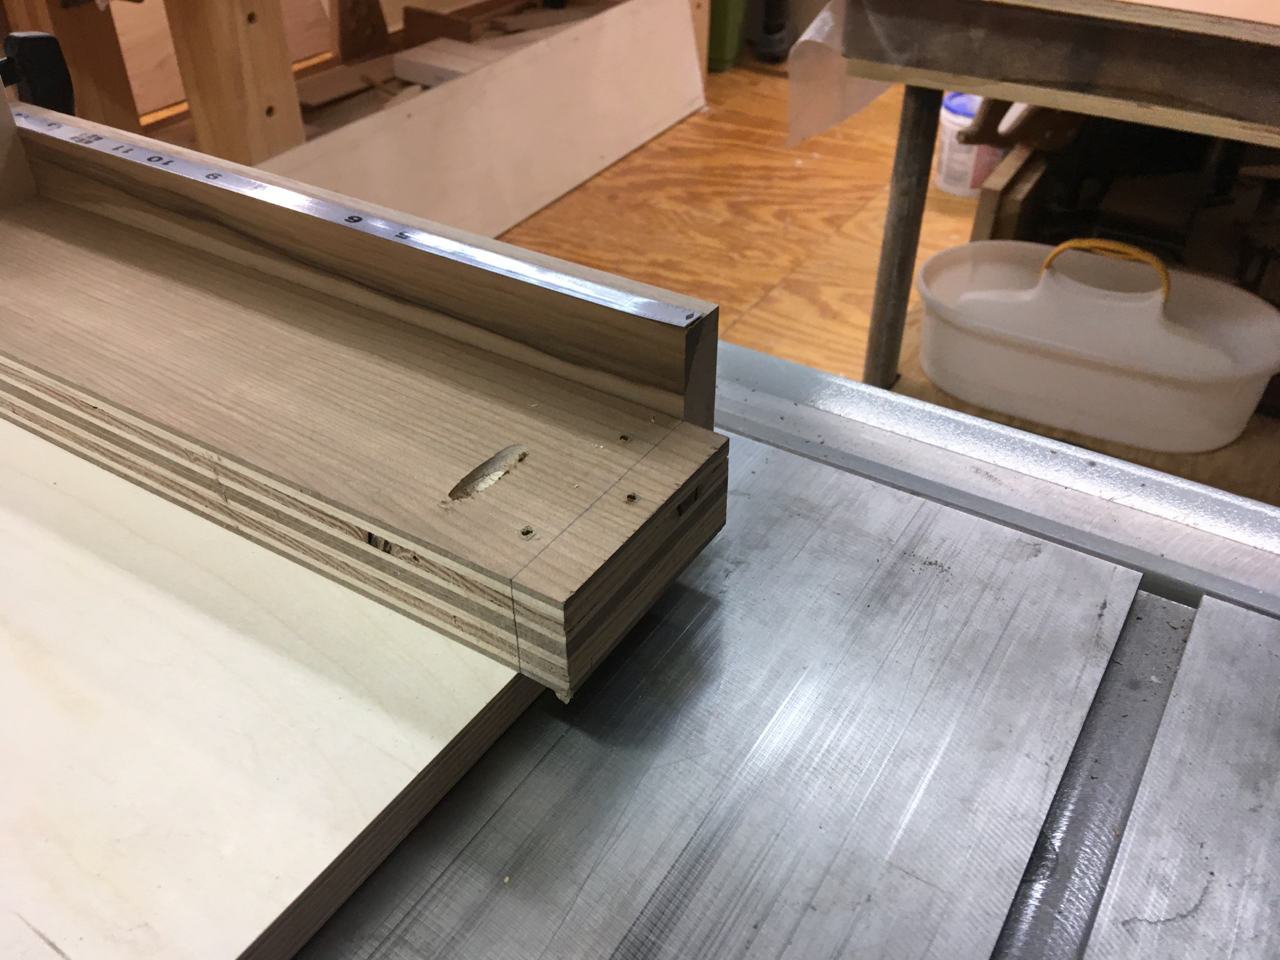
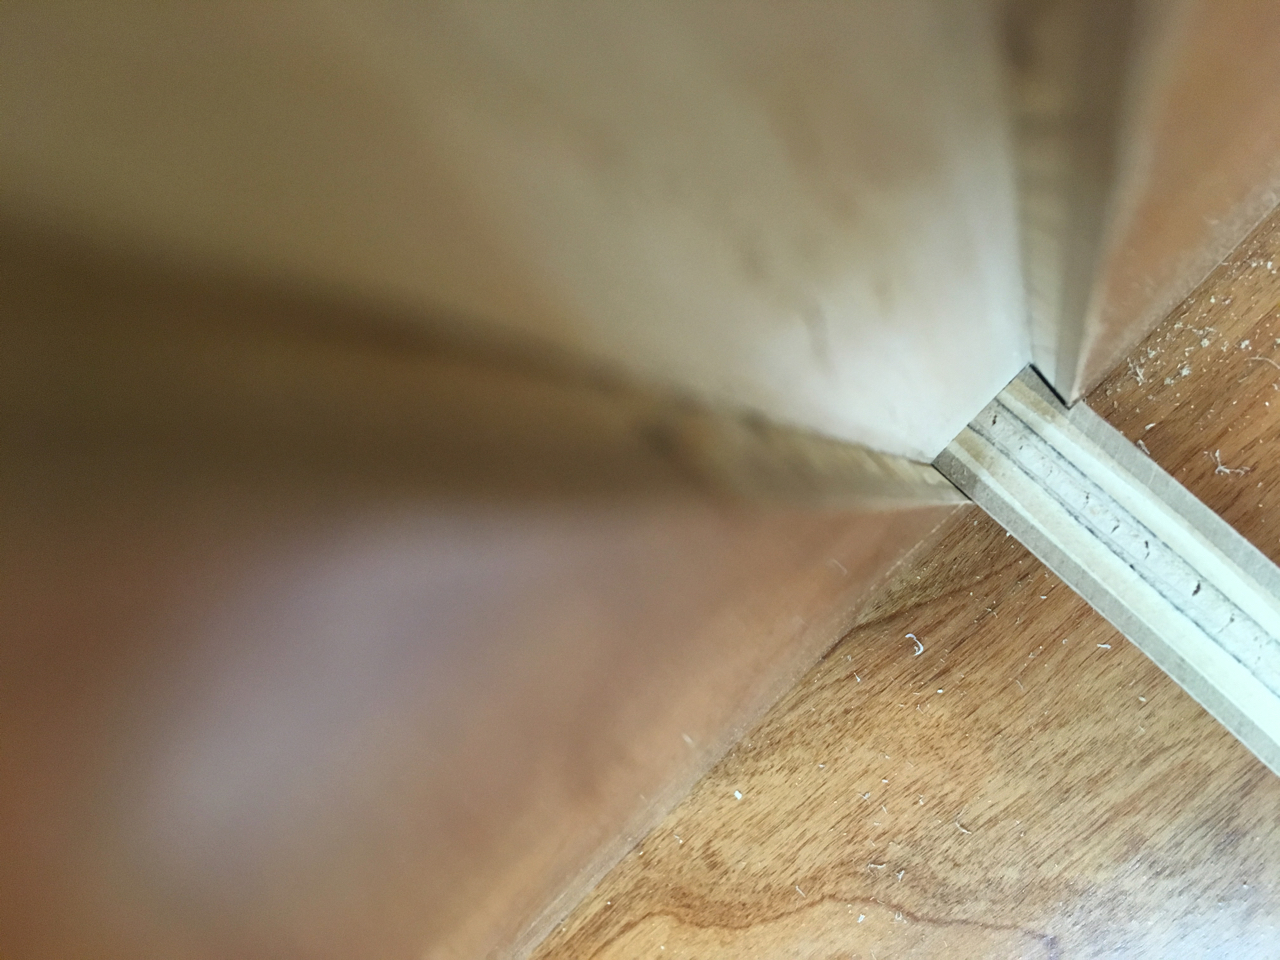
There is a fixed shelf about halfway up each bookcase, to help with rigidity and strength. The left side of the left bookcase is a show face, so I can’t put screws through that side. To help keep that side from bowing out over many years, I decided to mill a slot with a half-dovetail on the bottom side. And if doing it for one, why not do it for all?
That led to a jig and a lot of careful work.
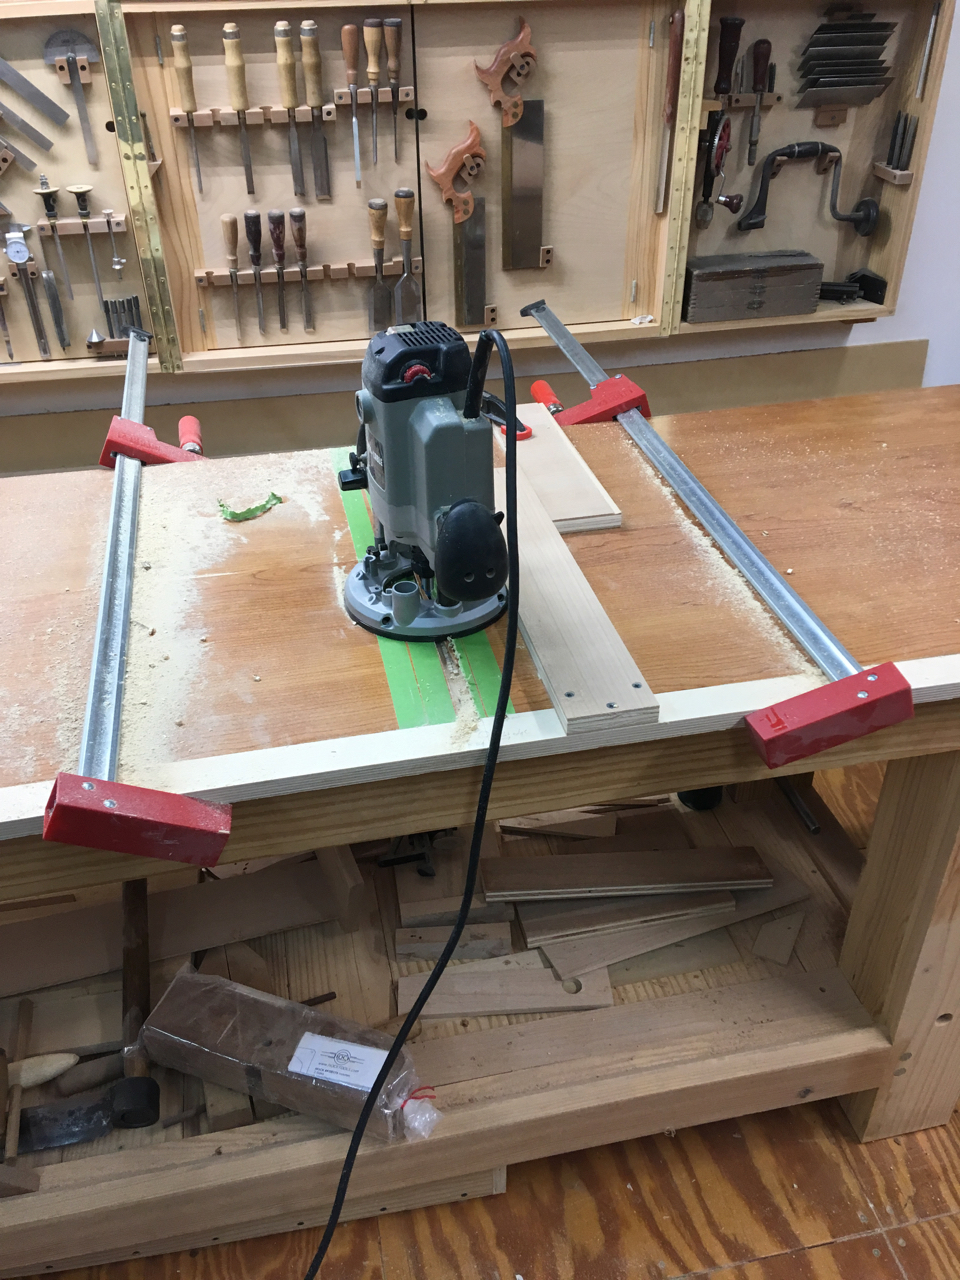
I was concerned about possibly ripping apart the show face of the parts, but everything went well.

The angled side of the bottom of the slot (on the right in the picture below) means as weight sits on the shelf it will pull the side inward, helping to reduce the risk of that side bowing out.
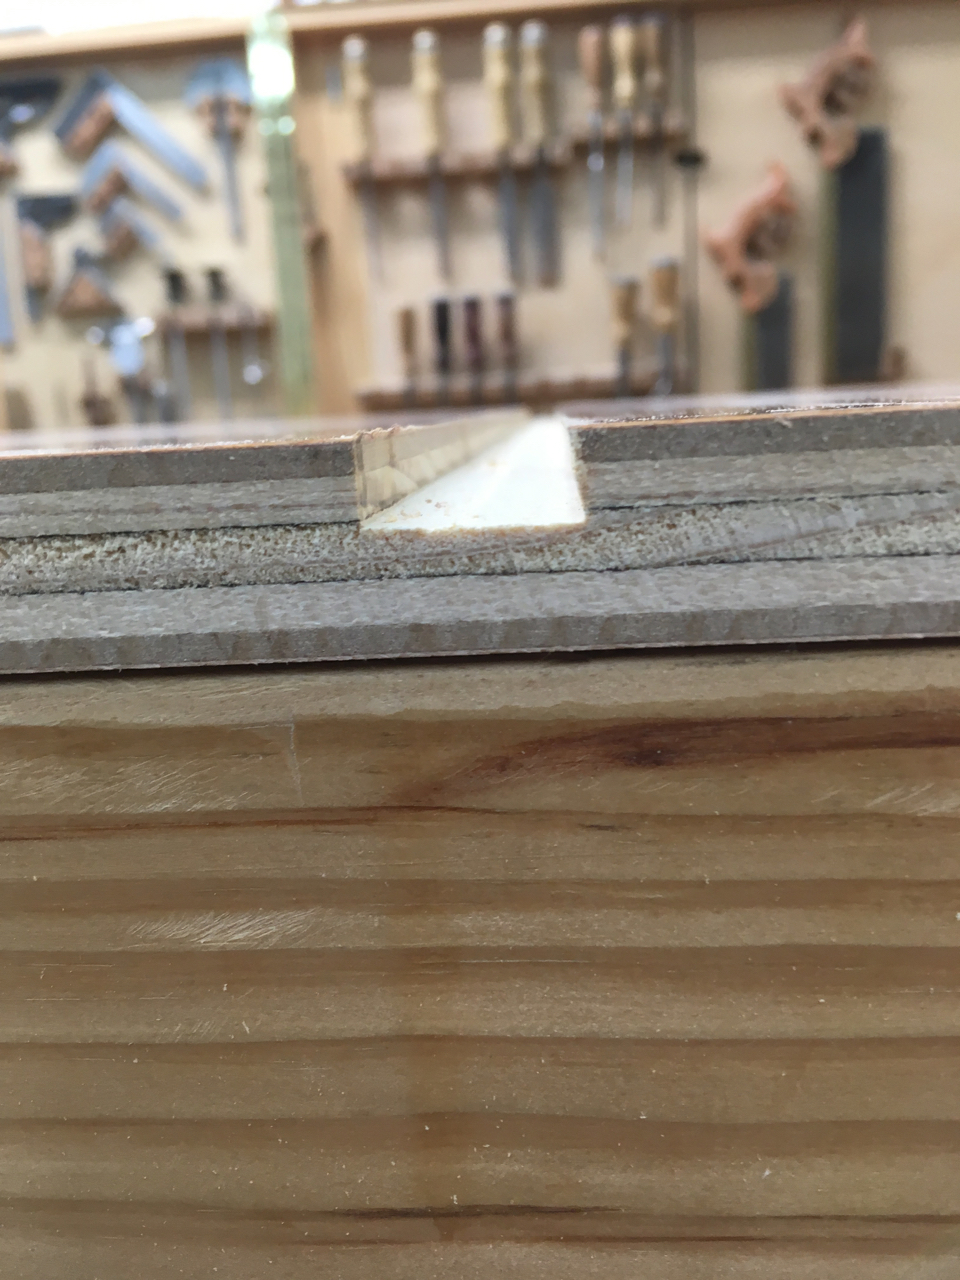
Why a half-dovetail instead of a full dovetail? It’s way more than twice as easy to fit and serves the purpose here.
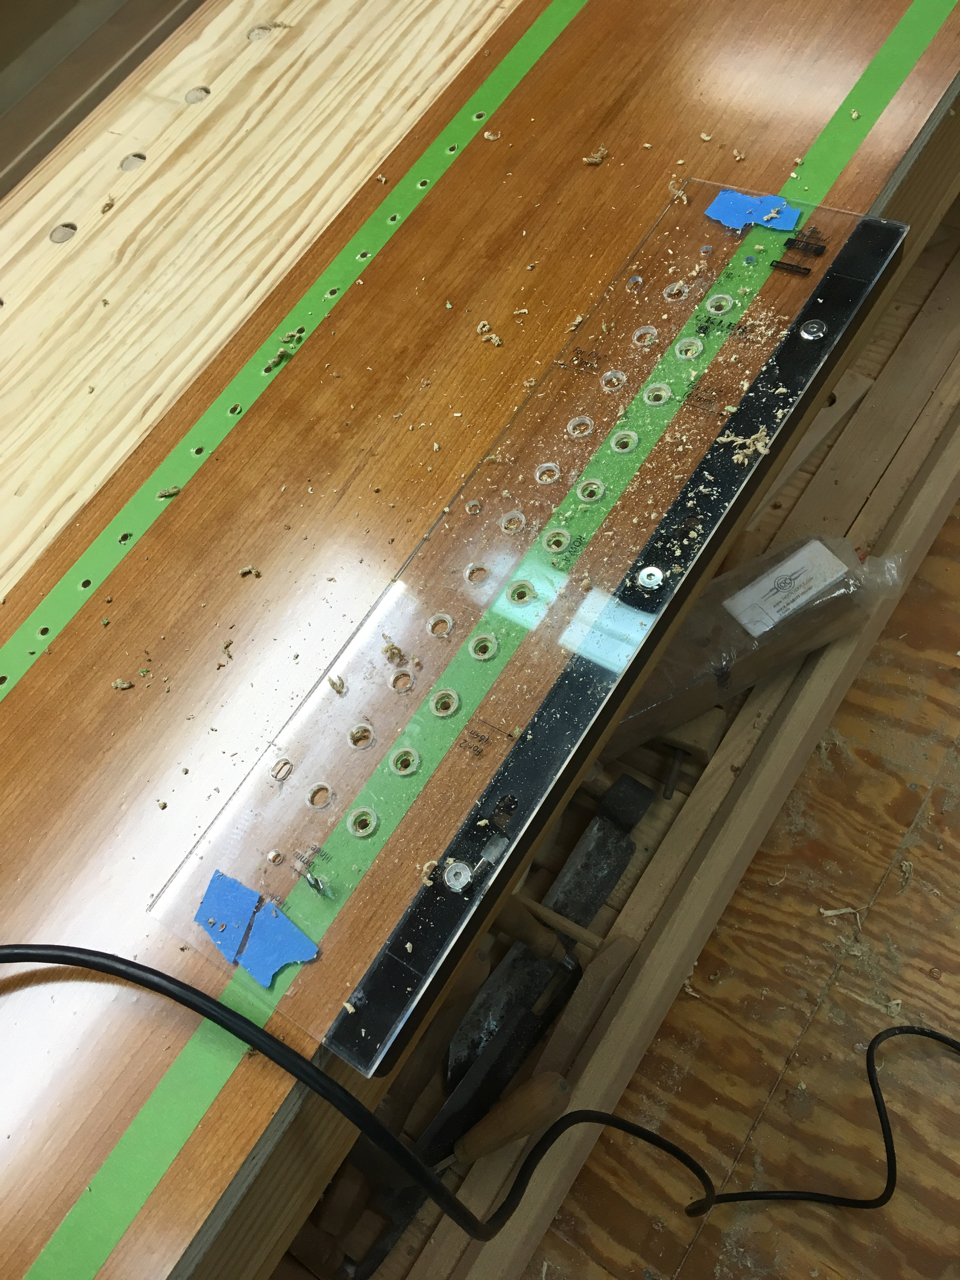
Drill for Adjustable Shelves
Then I had to drill holes for the adjustable shelves.
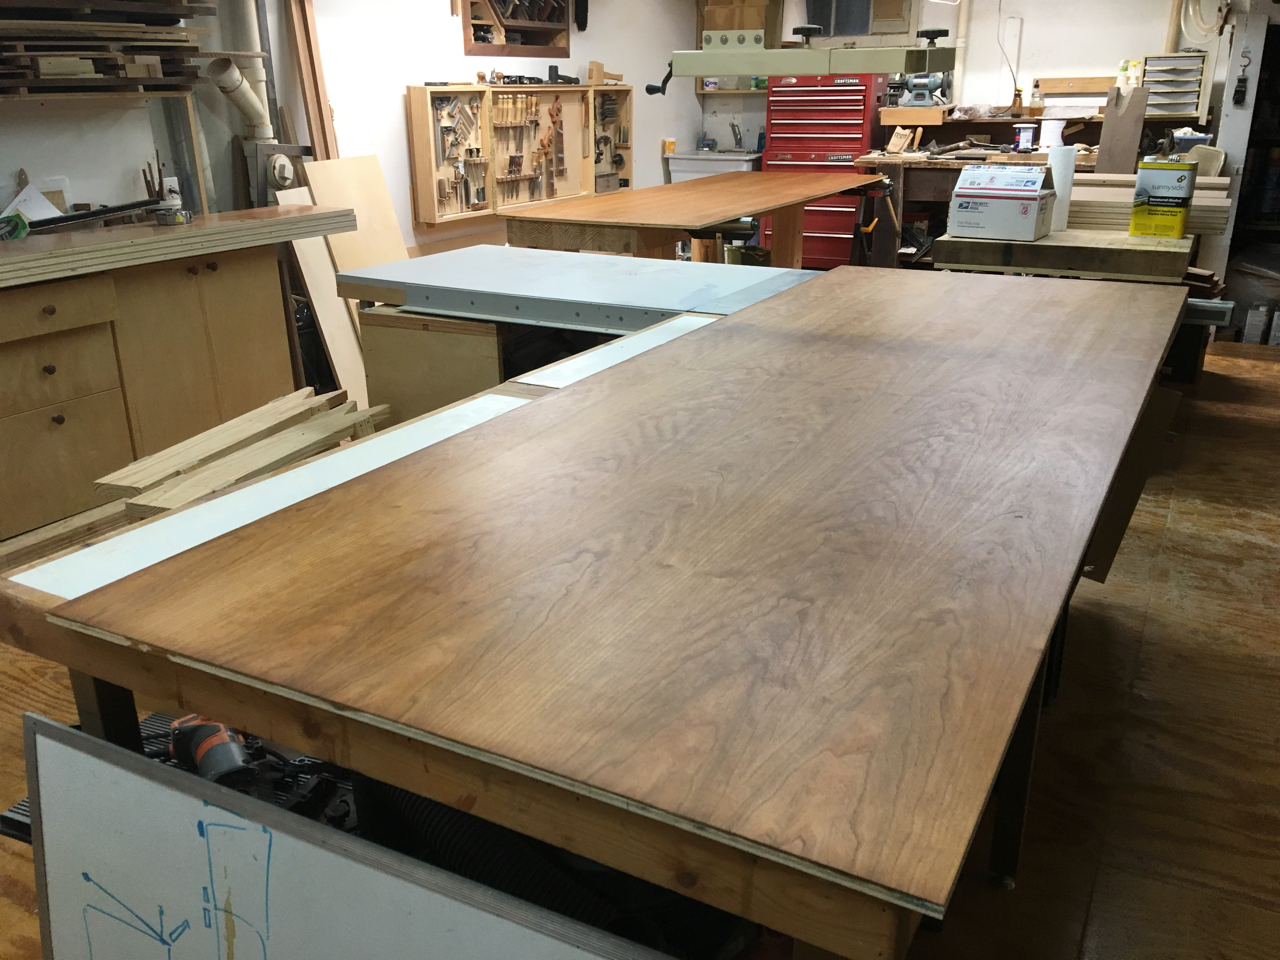
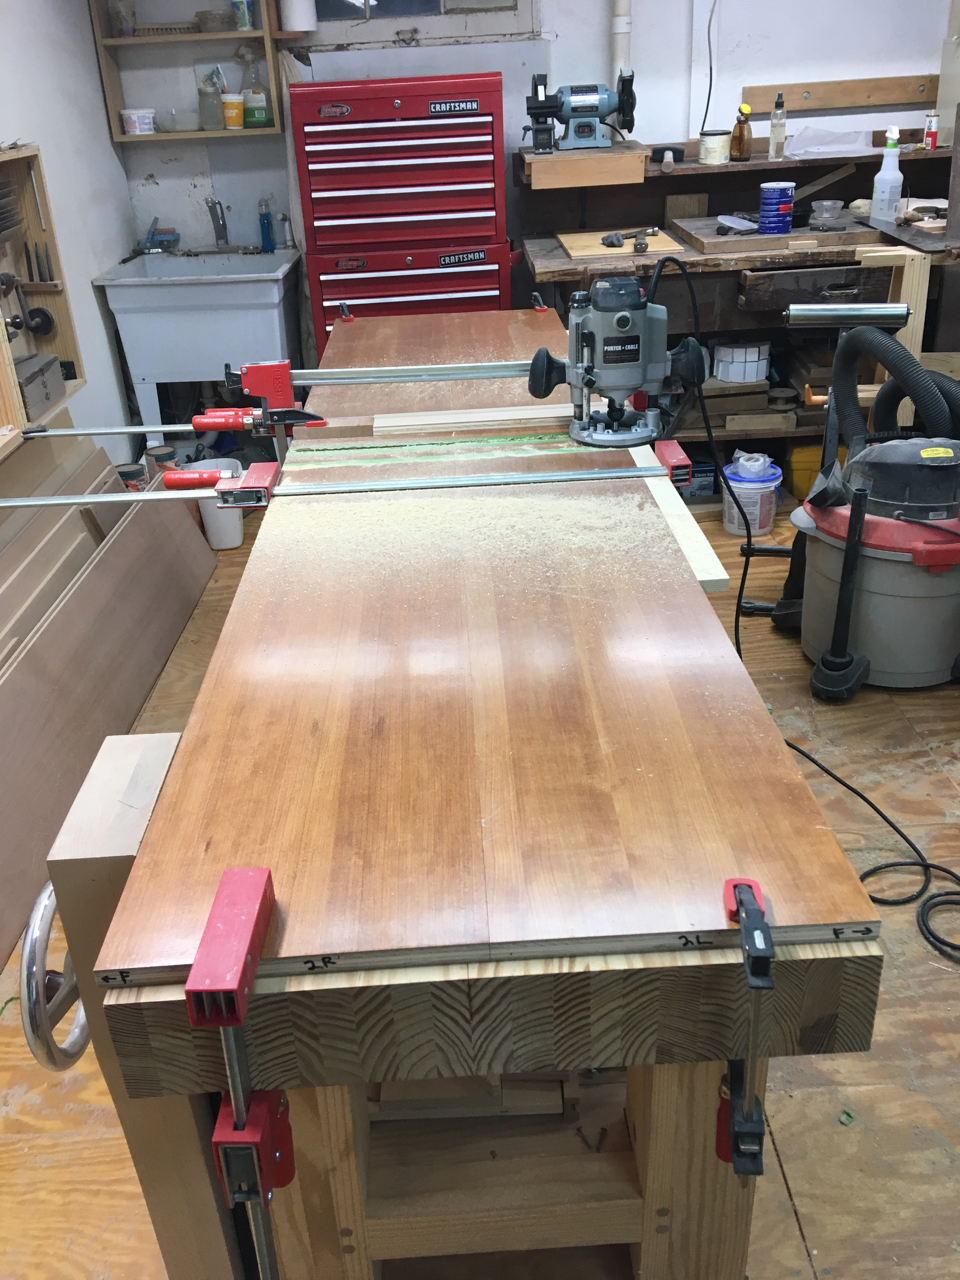
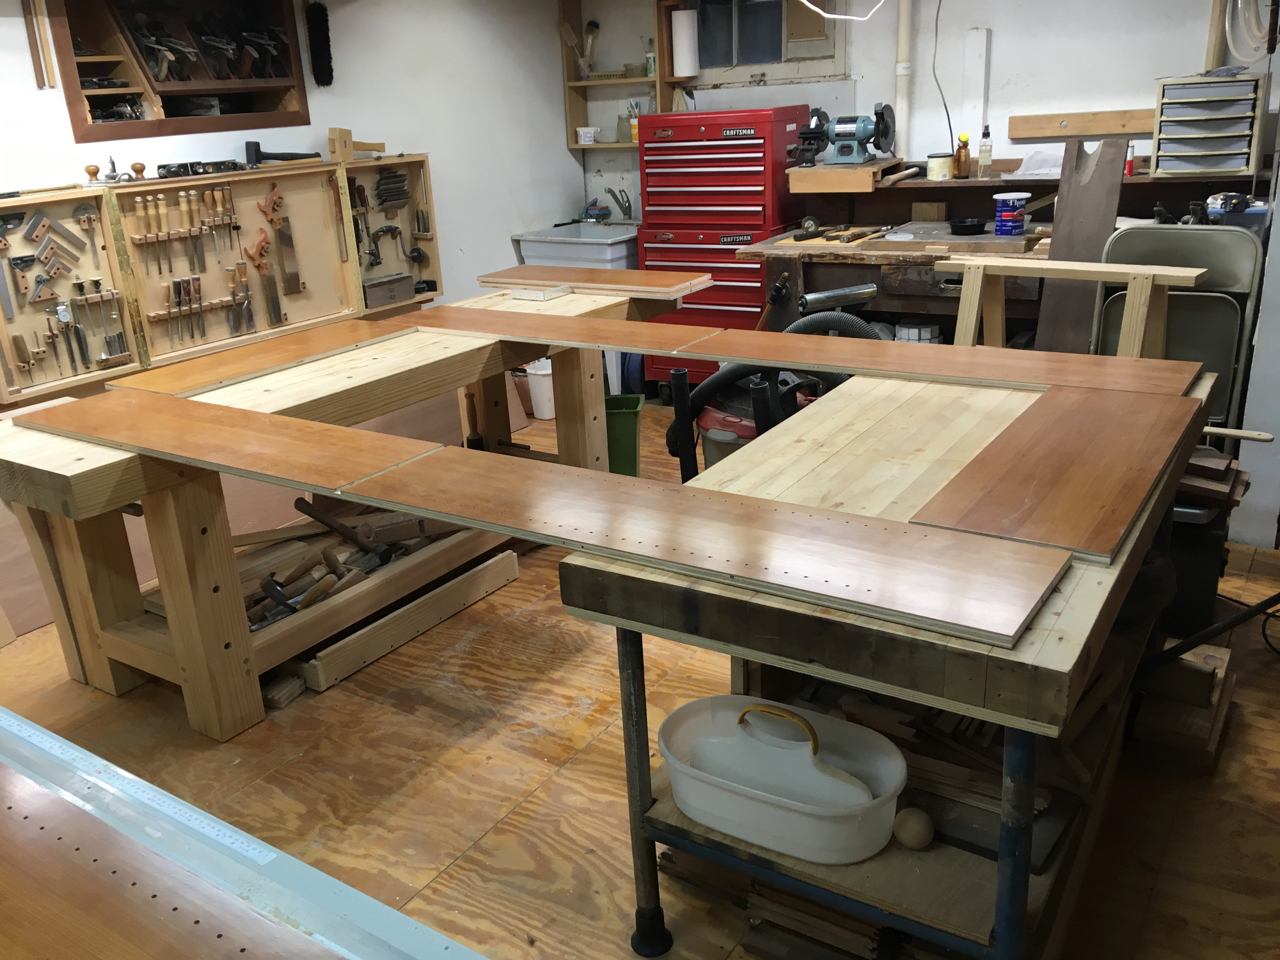
Assemble Cases
Finally, it was time to assemble the cases. I laid out the parts, and with much careful work assembled each case.
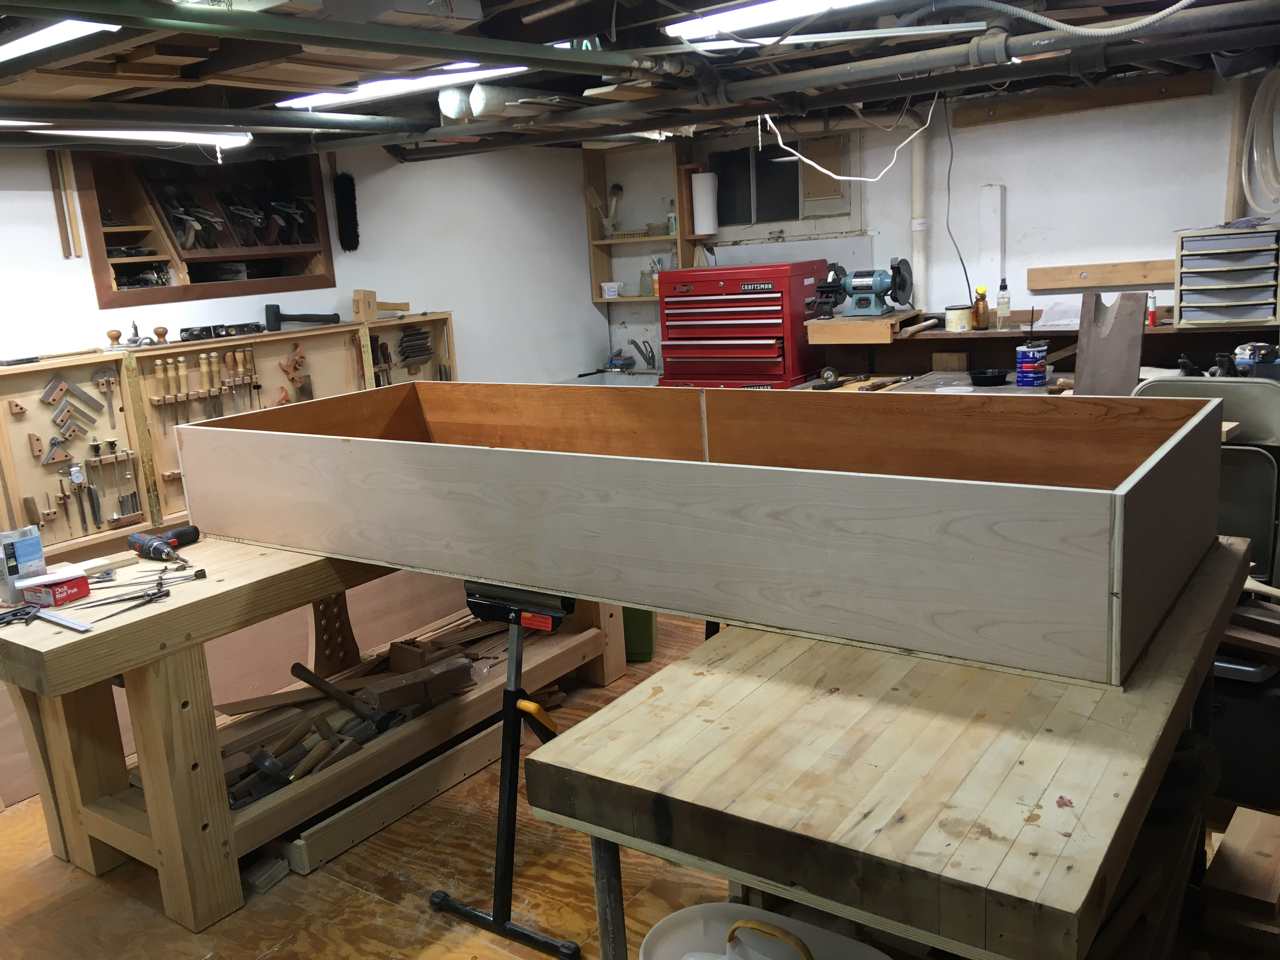
The last thing on each case was to cut and insert the fixed shelf. A cutoff from a shelf acts as a stand-in for the full shelf, to let me cut to the proper length and get the fit on the half-dovetail tight but not too tight.
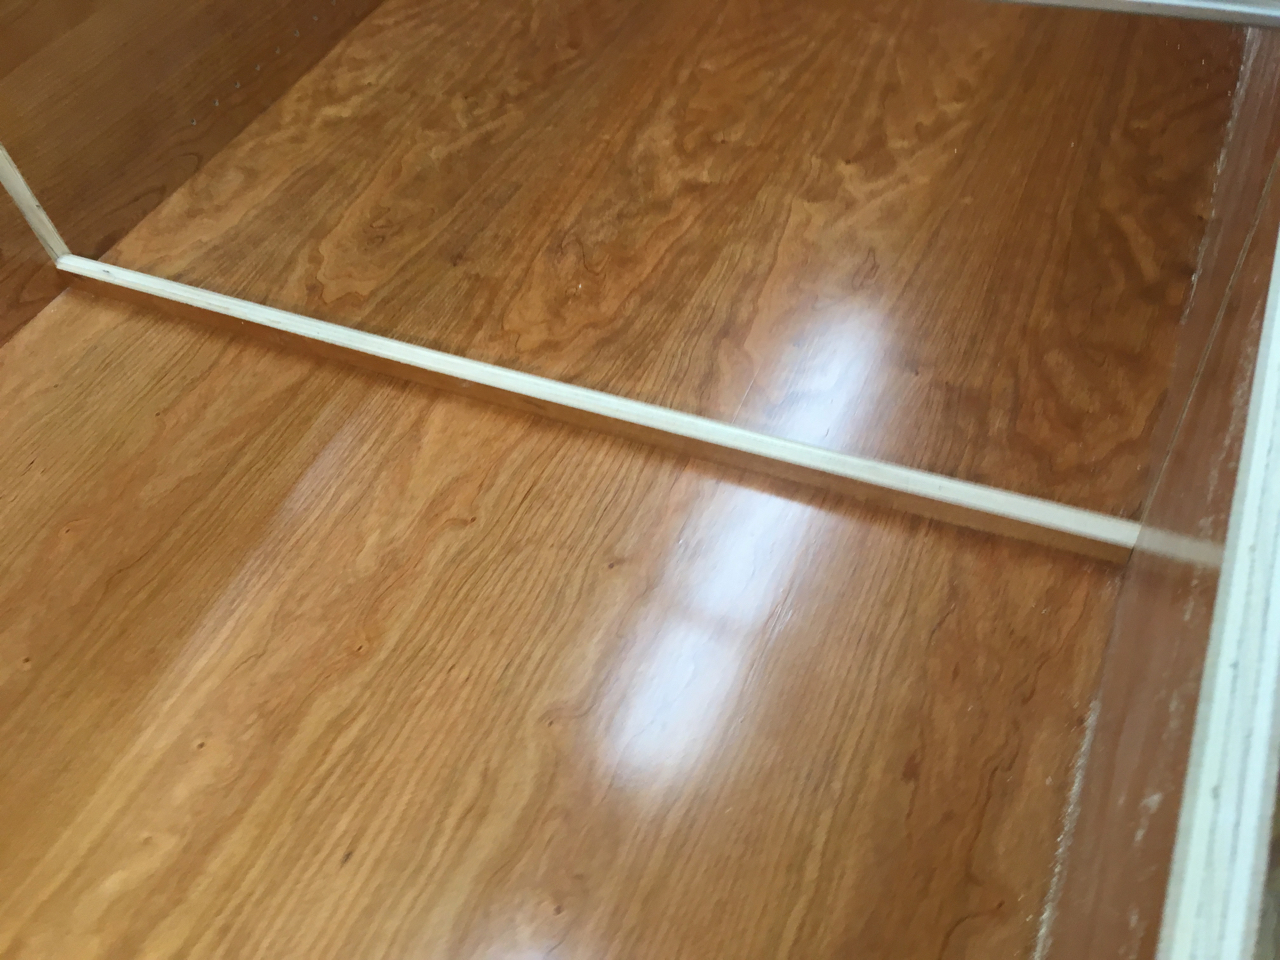
While the jig was quite good, there were still tiny variances. I discovered this while fitting the first case, and realized I’d have to fit each slot individually. Thank goodness there were only four sides to fit. It was very finicky to get things to fit just right, so the shelf could be ‘encouraged’ into place without sticking and without being too loose. This picture shows a fit that is too loose, making me very glad I’ve learned to use test pieces and test fits. This led to much more care in fitting them.
Today I assembled the second case, which went much, much faster than the first one.
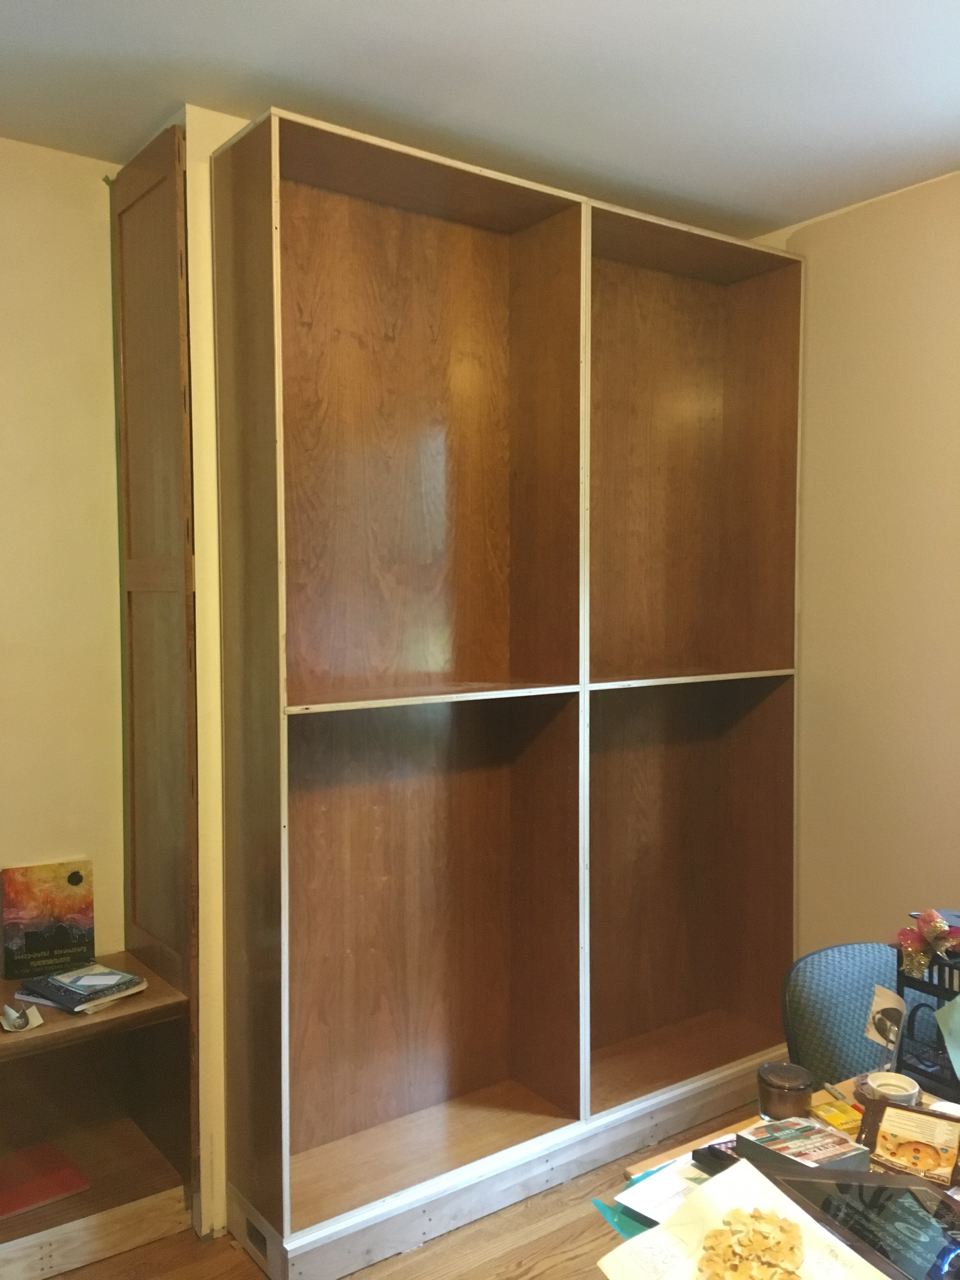
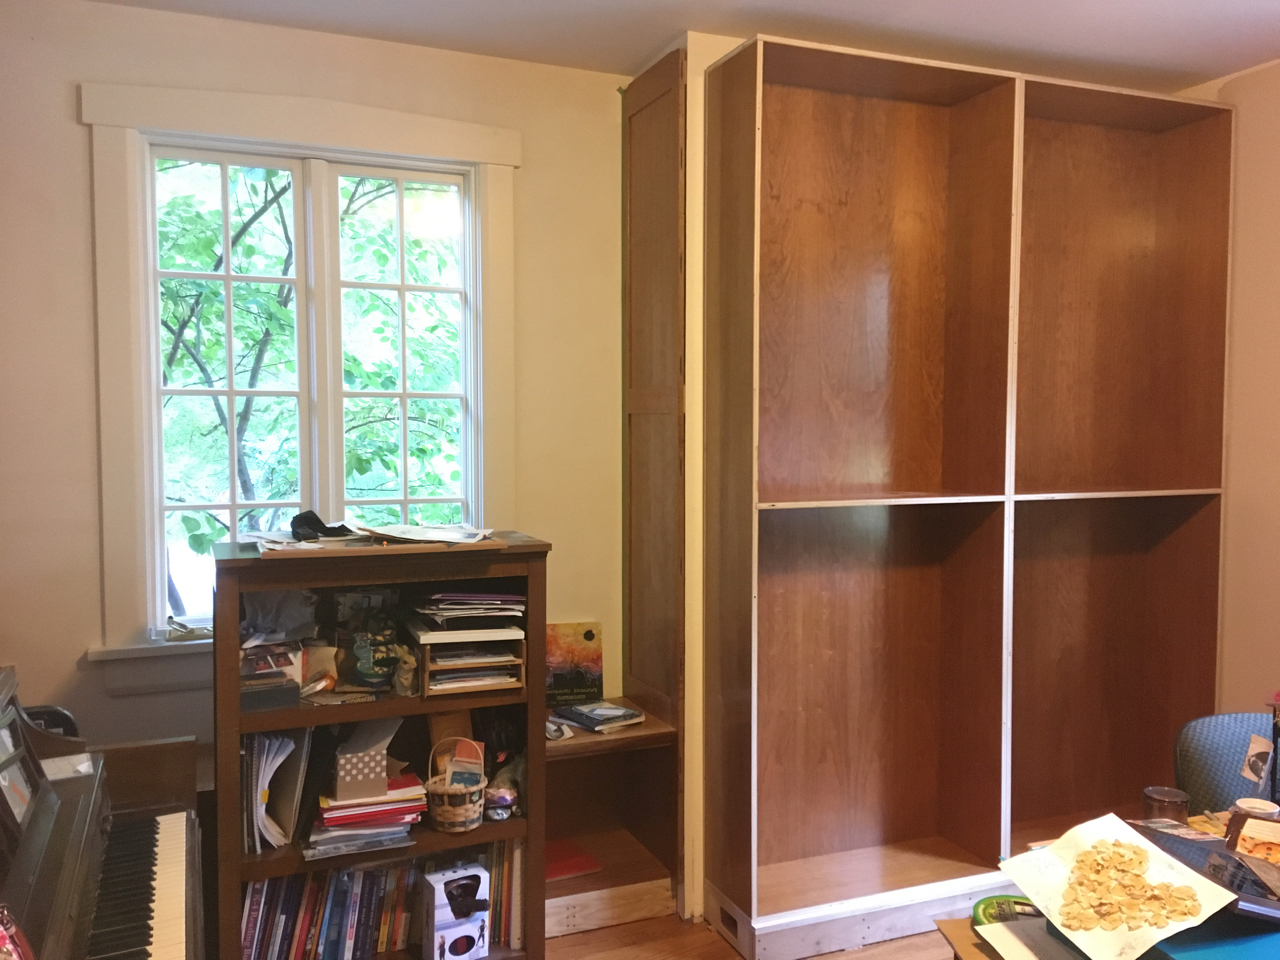
Move the Cases Into the Room
Thanks to help from my buddy, Ray, the final two cases are in place. There’s a fair bit of work left, but I’m happy to have completed all the major case work.