I skipped posting about the finishing of the panels. Nothing new to see here…move along. Today I found time to touch up the wall paint in the room and then tackled installing the panels.
I didn’t realize it when I started this project, but this was quite likely the most complex part of the whole build. The doors were pretty involved because you see both sides of them, but even so I think this is more complex, due to the relationship between the panel, the slab and the cabinet below.
With the panels fully finished, I started by making and installing the uppermost supports for the panels. I failed to take pictures of them (you’ll notice this as a theme with this post) but did capture when I installed the bottom and middle supports.
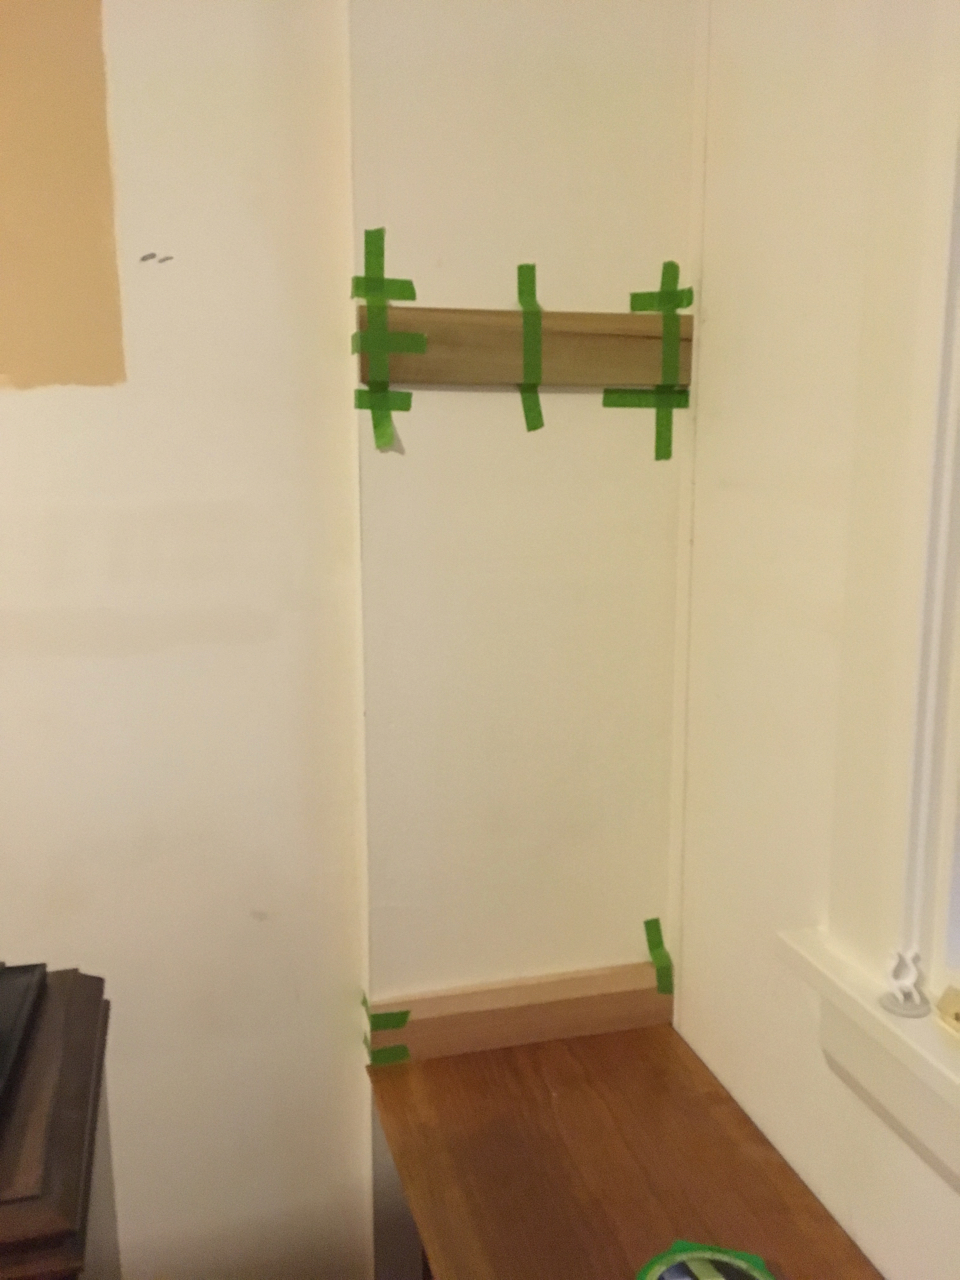
(no, the supports aren’t crooked. It’s the camera angle. As I’ve worked on this project and blogged about it, my appreciation for those who photograph woodworking projects under construction has increased by several orders of magnitude…) The upper supports are similar just up near the ceiling.
Each support was unique. The walls have bow and curve your eye doesn’t see, so I had to carefully measure and fit each one.
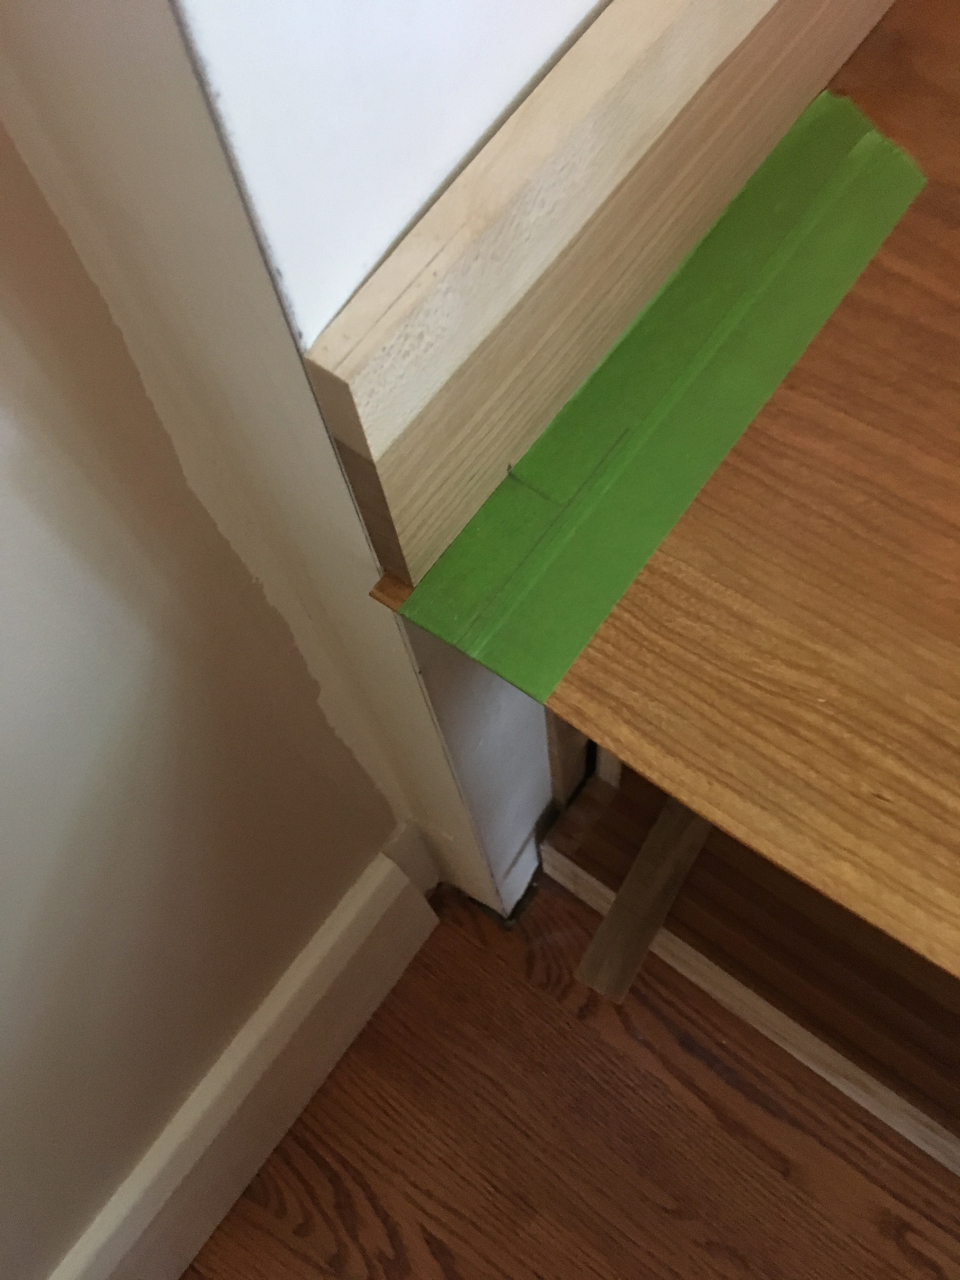
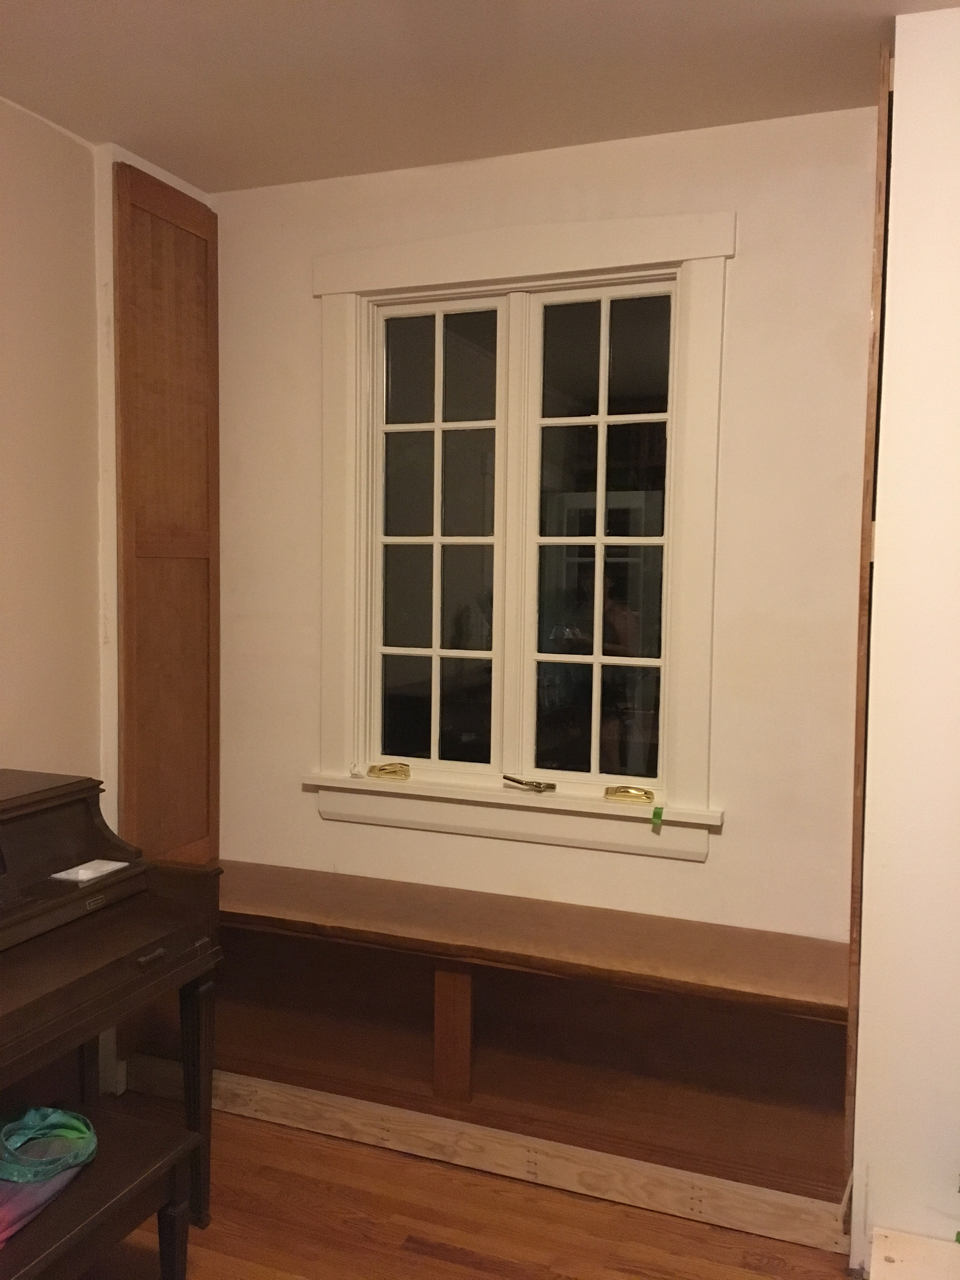
To start installing the panels, I taped off the top of the window seat slab so I could mark where to notch the front. The front has to be notched to let the front stile (the long vertical piece) stay wide enough to not crack or break. I used green tape to let me mark the line and to reduce tearout along the edge when I cut. I started with the left side and took a picture before any cuts. I marked a line just outside the panel and marked approximately how deep the notch needed to be.
I then failed to take more pictures of the left side, so now we get to see the right side 😀. As with the left side, I laid down green tape and set the panel on top, making a mark with a sharp pencil. I then cut the front of the slab, leaving the line. After cutting carefully with my crosscut saw, I started chiseling away the edge of the slab.
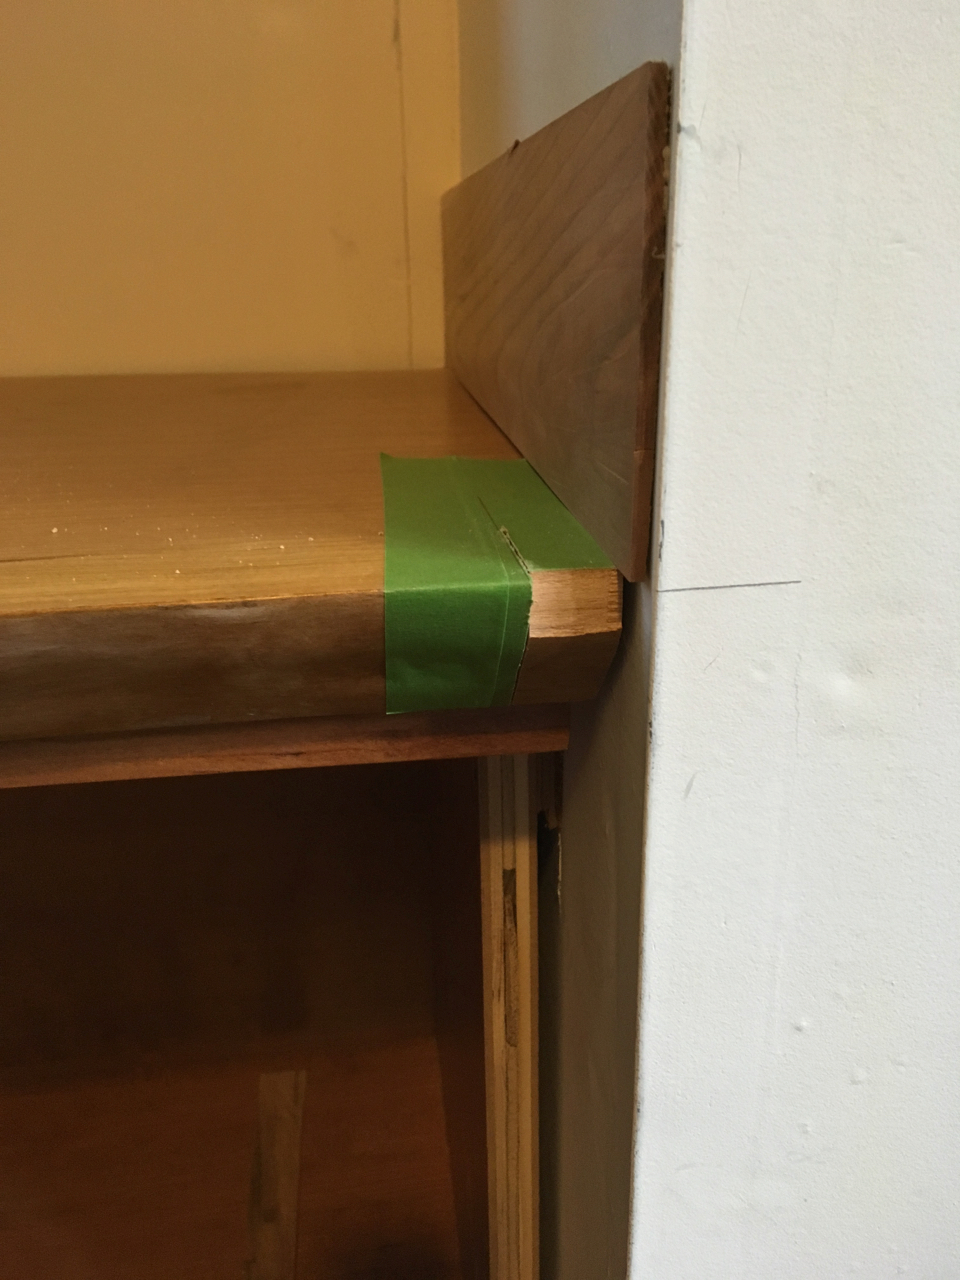
You might now appreciate some of the complexity of this part of the project. A mistake here could involve a lot of work to hide that mistake, assuming it didn’t ruin the slab (a thought always in the back of my mind).
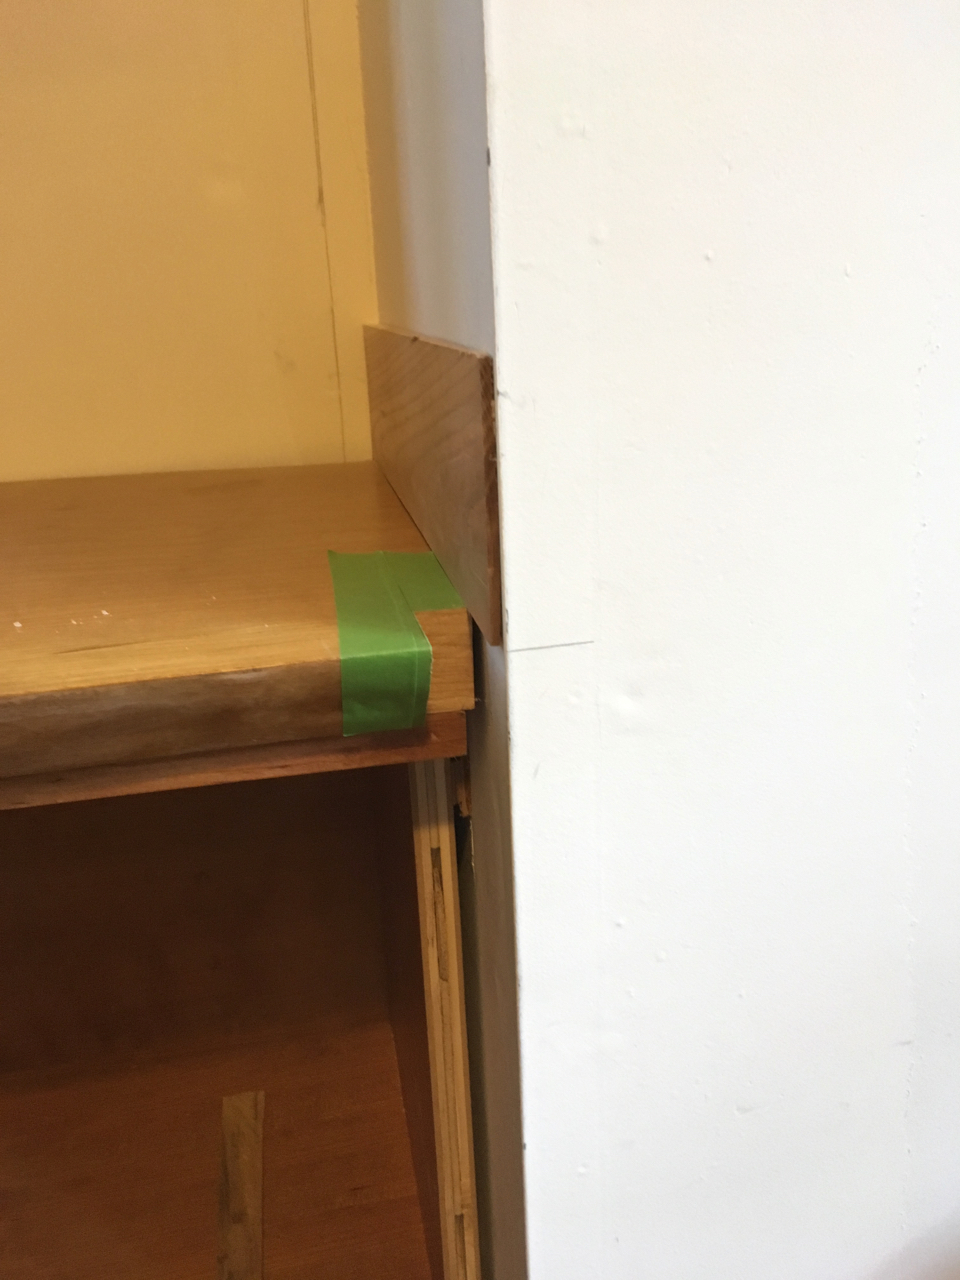
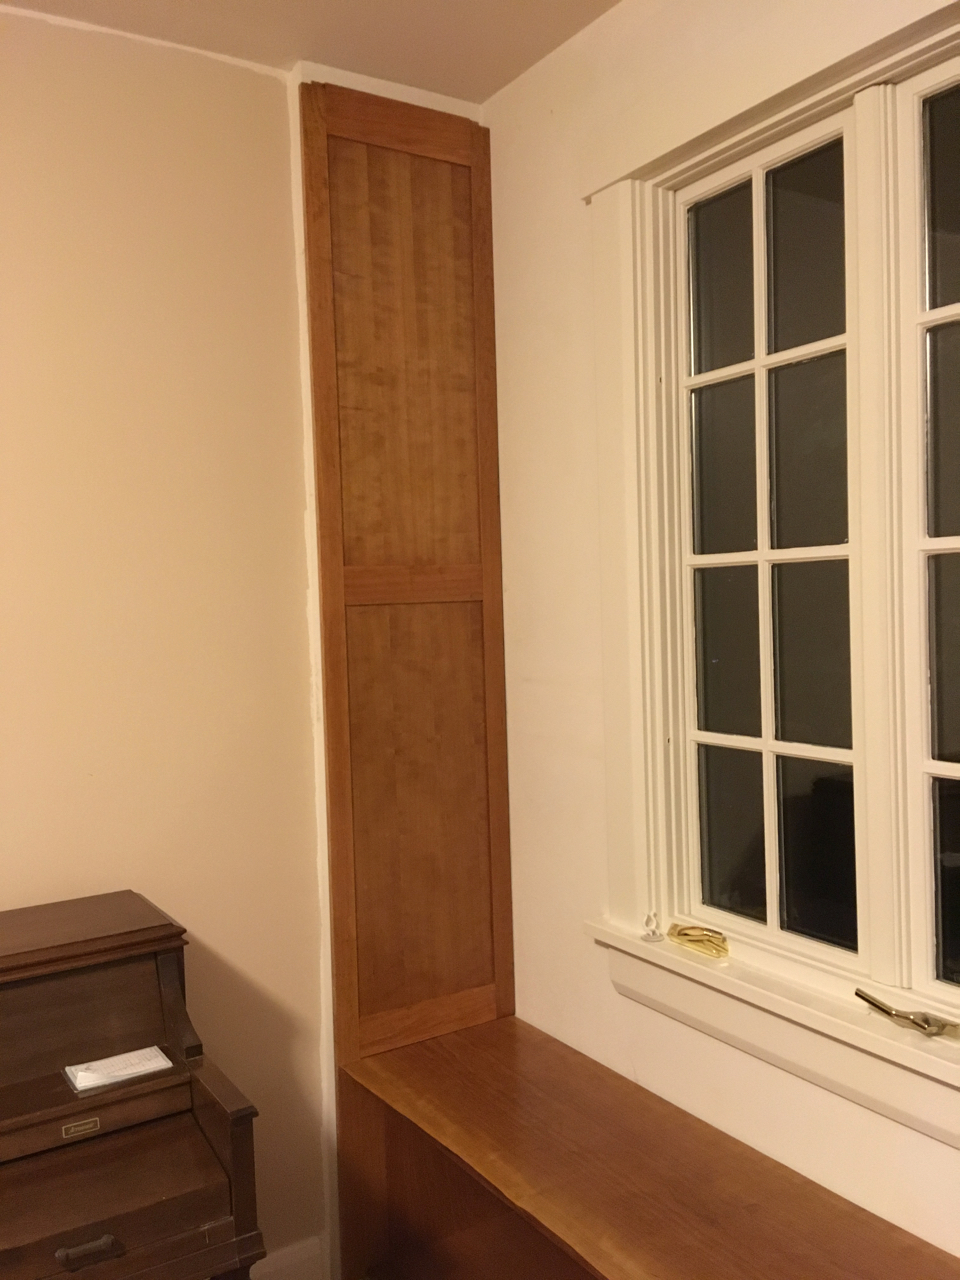
Once the work was done, I had a notch that would accept the panel, allowing the bottom of the vertical stile to fit firmly against the front of the plywood edge of the cabinet.
Fitting the panels was easy and hard. The left side went in pretty quickly with only a few fine adjustments. The right side didn’t want to cooperate and took considerably more work. The inside face of the stile wasn’t flush with the inside of the cabinet. I had to shave the side of slab notch to let the stile move left and finess things with some shims, but it worked out in the end.
The entire process couldn’t have been done without the help of both Elizabeth and Teresa, who endured my intense focus on the job with good humor.
The results are worthy.
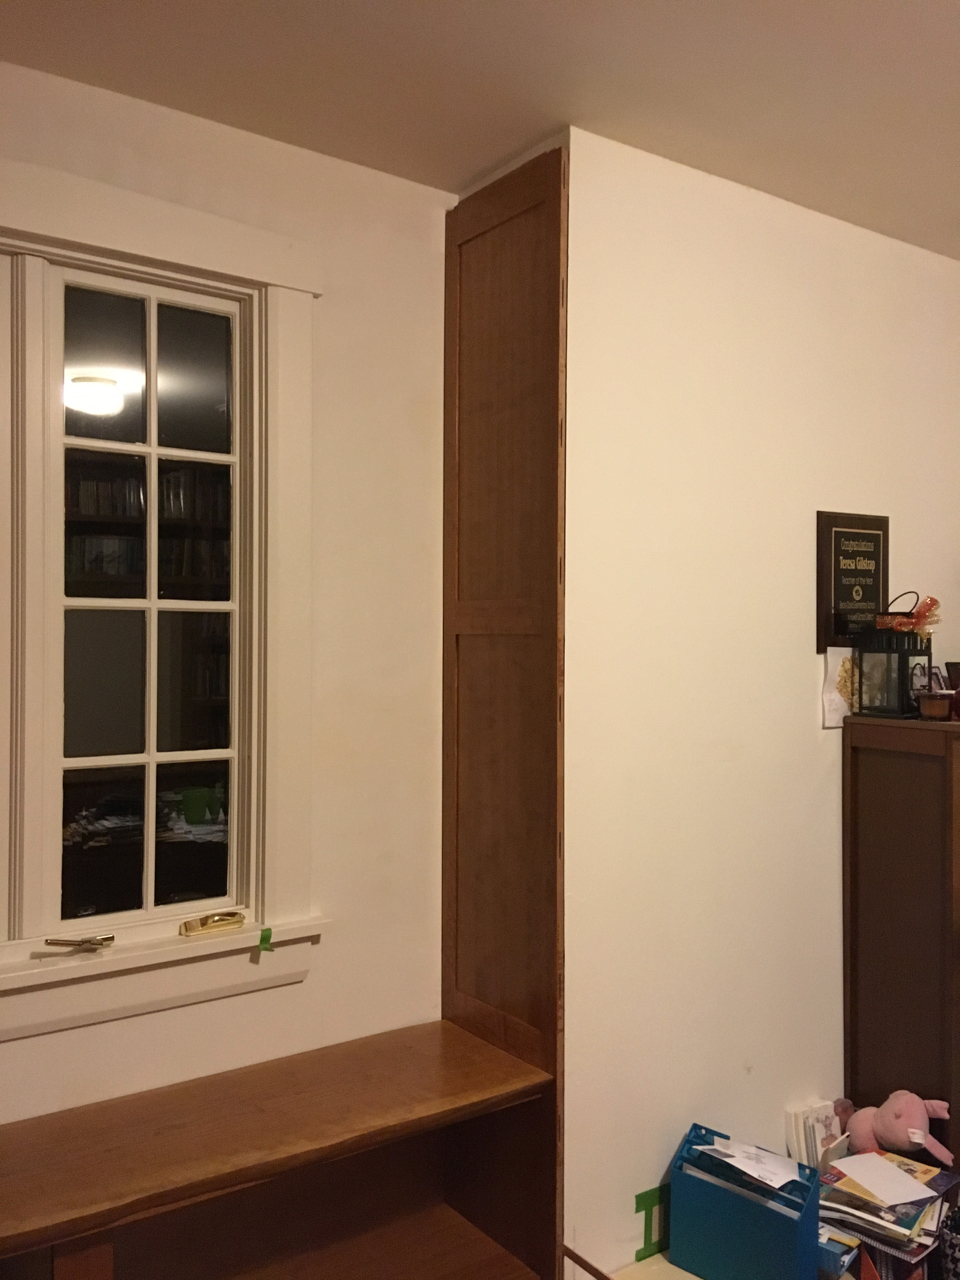
Plenty of work left to do, but as Dad used to say, I’m “gaining on it”.