The study is a complete wreck right now. I’ve got things pulled away from the north and south walls, which will be painted. The walls never had the last finishing touches of drywall mud put on them, so I’ve been doing that for the areas that will show. I also painted the baseboards I’ve installed. With things pushed close together, including a table with two computers and a piano, it’s rather ‘cozy’.
I’m almost done with the work on the walls, and hope to finish it up tomorrow. I’ll also head over to the hardware store and get samples of one or two paint colors we are considering for the walls. We figure I might as well paint things while I have access to the walls.
In the last few weeks we’ve had a lot of good family things going on, but I found some time to work on the window seat cabinet.
First I used my new crosscut sled while breaking down the sheets of plywood into parts. I had to tweak the fence slightly but now it’s dialed in pretty nicely.
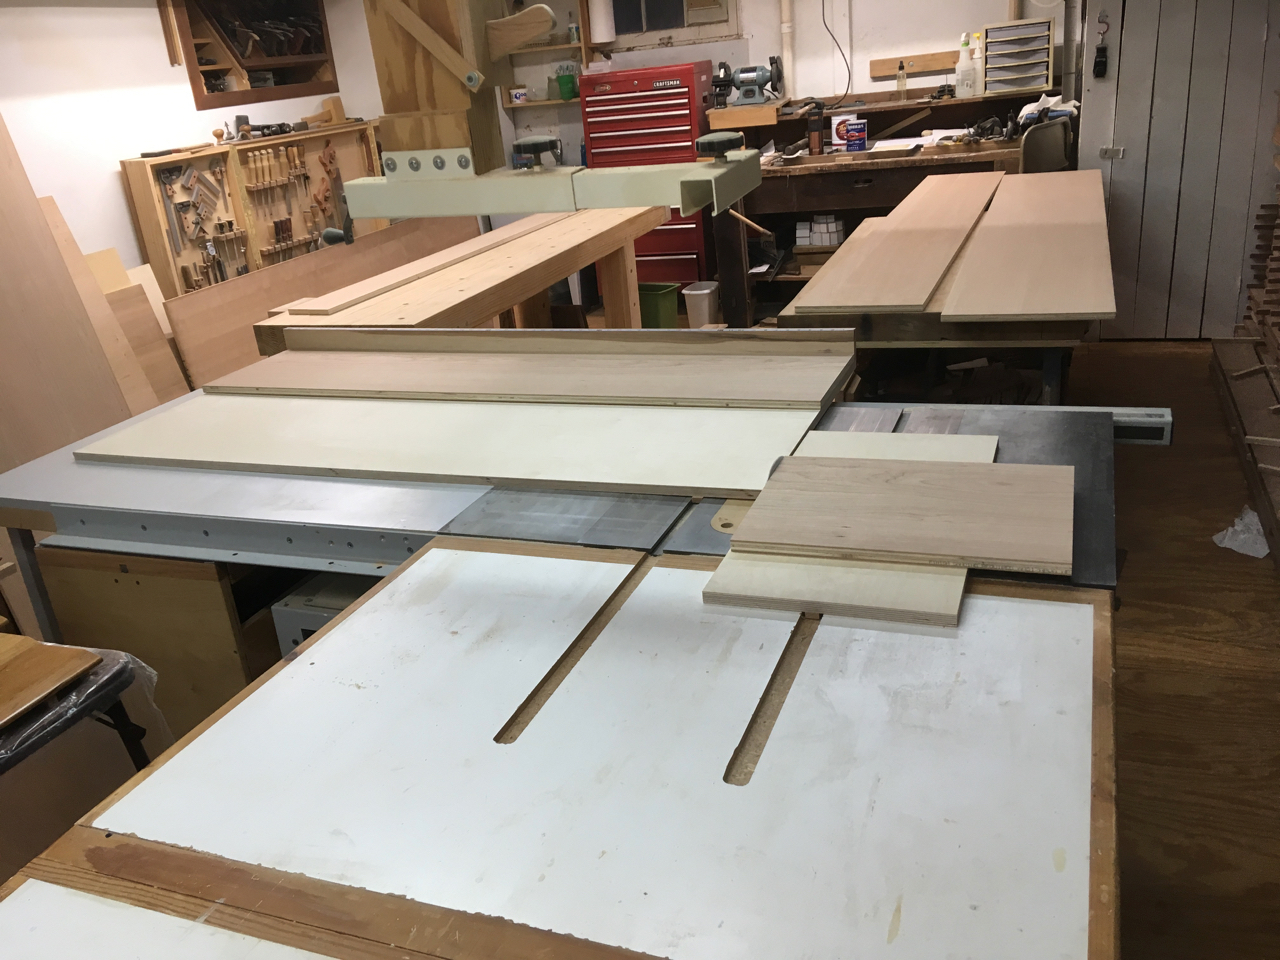
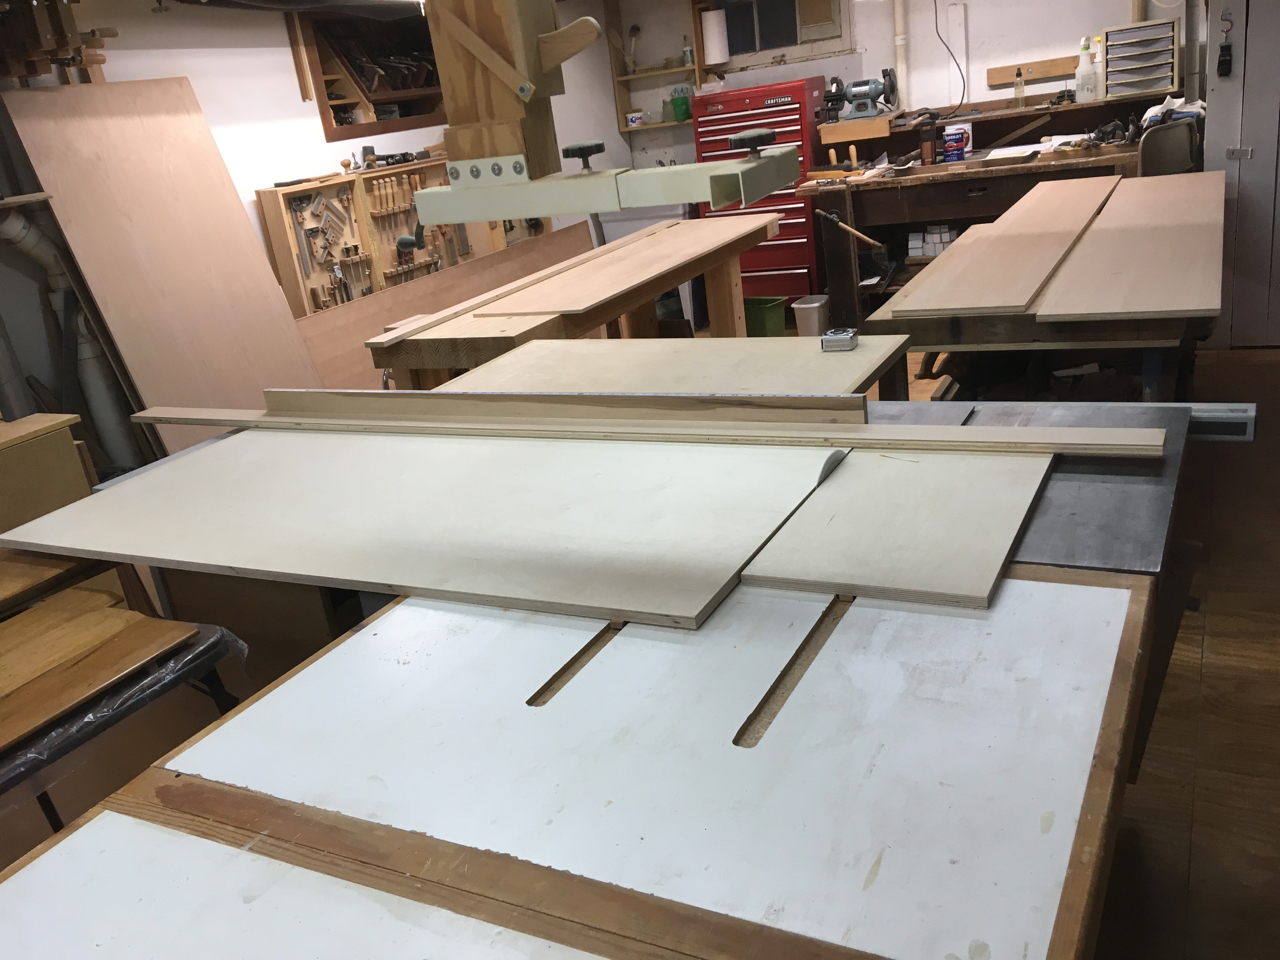
I soon had all the sheet good parts needed to make the cabinet. I’ve made them slightly oversized. It’s surprisingly easy to have the random orbit sander tip slightly and sand through the veneer right at the corners, so this lets me cut off any such spots. I’ll cut the parts to final size before I assemble the case.
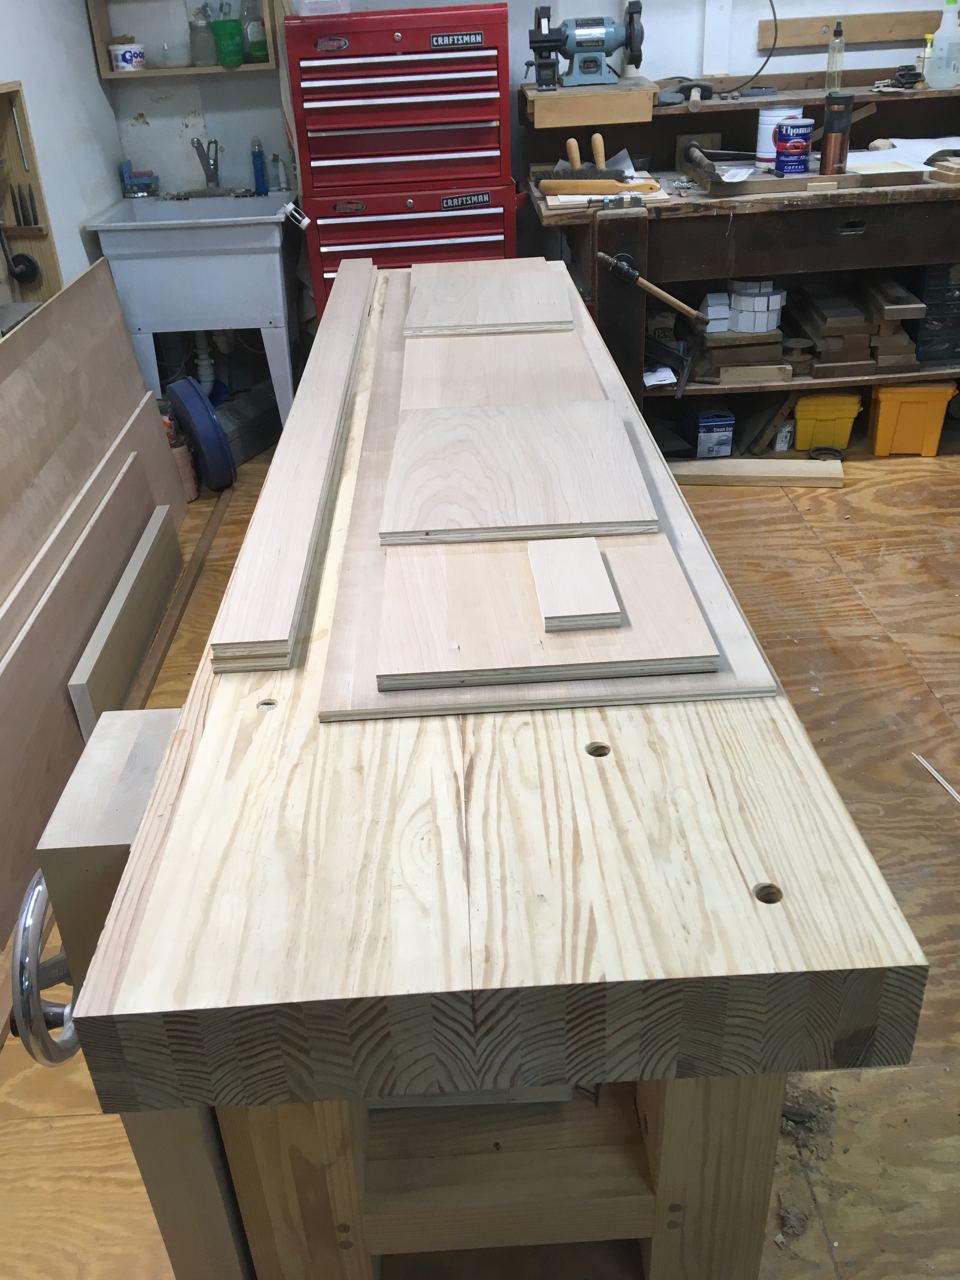
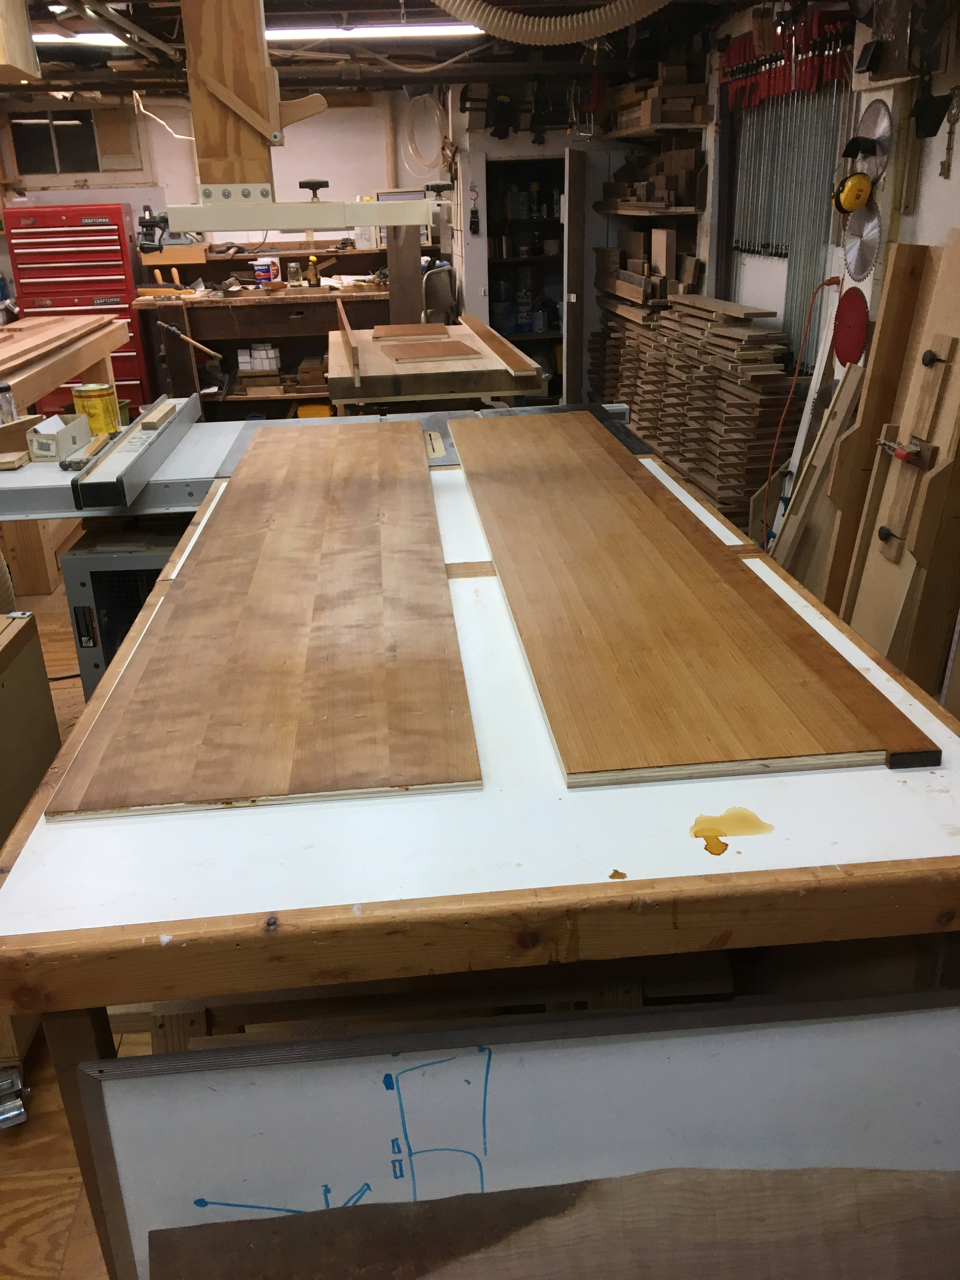
I then cut and glued a strip of solid cherry to the front of the bottom and another to the top front for the cabinet. I trimmed the resulting assemblies so the solid wood is 2 1/8" wide, before sanding everything through grits from 150 to 220. After cleaning with denatured alcohol and sealing with shellac, I applied the first coat of stain. Happily, there was no blotching.
(If you look closely, you can see a strip of solid cherry on the right edge of the near right part).
I forgot to cut the grooves in the solid cherry parts which will be tracks for the sliding doors in cabinet (oops!), so I’ll mill those tomorrow and seal and stain the grooves before moving on to the second round of staining.