I still need to finish making and installing the baseboards for the west wall, though it is otherwise complete. After filling the wall with books, Teresa and I decided we don’t need the narrow space at the right to be cabinets, so we’ll leave it for books. This is where delaying works in your favor, as I’d not routed hinge mortises in the right stile for the doors yet.
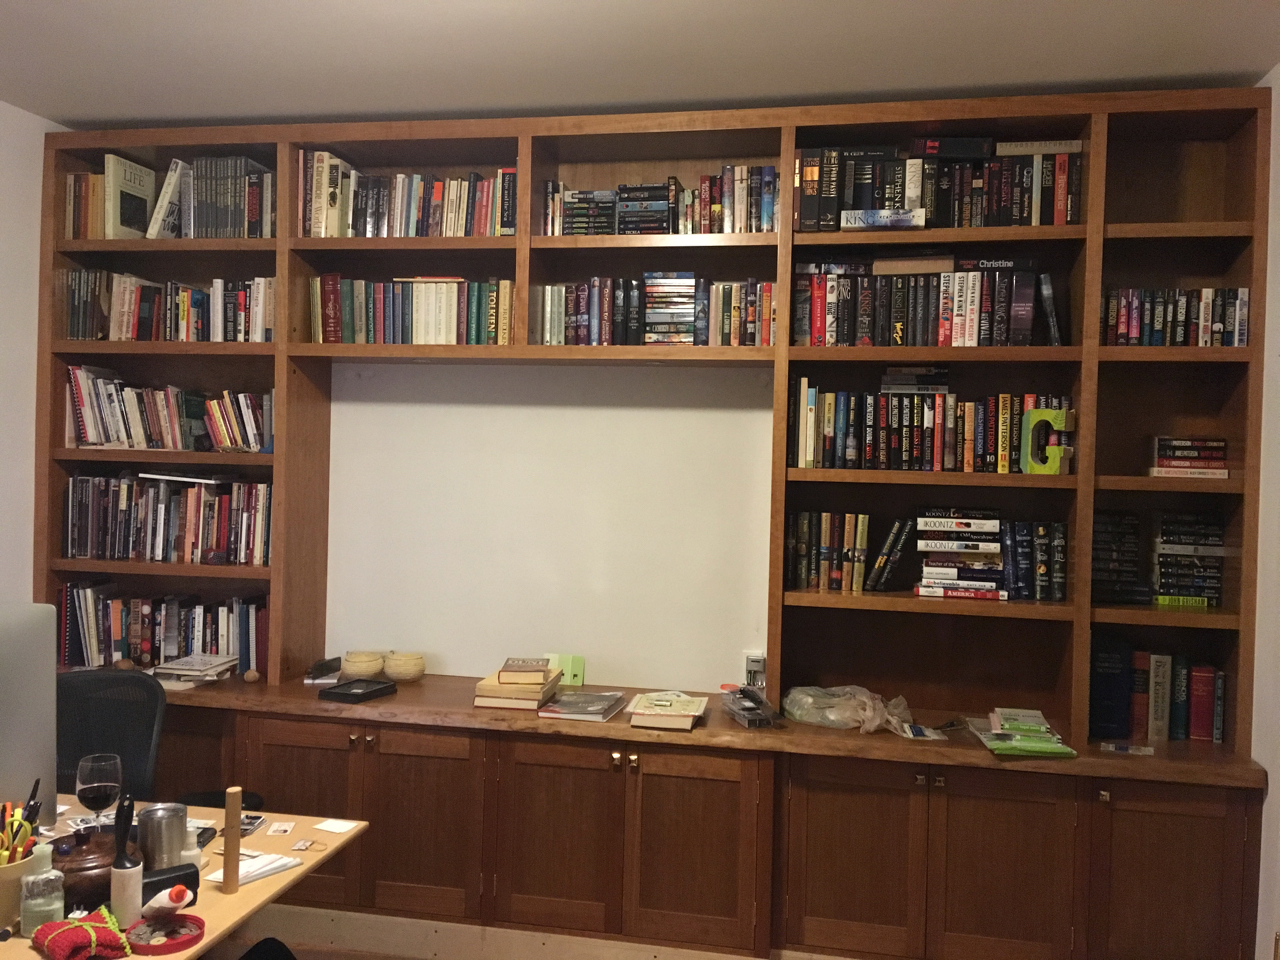
The last few weeks have been busy, but when I’ve had time to work on the project I’ve spent it working on odds and ends. I spent some time getting the networking fixed as somehow a pair of wires in one cable are dead and I had to swap in a different pair. I also brought down many boxes of our books from the attic we put them on the shelves - quite a sense of accomplishment. I also spent a lot of time planning for the east wall and working on the baseboards for the west wall.
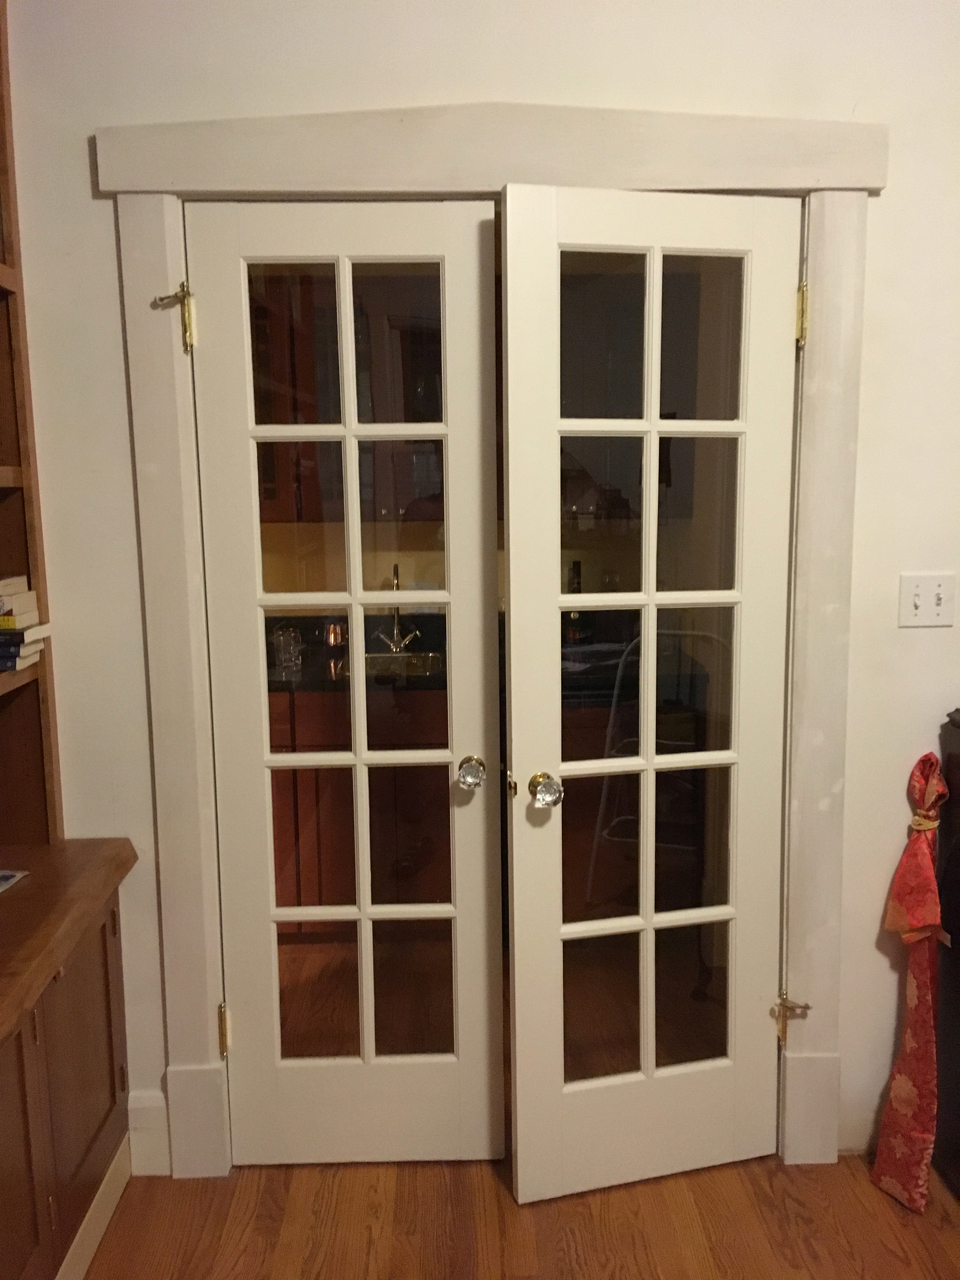
Planning for the east wall is not just me getting ahead of myself. If you look at this picture of the trim I’ve installed (but not yet painted) around the door next to the west wall, you’ll note at the lower left the wall baseboard is quite a bit taller than the cherry baseboard for the cabinets will be.
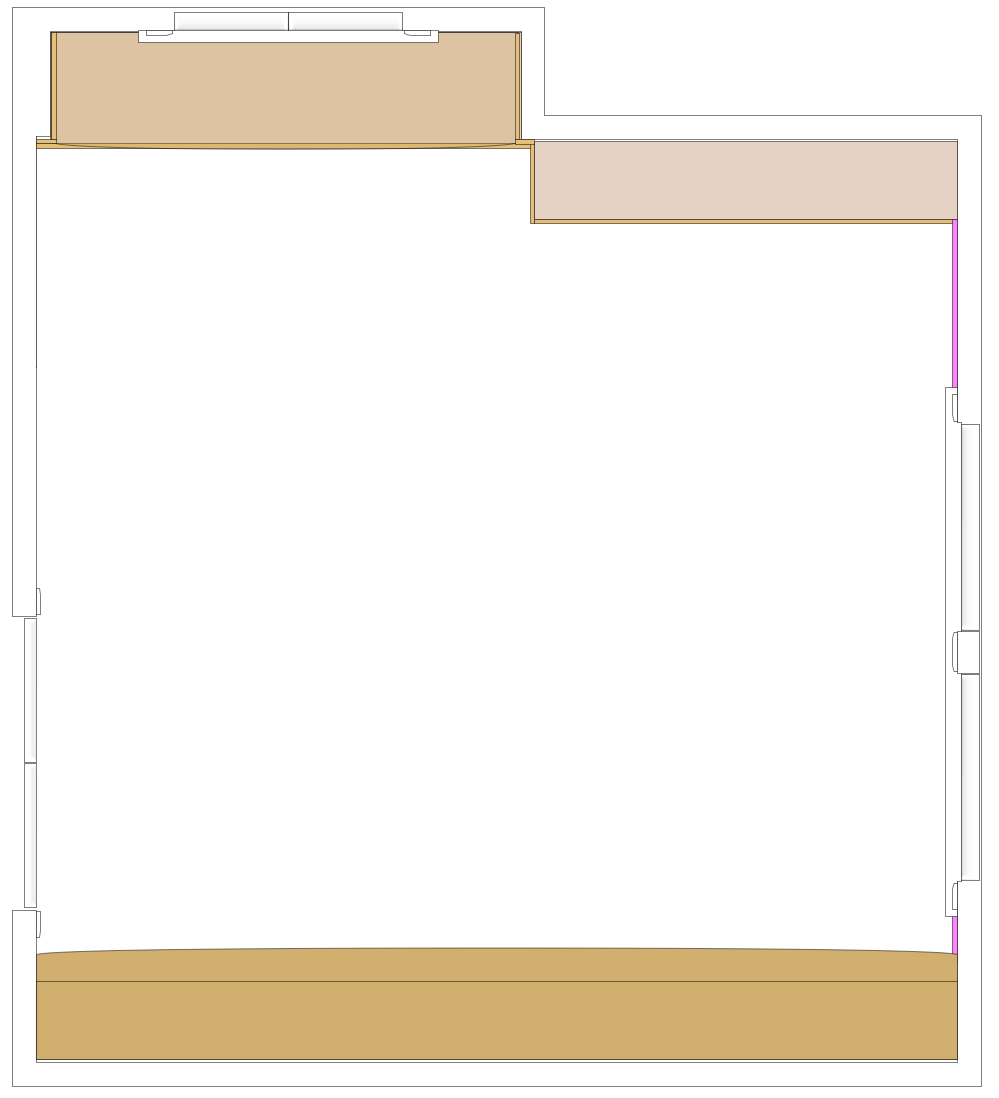
That means the wall baseboard needs to be in place before the baseboards for the west wall are fit and installed. And since there is no baseboard on the opposite wall yet, I need to get it in place (see the hot pink strip on the far right of this overhead view of the room):
So, I’ve spent quite a bit of time taking general ides for the east wall to what is hopefully a final design.
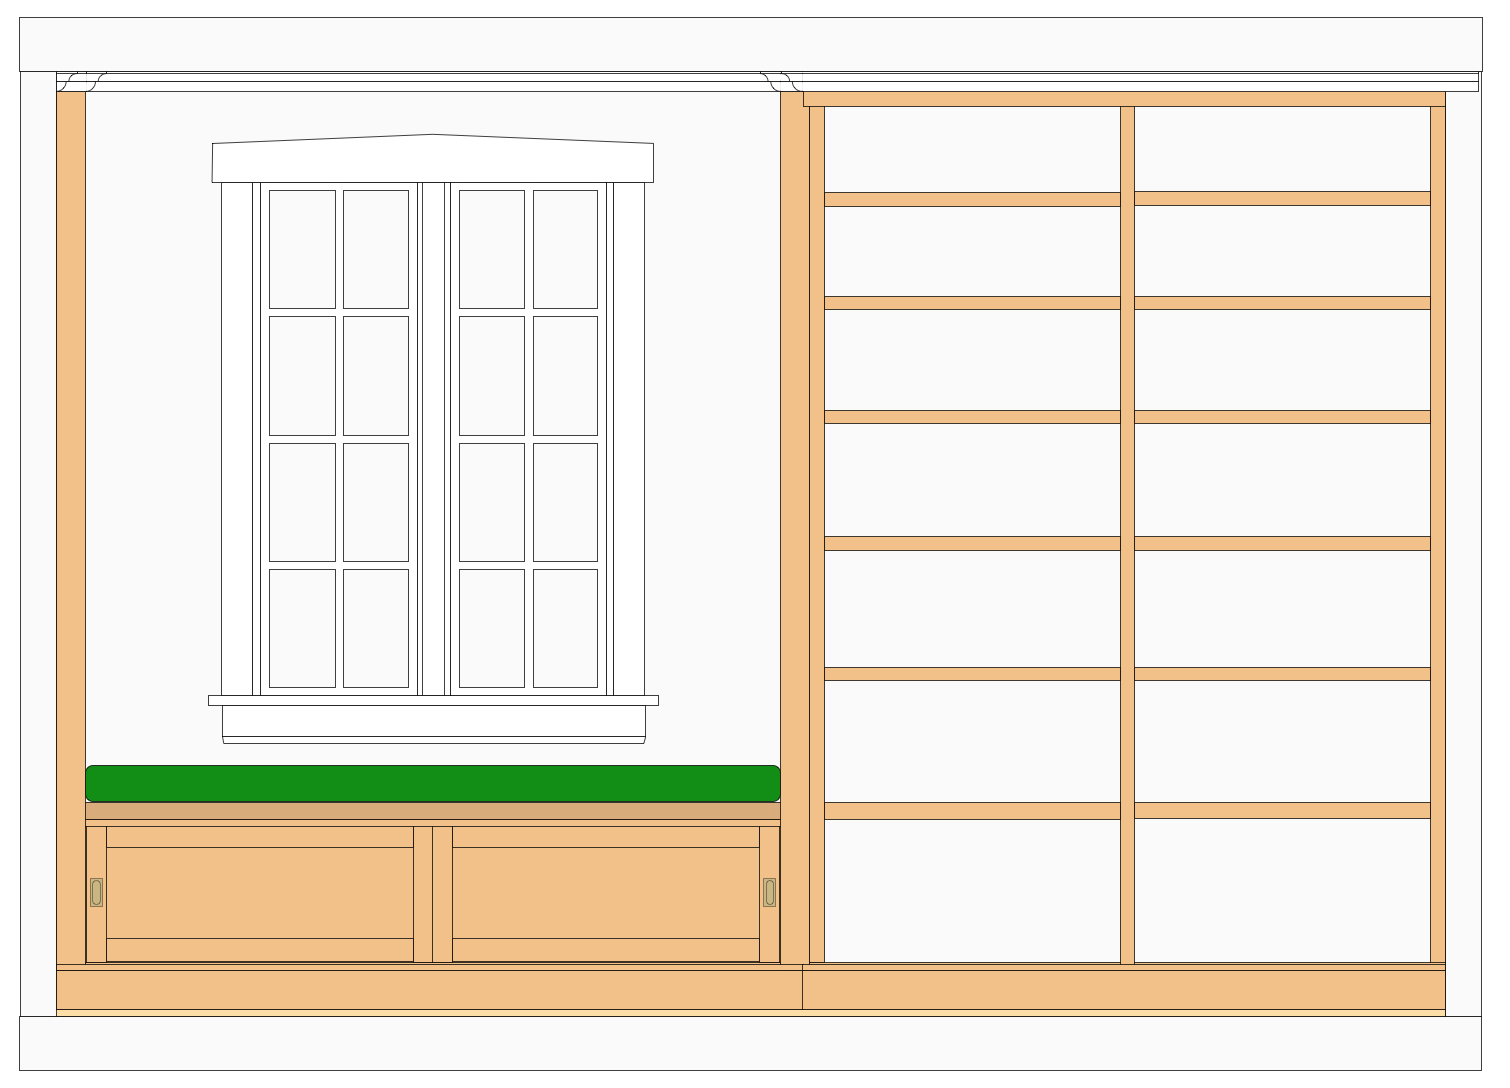
The first step of building the east wall, and what is needed for me to install the baseboard, is to make and install the platforms for the bookcases and the window seat area. Strictly speaking I could build and install just the platform for the bookcases, but buildling both and installing them at the same time will save quite a bit of time. Also, I needed to work out the details of how they relate to each other and the trim that will cover them.
I cut the plywood for the tops of the platforms (here on top of a piece of plywood destined to become some jigs in the workshop)

I also cut all the parts for the frame of the platforms from plywood.
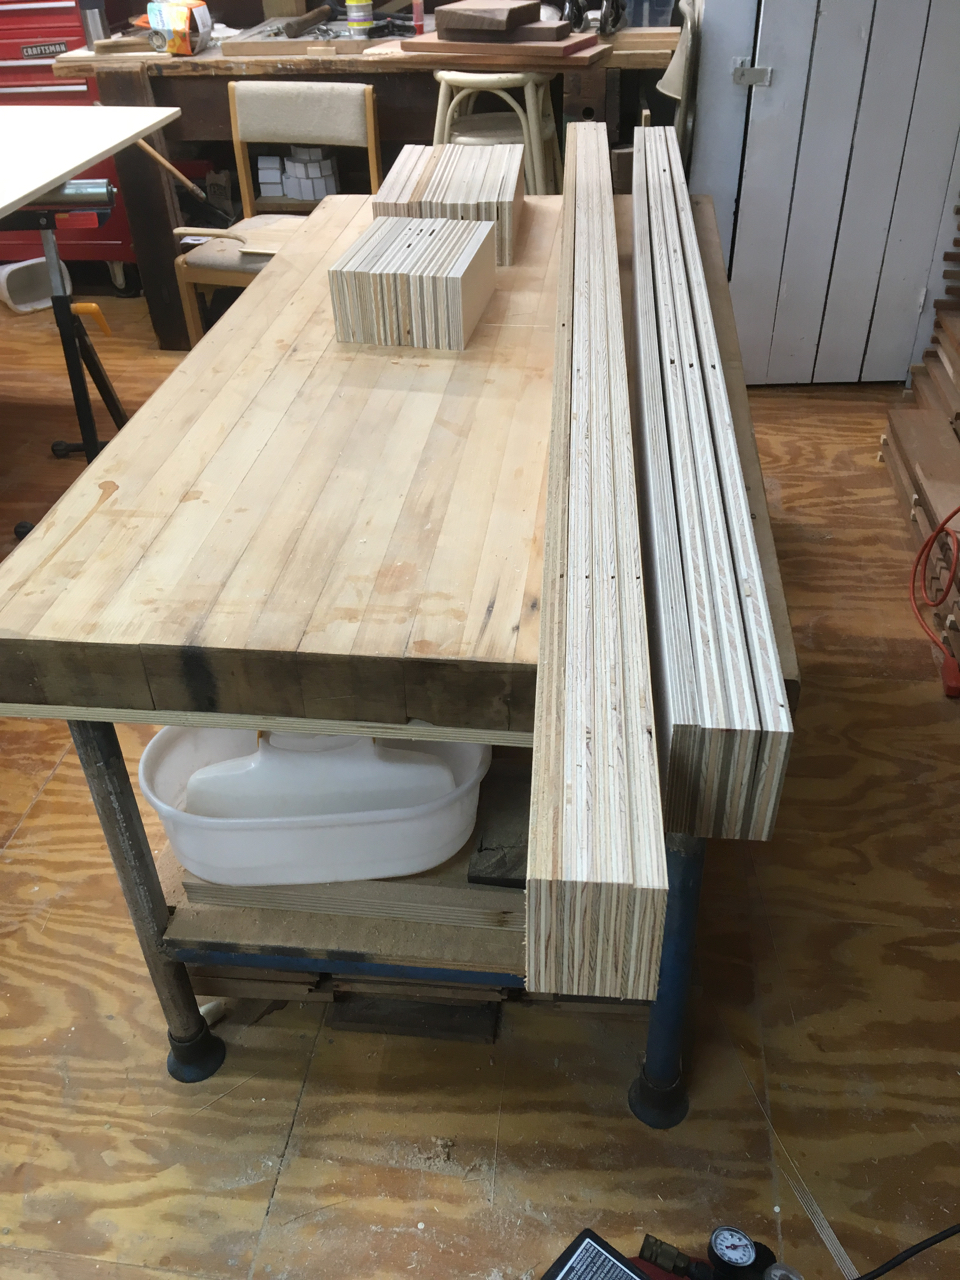
I then glued and nailed them together to add strength and rigidity. I made sure to place the nails far enough from the edges they won’t interfere with milling the parts to final size.
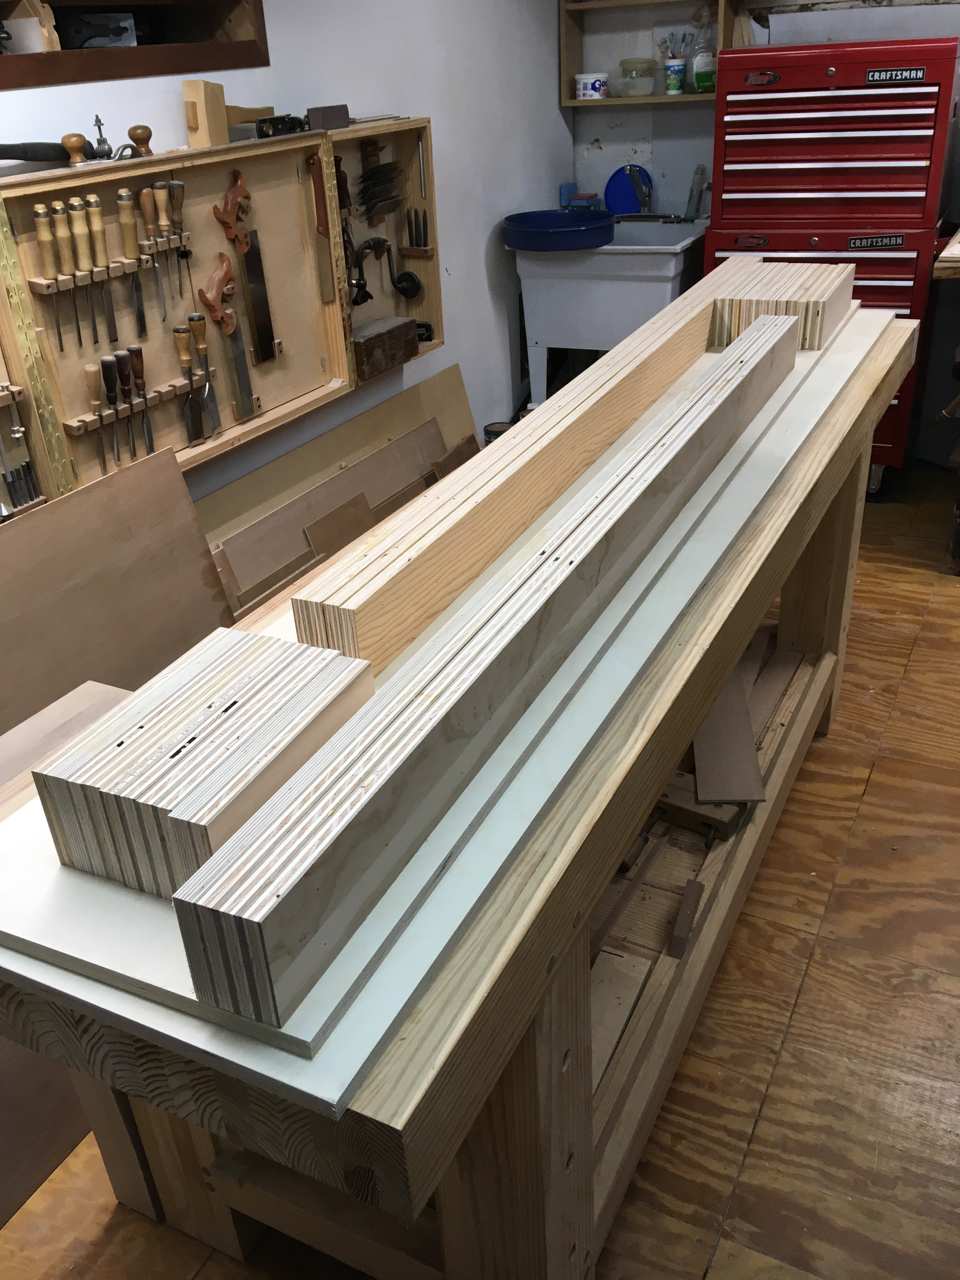
The parts are slightly oversized. Next I’ll joint one edge, rip them to final height, and cut them to final length. Then I’ll assemble the frames, take them upstairs, and install them.