It’s been a busy late summer in our family, between vacation, our oldest heading off for freshman year at college, the start of school for the younger child and wife, and lots and lots…and lots of finishing. Finishing is tedious, but rather a requirement.
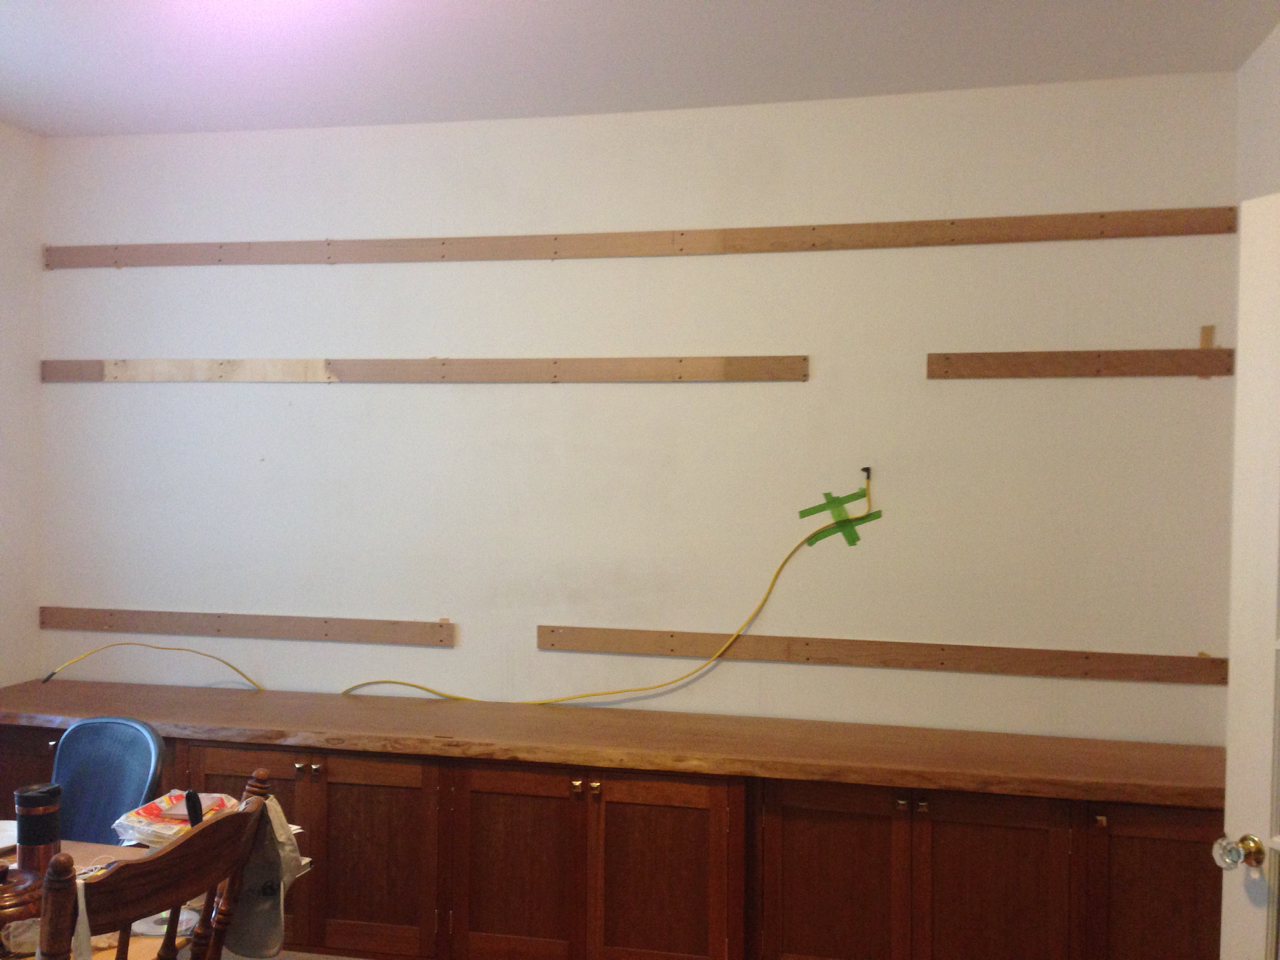
Late last week I wrapped up finishing the carcass pieces and moved on. I spent considerable time testing and verifying things like the length of electrical wires running from LED lights to where they will need to feed into the bottom cabinets. I also continued preparing the upper part of the west wall to anchor the bookcases.
Furring Strips
Murphy’s Law says the wall studs underneath the drywall will be in exactly the wrong place, or you’ll forget where they are and drill holes in the back of your case until it looks like Swiss cheese. A solution for this is to run furring strips across the wall. When doing this it’s crucial ensure all the strips are parallel to the base cabinets, and line up to each other vertically. The fancy term for this is making them coplanar. If you don’t do this, your cabinets may not fit all the way into their spots or when you go to anchor them you may tip or twist them as the screw pulls the cabinet across a gap.
This turns out to be a long process when you have a wall that is as un-flat as the one I’m working with, and when you don’t do it regularly (or pretty much ever). At one point I ended up pulling out a handplane to flatten part of one of the strips across a hump in the wall I’d failed to find. That took less time than re-plumbing it if I’d removed it to take material from the back.
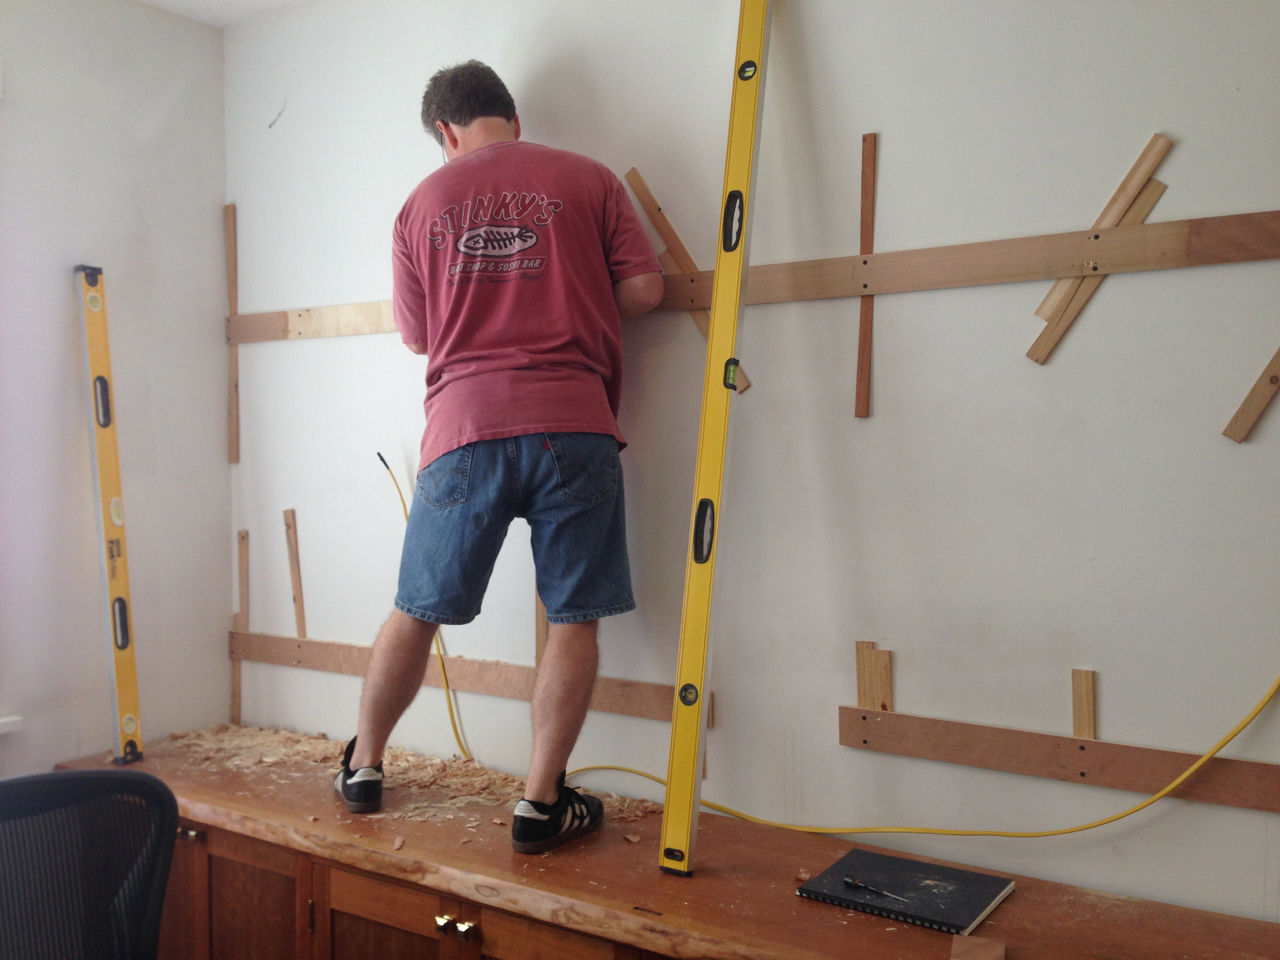
I also used hand planes to fare (curve) the back of the strips at the ends, where the walls curve inward (due to the drywall ‘mud’ fared from the corners outward).
Now that I have furring strips in place, I have a lot of lattitude to pick unobtrusive locations for the cabinet screws I’ll use to secure the cabinets later.
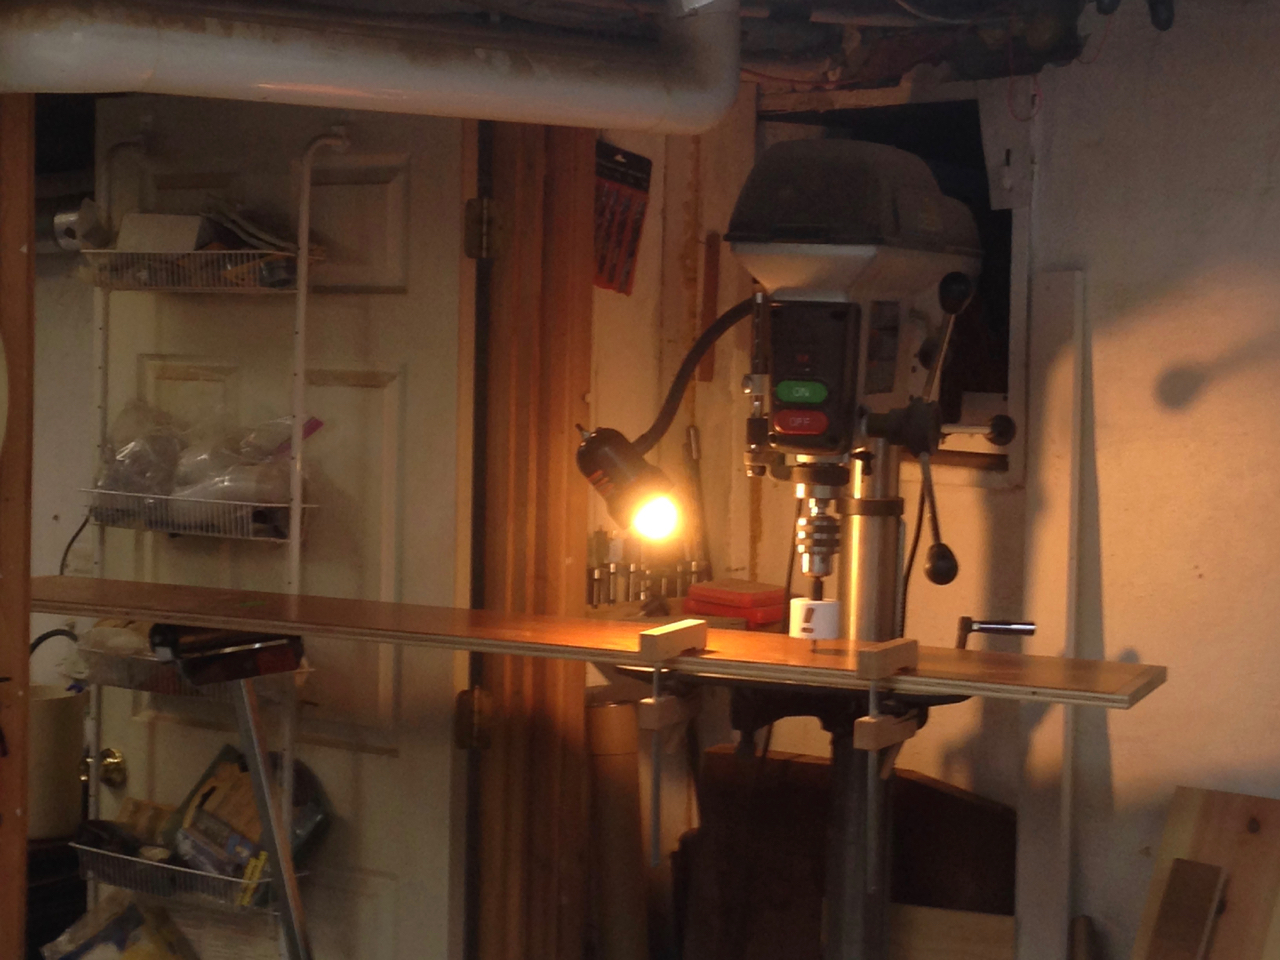
Preparing for Lights
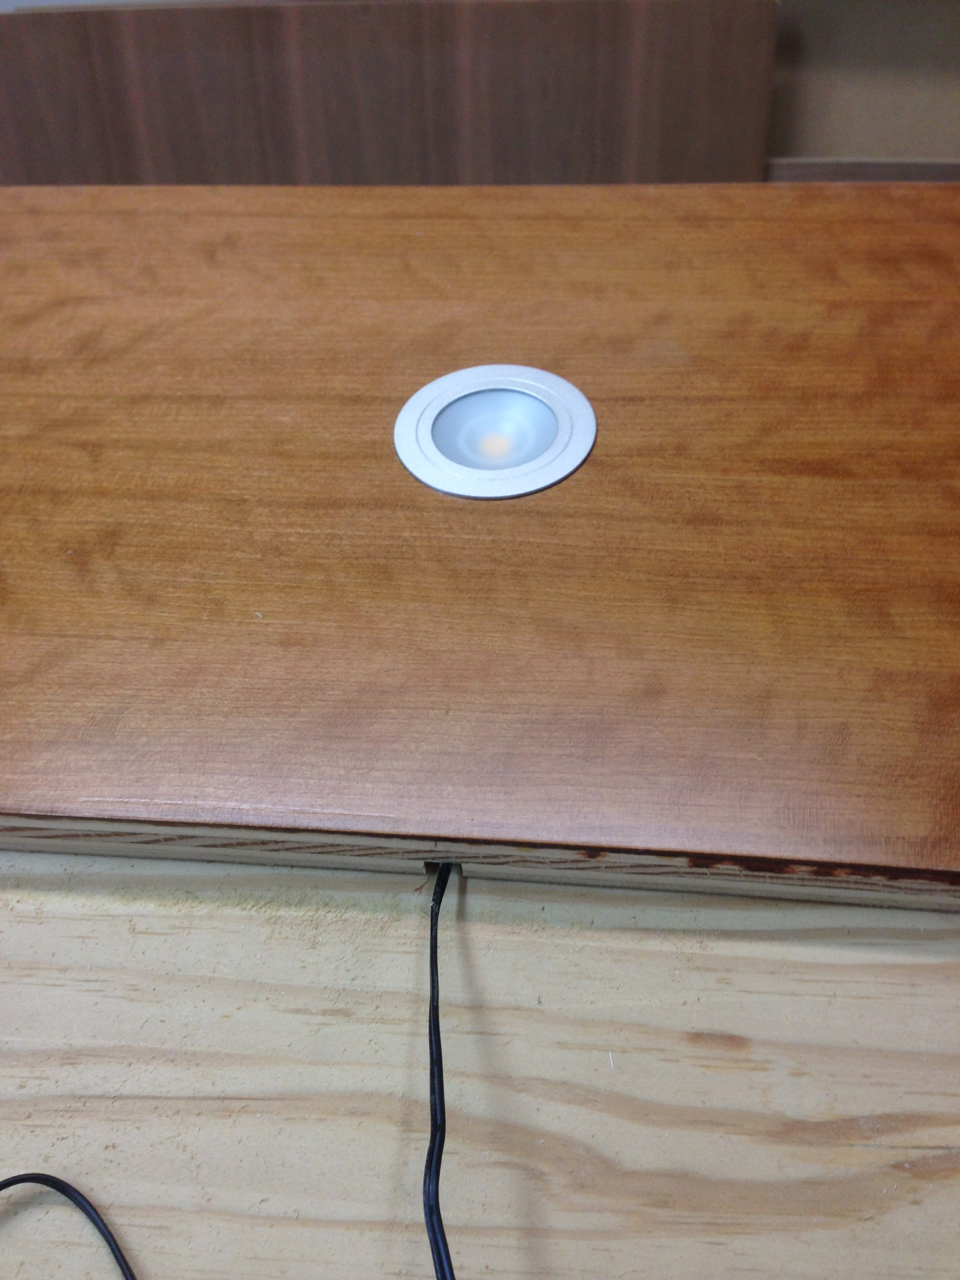
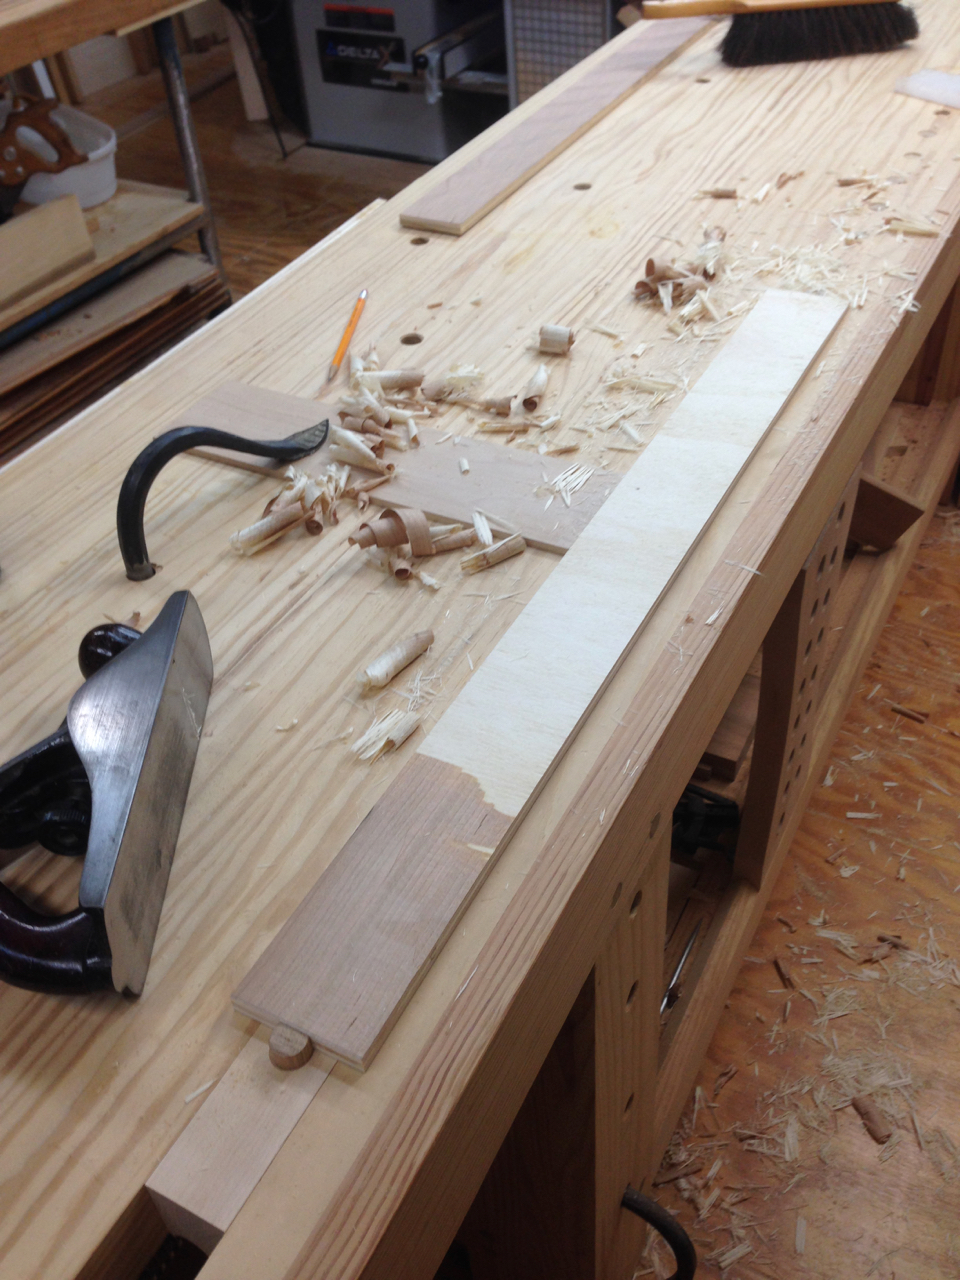
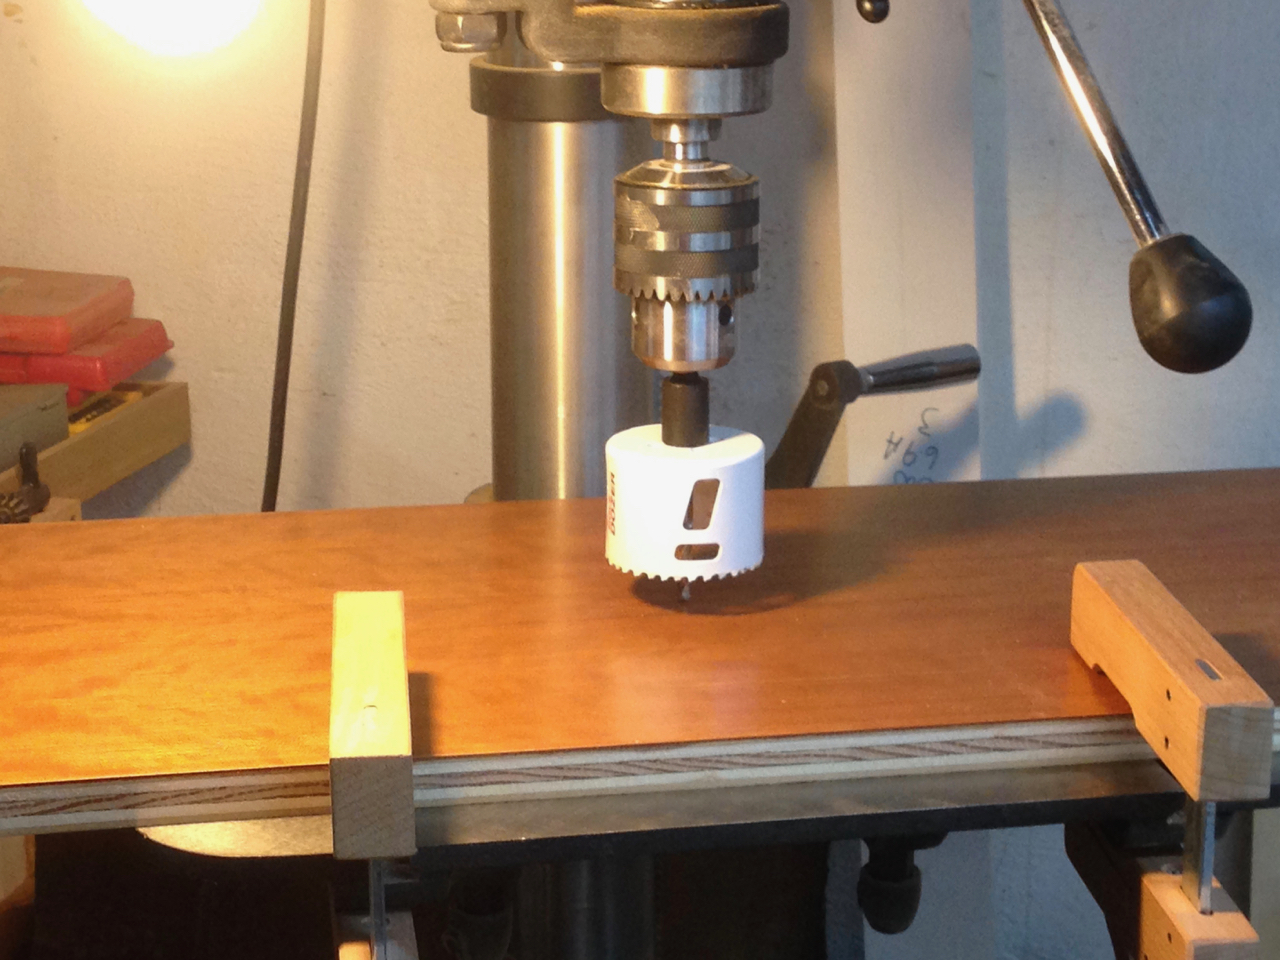
I also took time to prepare for the LED lights that will be in the top of the credenza cabinet. This involved drilling a round cavity part way through the top of the cabinet to hold the puck light. The top is pretty long, so I had to use additional support.
I drilled own far enough with a saw bit.
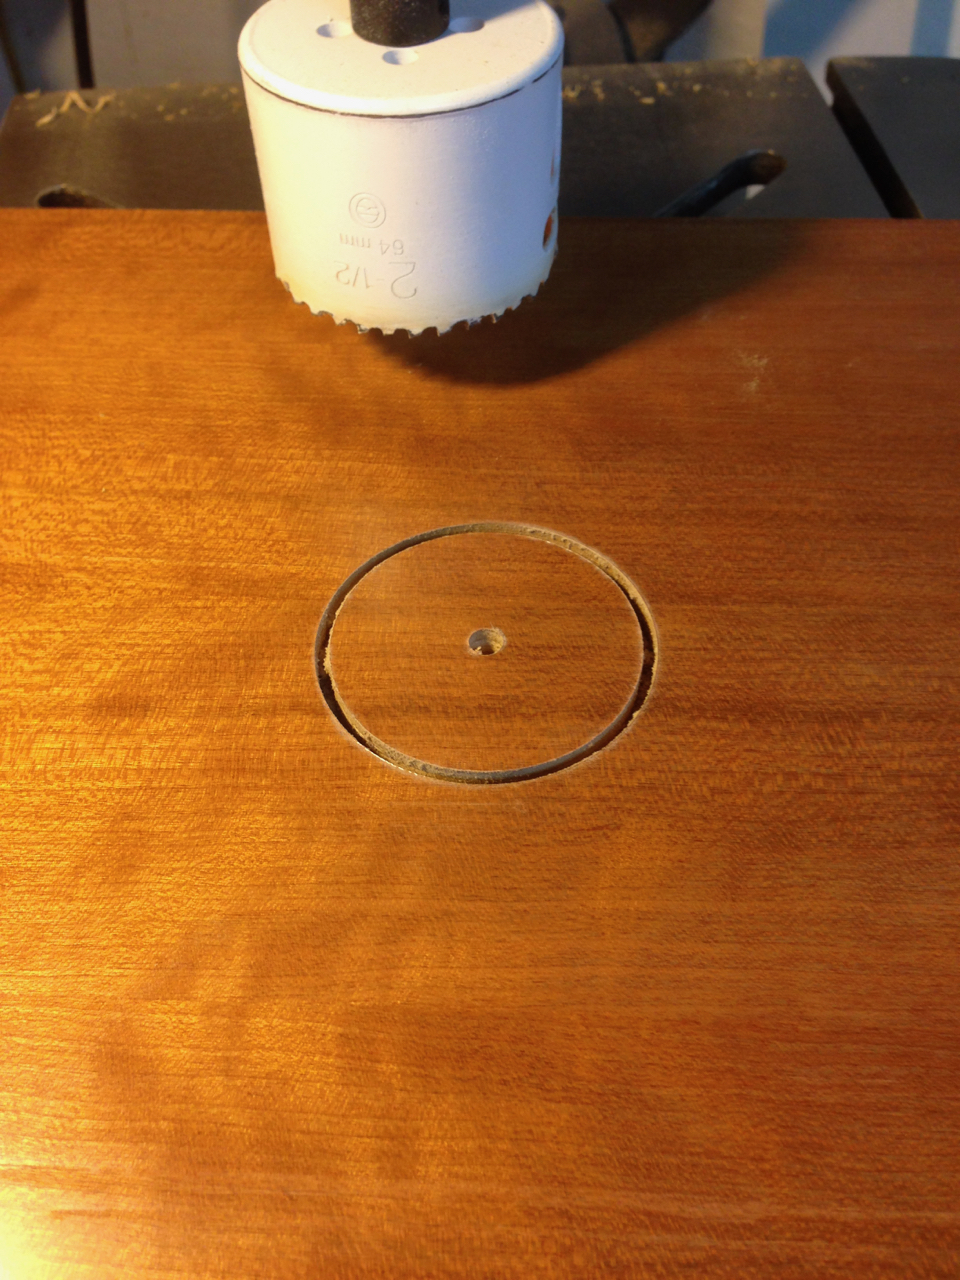
Then I excavated the waste with a chisel and mallet.
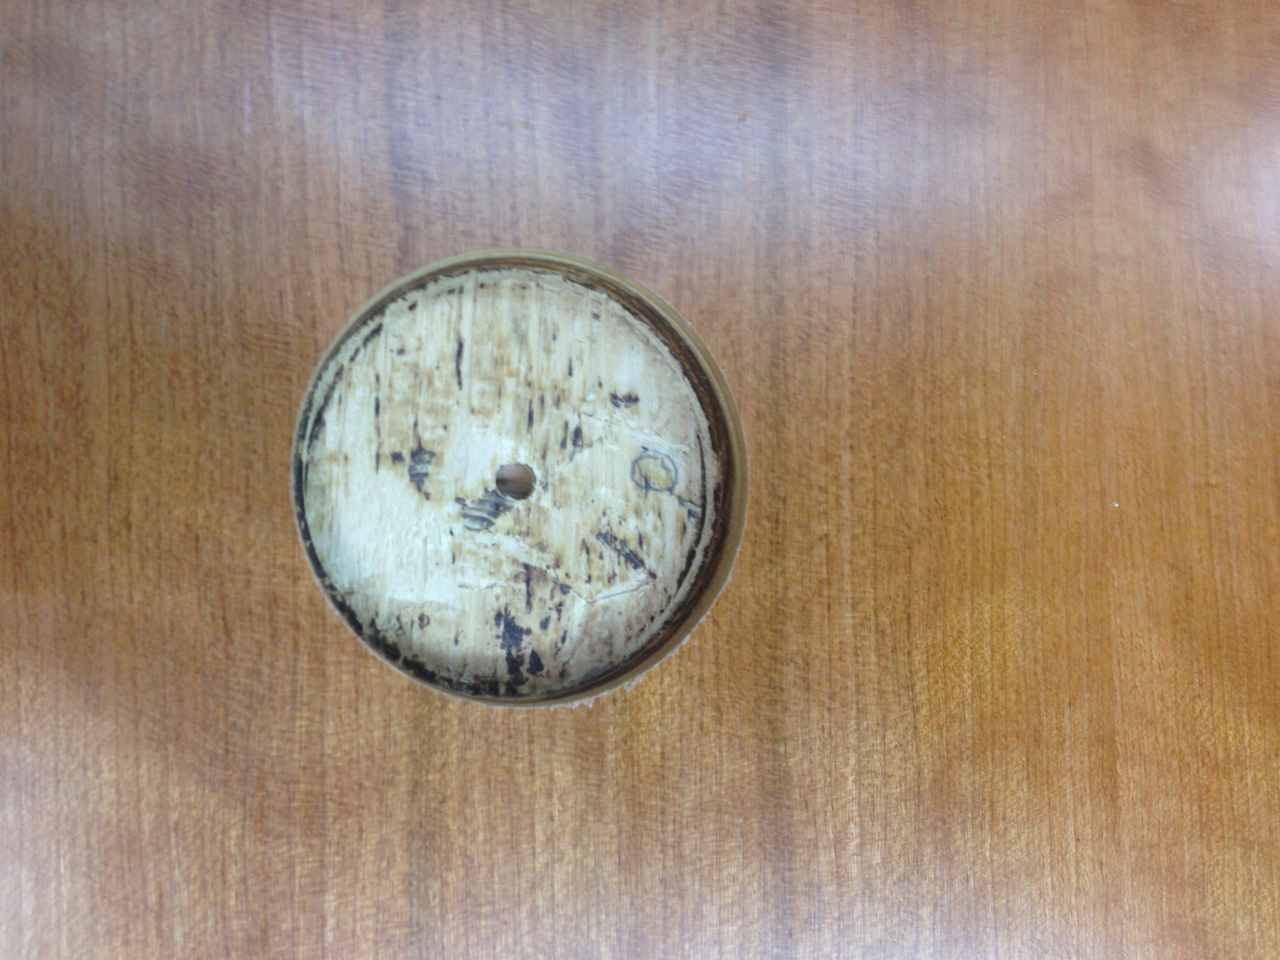
I drilled a hole for the light wire to pass to the back side, which gave me a guide when I flipped the board over to route a channel for the wire to get to the back of the cabinet.
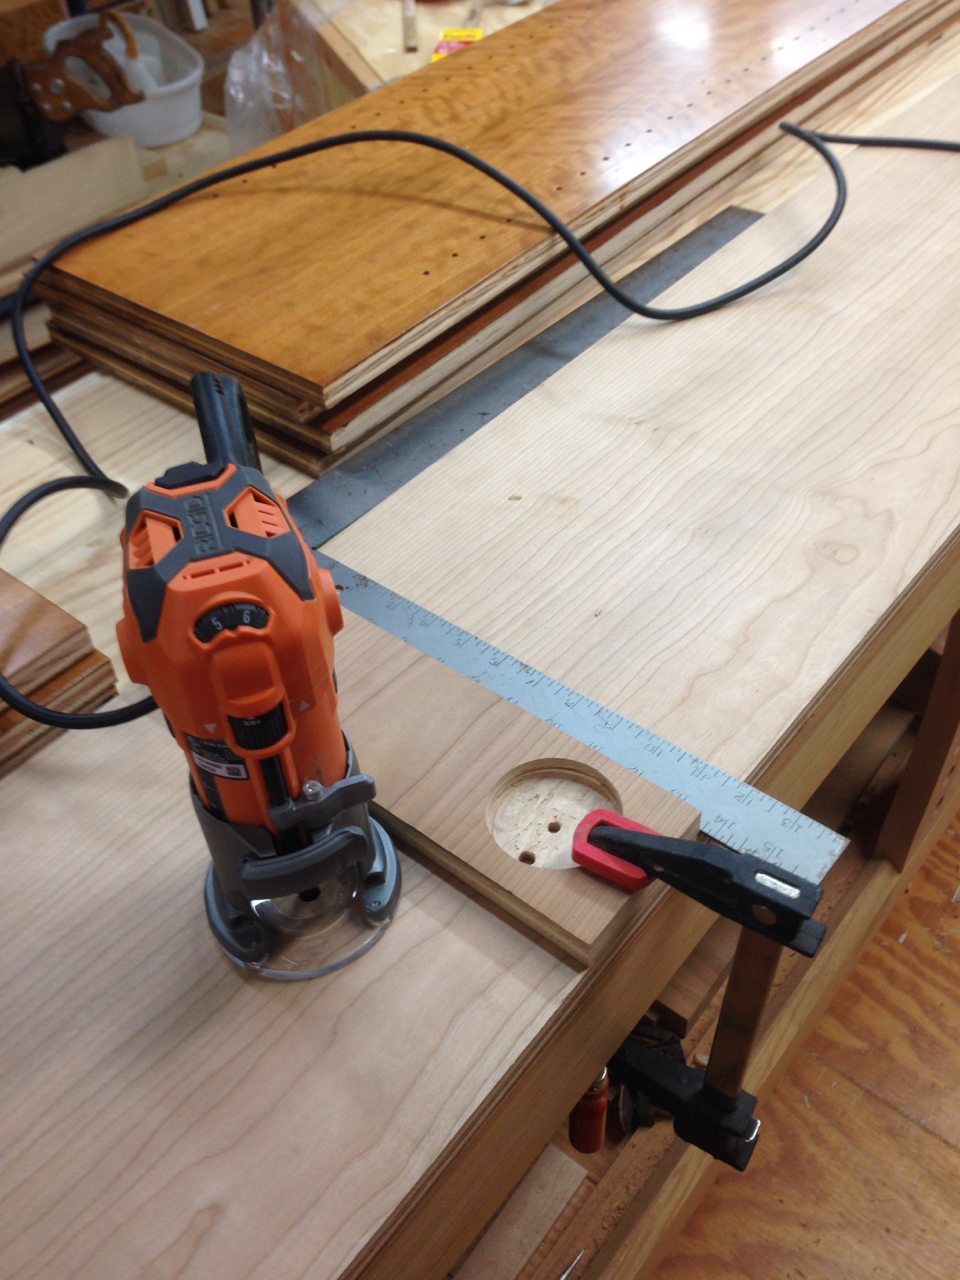
It’s always a ‘high focus’ time when cutting into a part you’ve spent so much time creating. Happily, all went well.