Yesterday I went and purchased the sheet goods for the next part of the west all. I’ve taken to calling it “Tier 2”. The base cabinets and slab are “Tier 1”, and there will be another set of bookcases and cabinets stacked on top of Tier 2, making Tier 3.
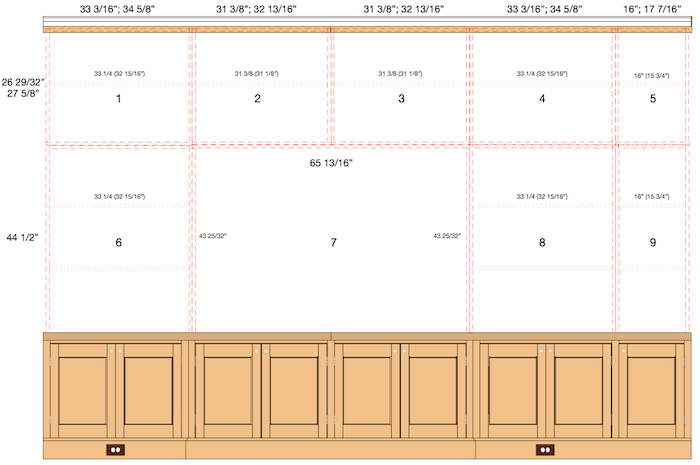
It starts with my drawing, where I have captured the various pieces of the project, including the pieces of plywood that make up the boxes (carcasses) of the bookcases and cabinets.
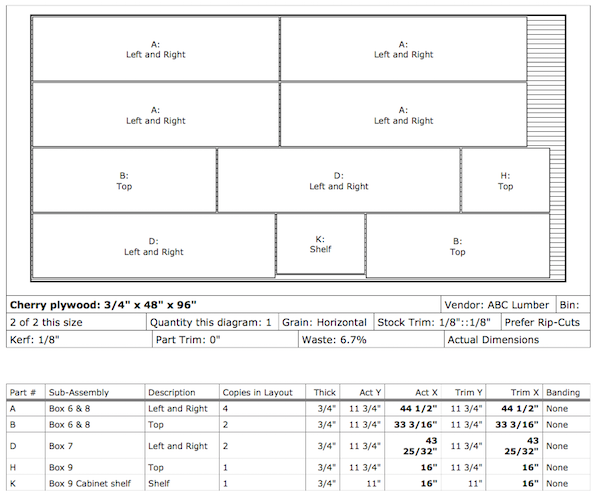
Once I’ve worked out the dimensions, I enter them into a cut list program, that calculates how to lay out and cut all the various parts, taking into account the 1/8" removed with each cut on the table saw. This is a huge time saver for me.
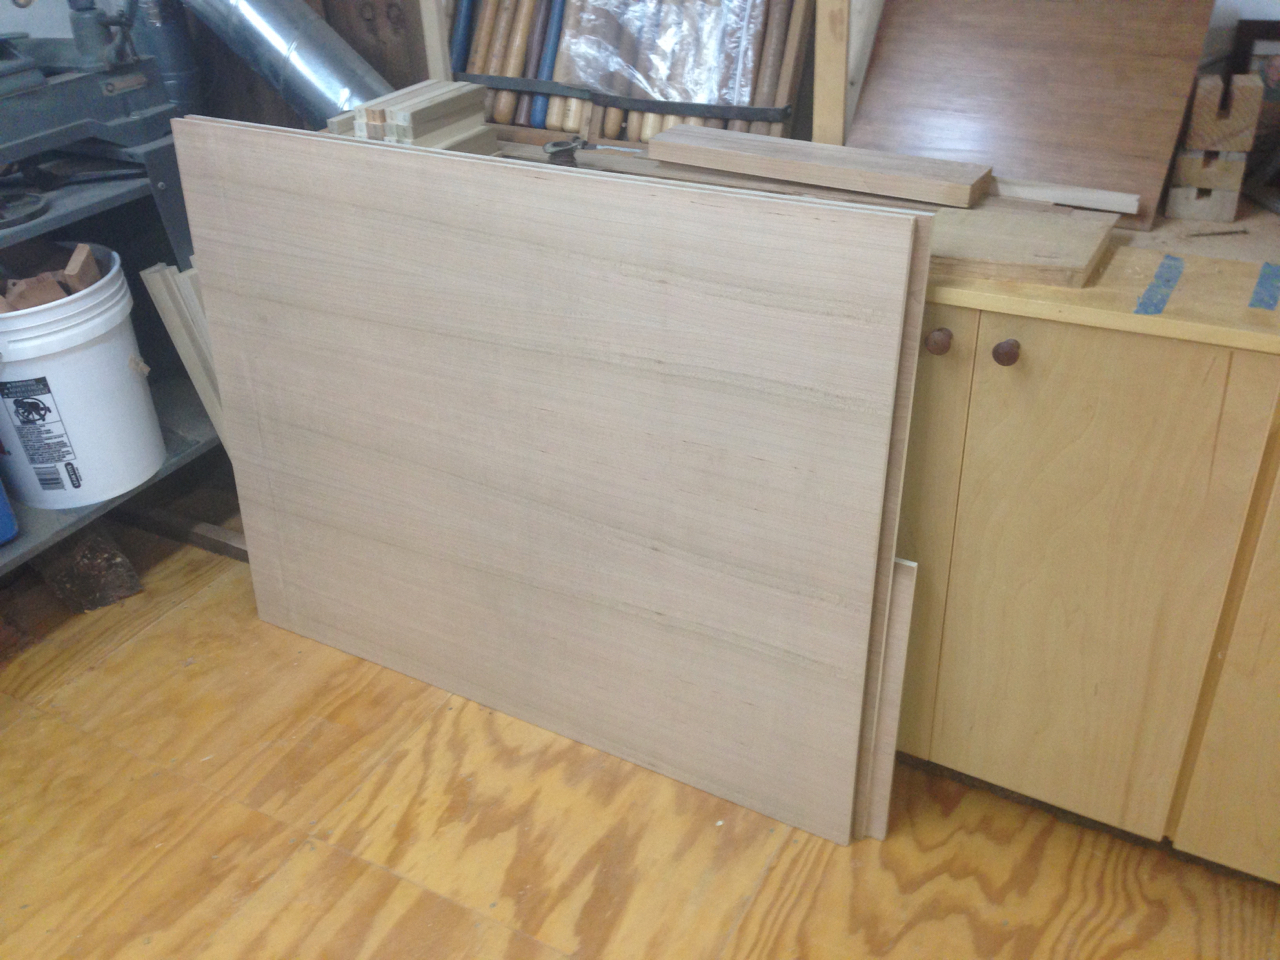
Over time, I’ve learned how to cut plywood to precise dimensions. It starts with a full sheed of 4’x8' plywood, of whatever thickness.
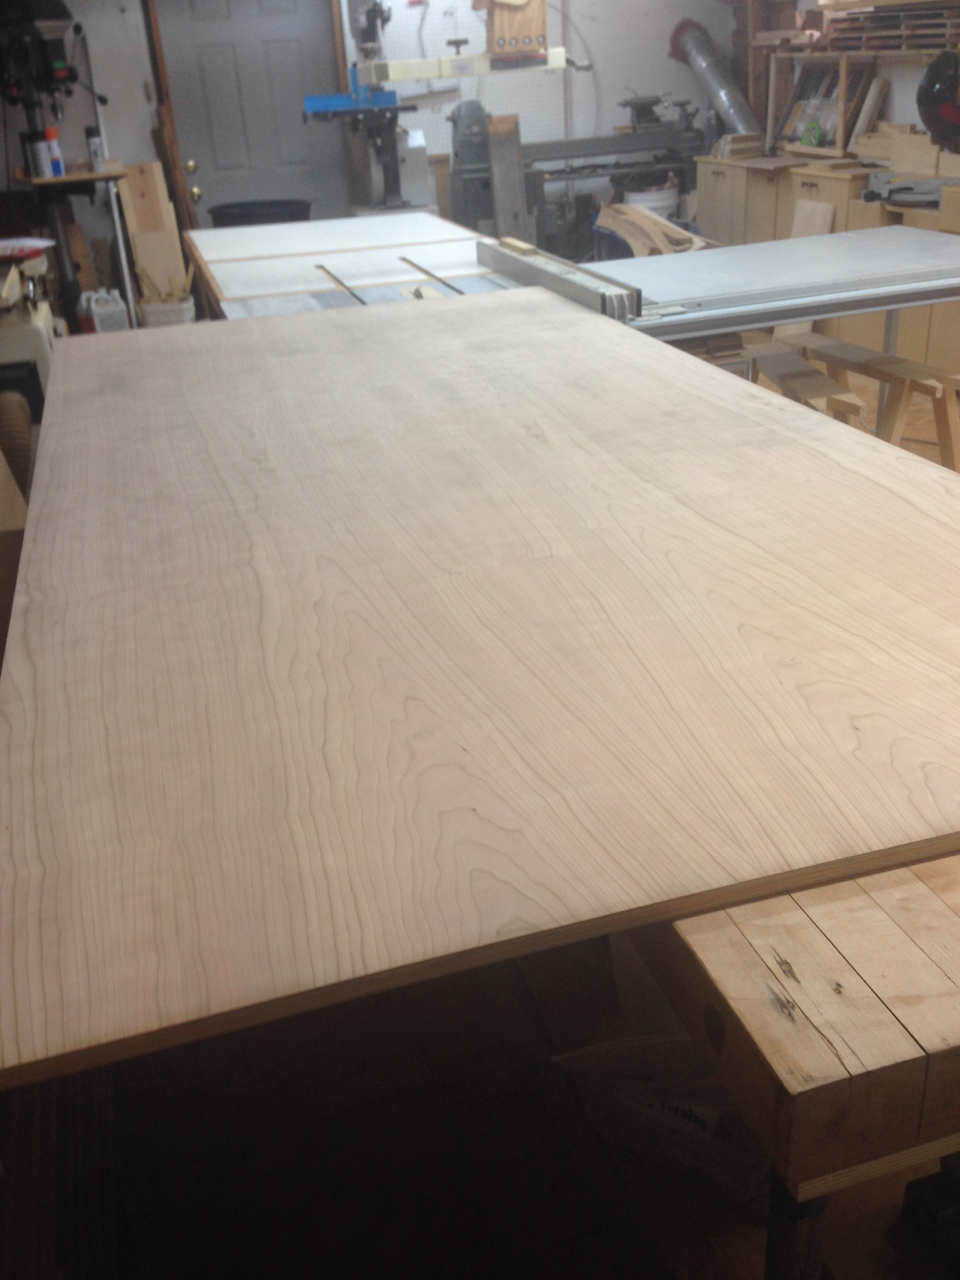
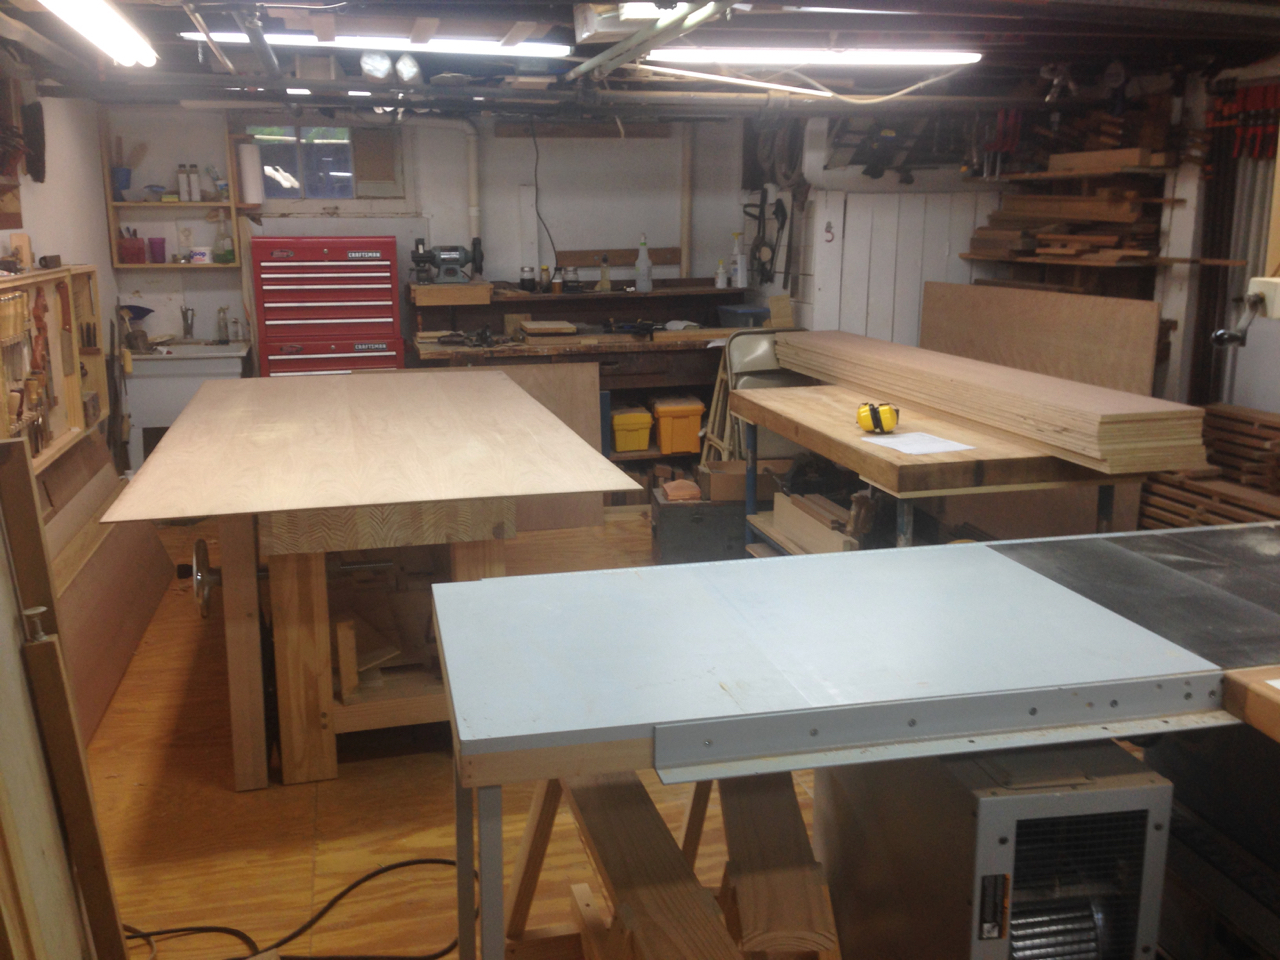
The first strip is the hardest, because I’m working with a full sheet and need to make sure I keep it as tight to the rip fence as possible. I always allow a bit of extra material because these first strips often have a bit of ‘bobble’ I have to clean up later. I rip strips that contain one or more pieces, slightly oversized. I do this until I have all the strips made (the stack on the right).
For larger pieces, such as the backs of the cases, I follow the same basic approach, though I have to be very careful to keep things square.
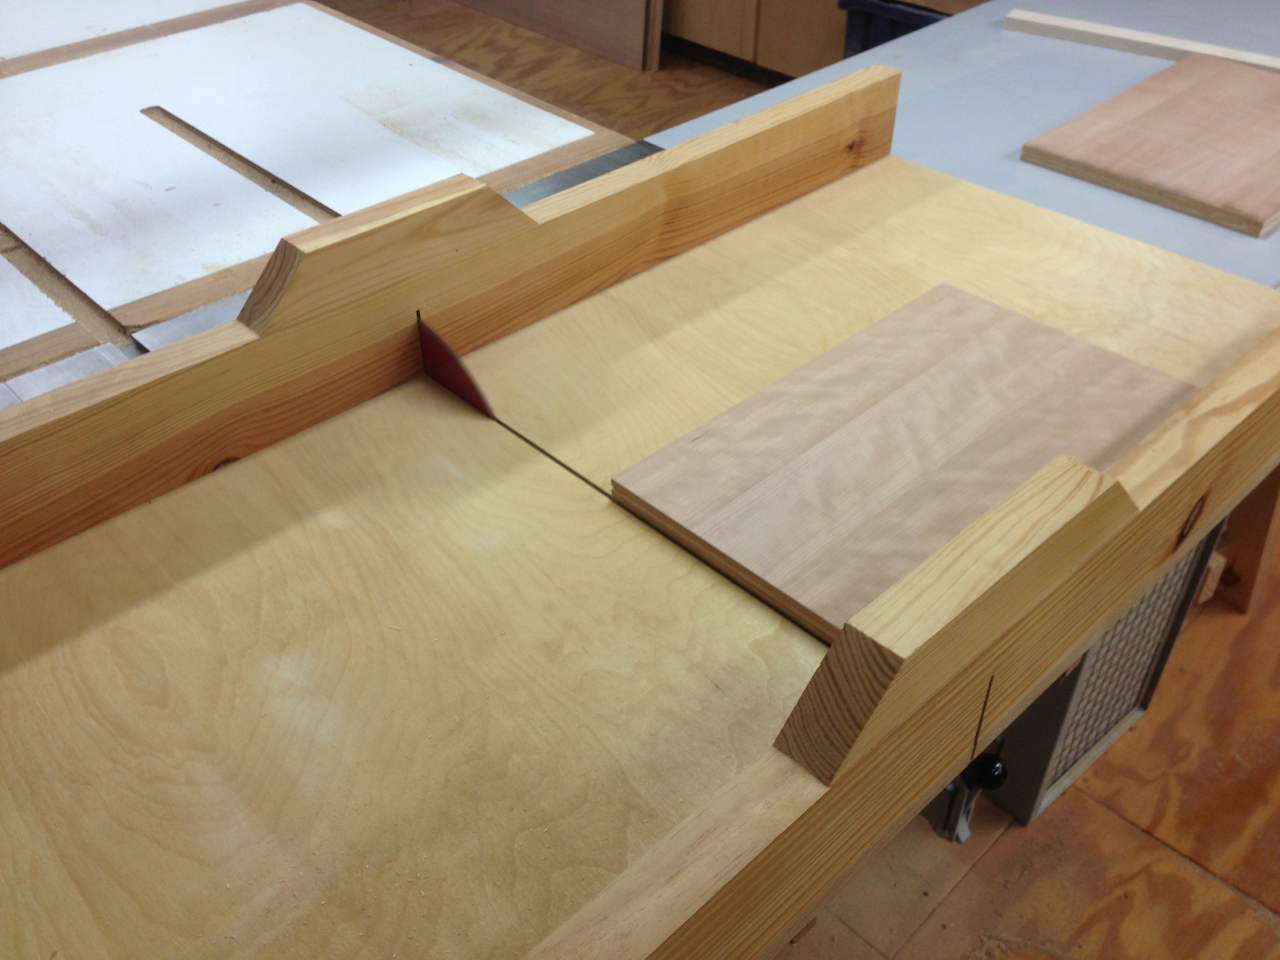
After I’ve made all the strips, I rough out the pieces using my panel cutting jig. I cut them a bit oversized in length just as I’ve made them a bit oversized in width. It’s easier to be accurate when they are closer to final size.

Once I’ve got my rough parts, I trim them to width with my rip fence, using as many passes as I need to get a good straight edge on both sides. Once they are final width, I use my crosscut sled to cut one end square and cut the pieces to length.
I some cases, like with the sides of cabinets, I’ll cut two parts together, to ensure they are exactly the same length.
As I finish the parts, I letter them to match the part list, so I won’t mix them up when assembling them.
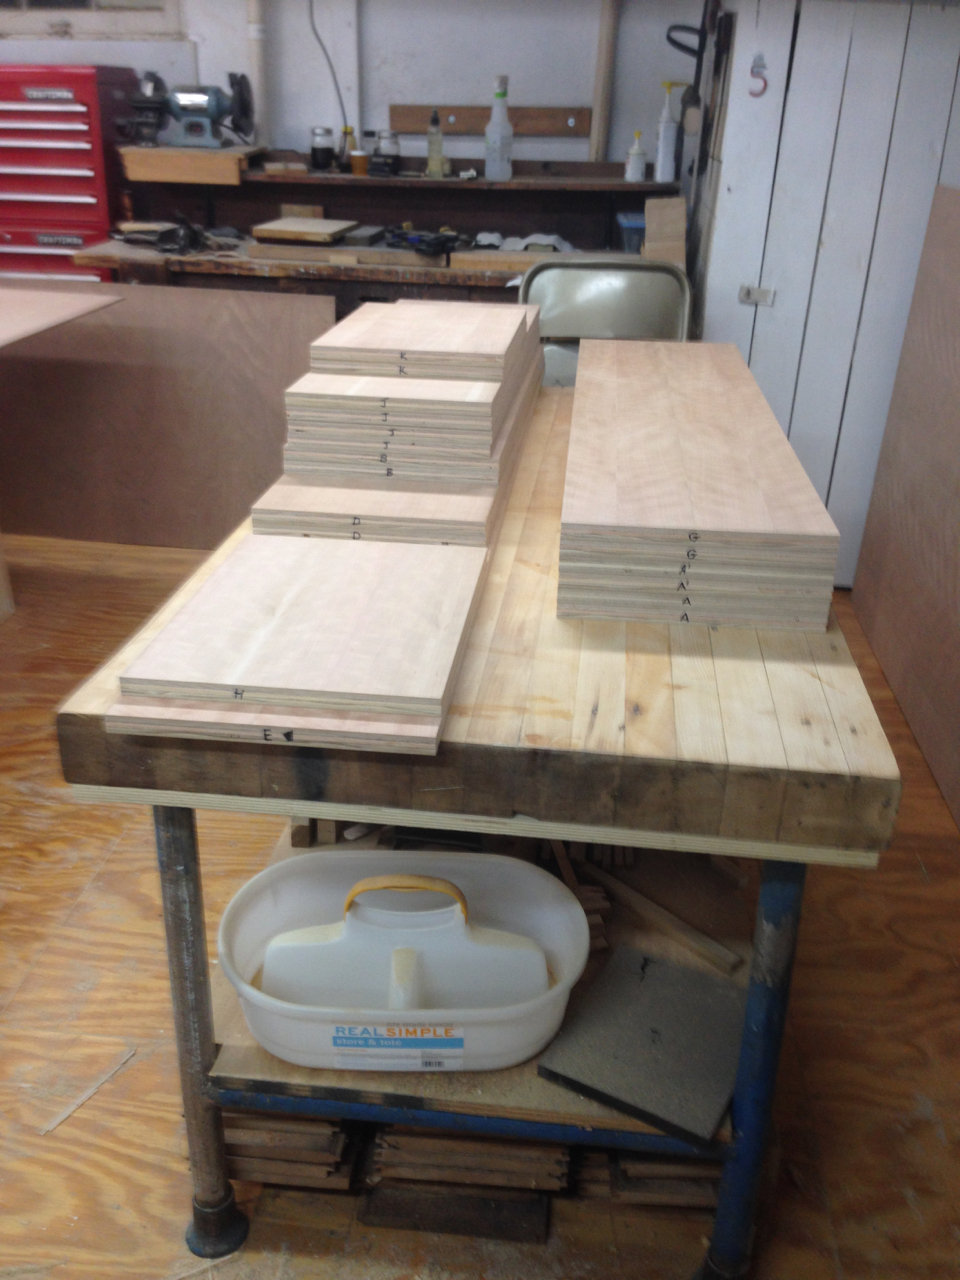
Tomorrow, I’ll drill shelf pin holes in the six pieces that will support shelves (A, A', and G). Then I get to sand everything before I start sealing, staining and finishing.