I got into the shop this afternoon and ended up spending quite a few hours. I tackled a couple of things.
Last Wooden Vise Rehab
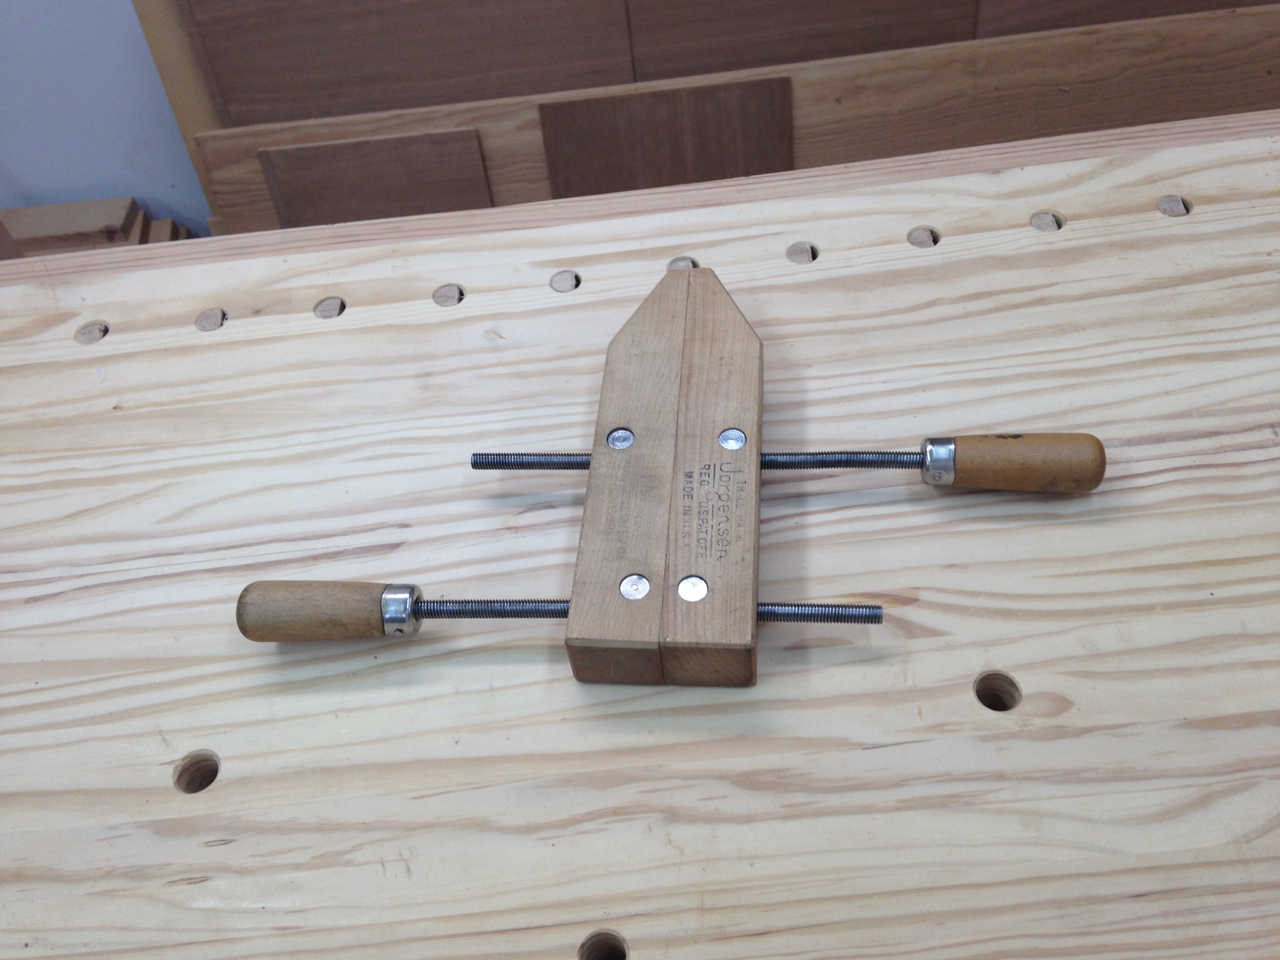
The first order of business was to finish rehabbing the last of the wooden screw clamps I was given by a friend.
Moldings for doors?
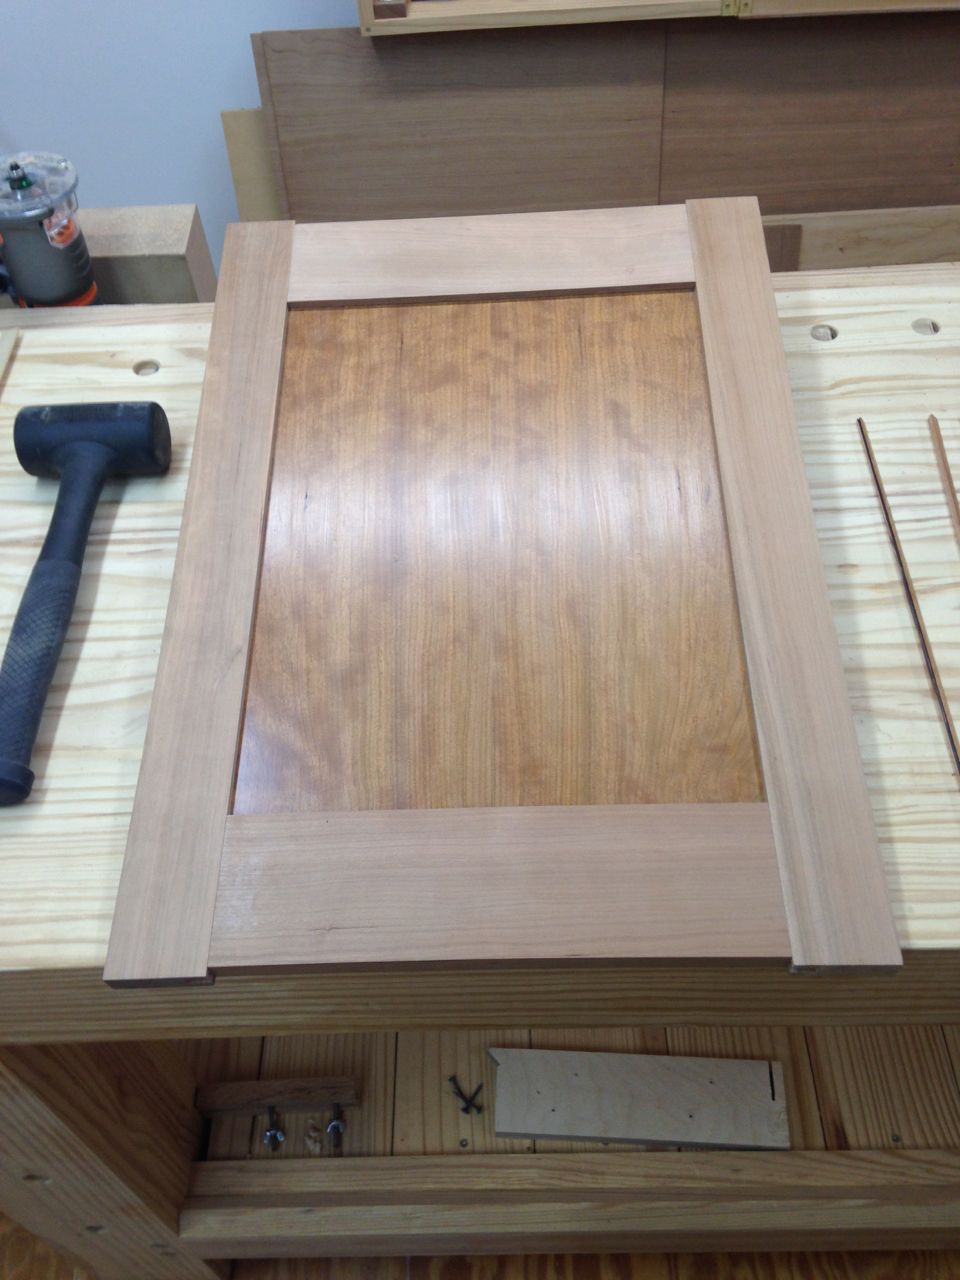
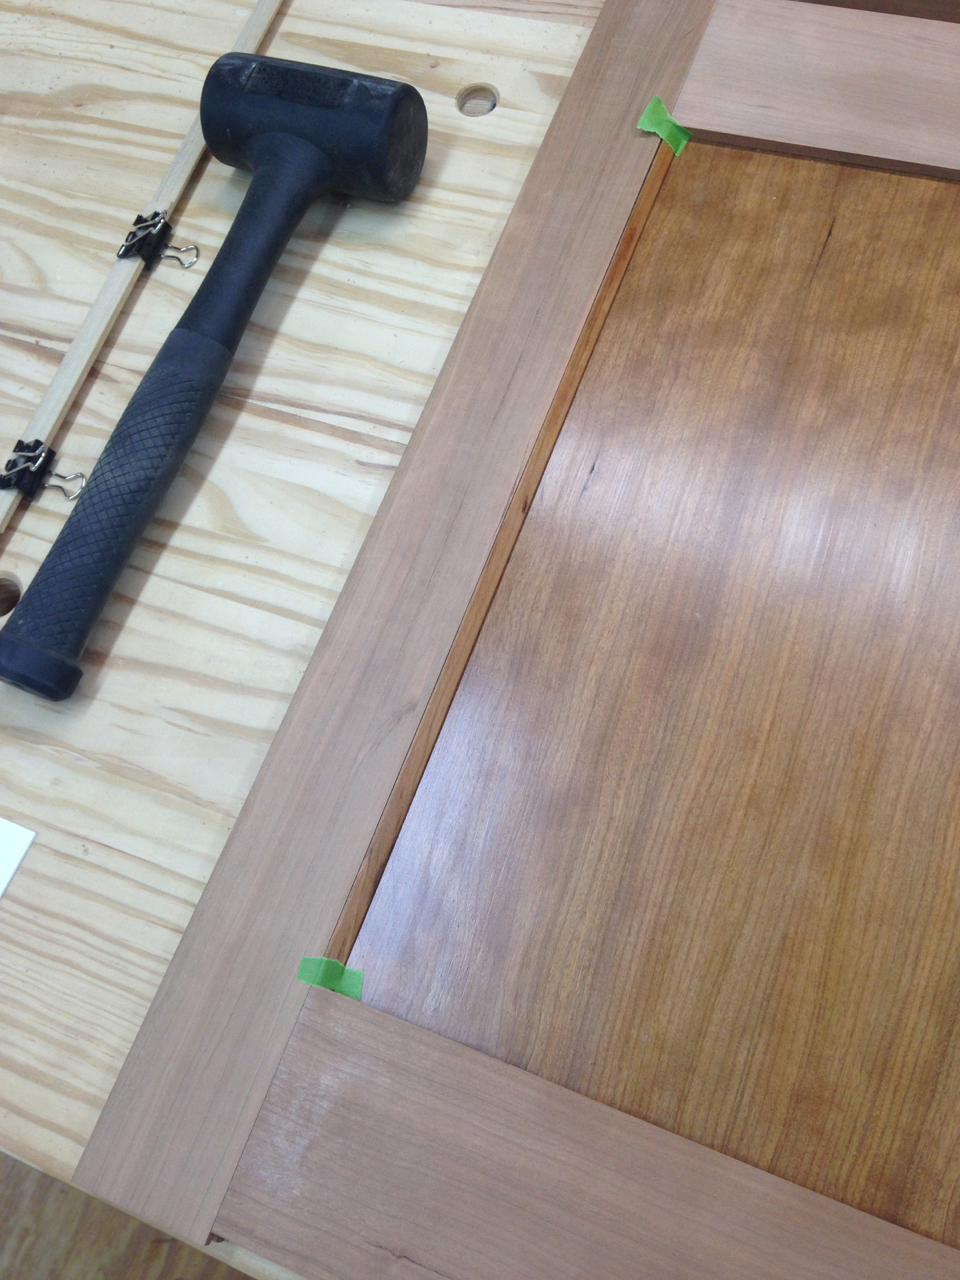
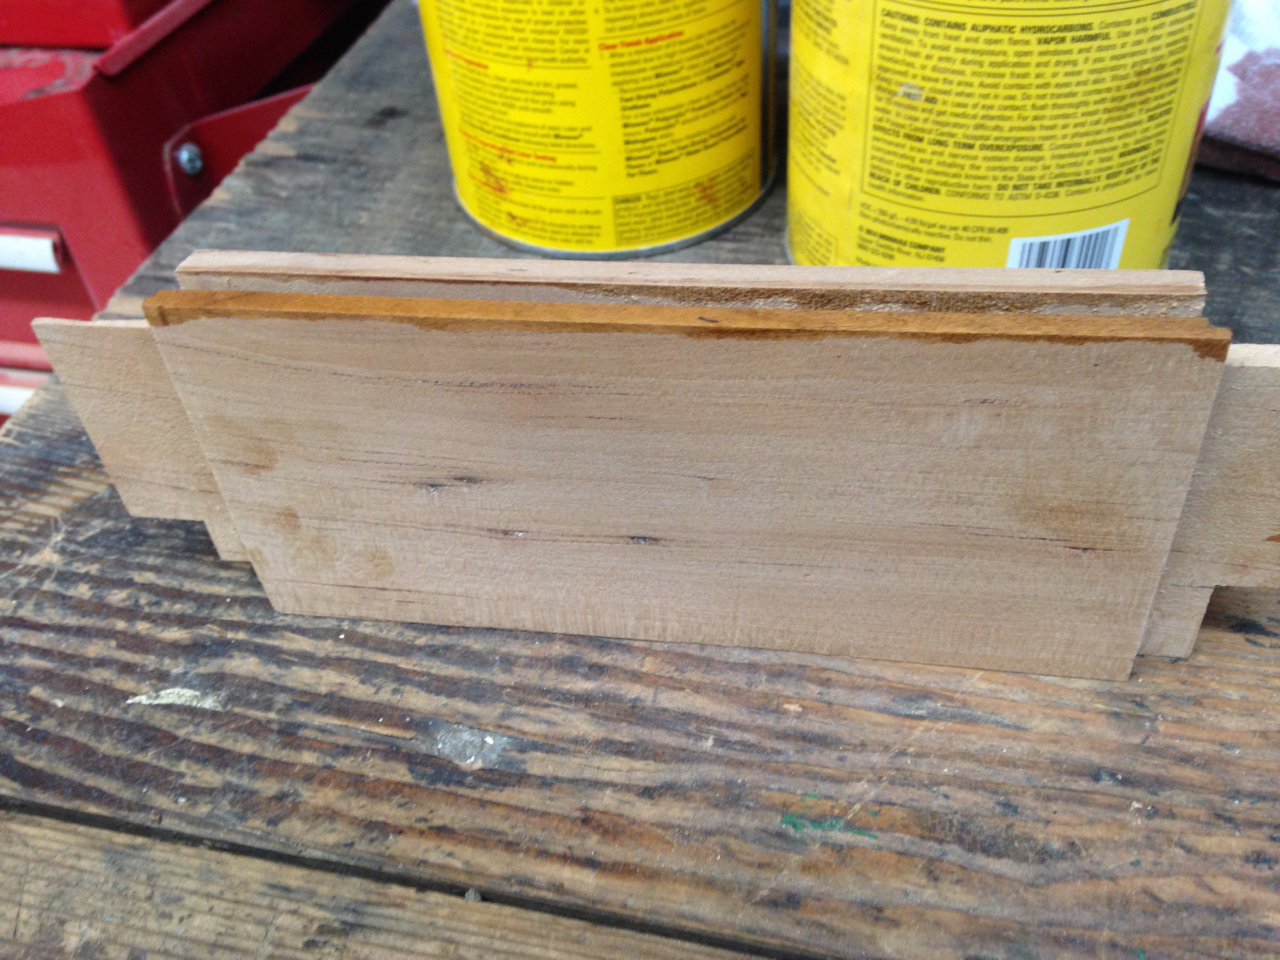
Then it was time to dry fit the first of my doors and make some small moldings to determine if I would apply one to the fronts of the doors. As my dad used to say, a time to do “a bit of figuring”.
The dry fitting went well (I’d already tweaked the faces of the stiles and rails so all that’s left is a bit of sanding).
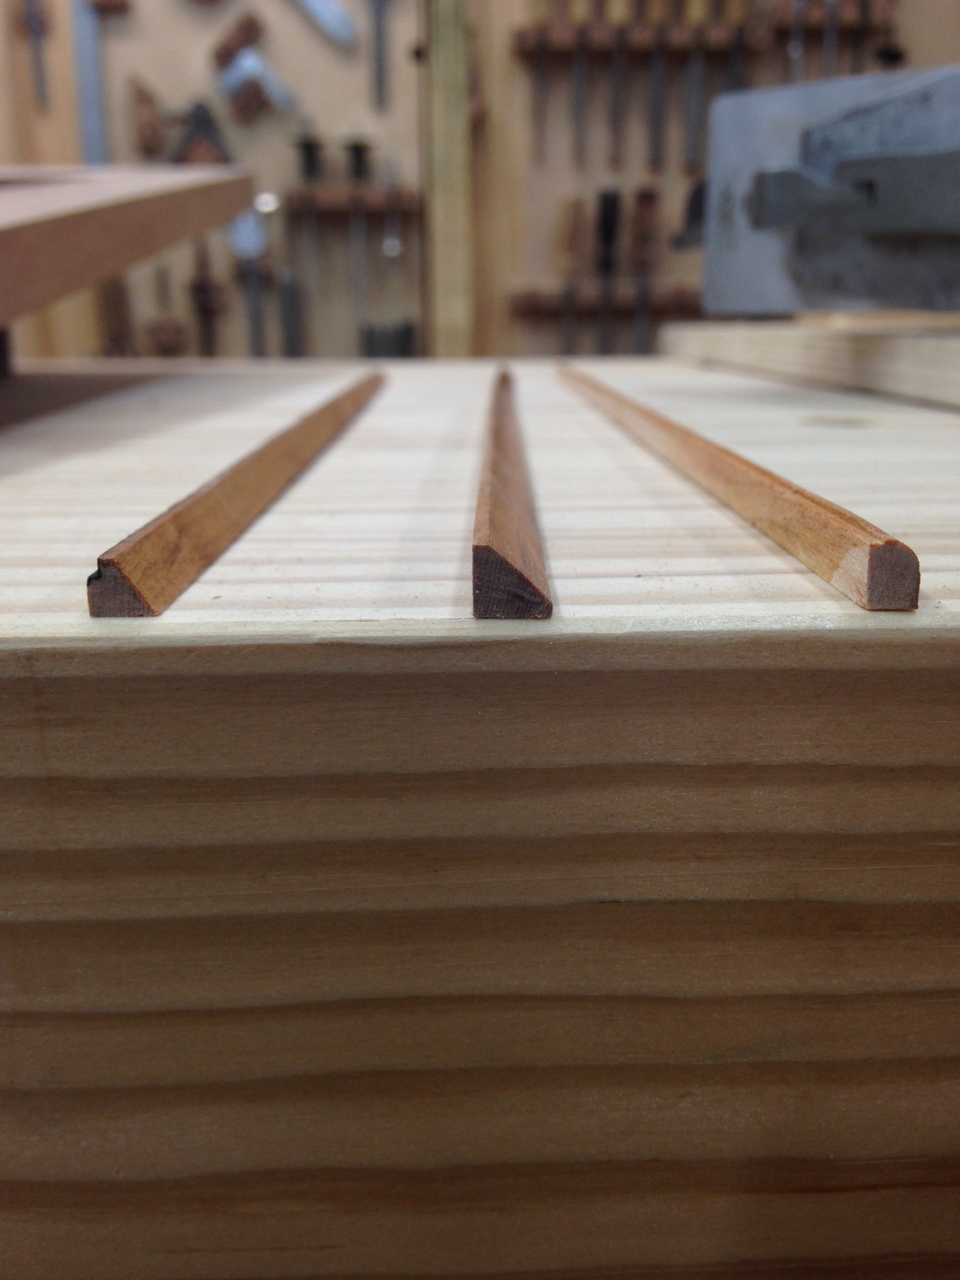
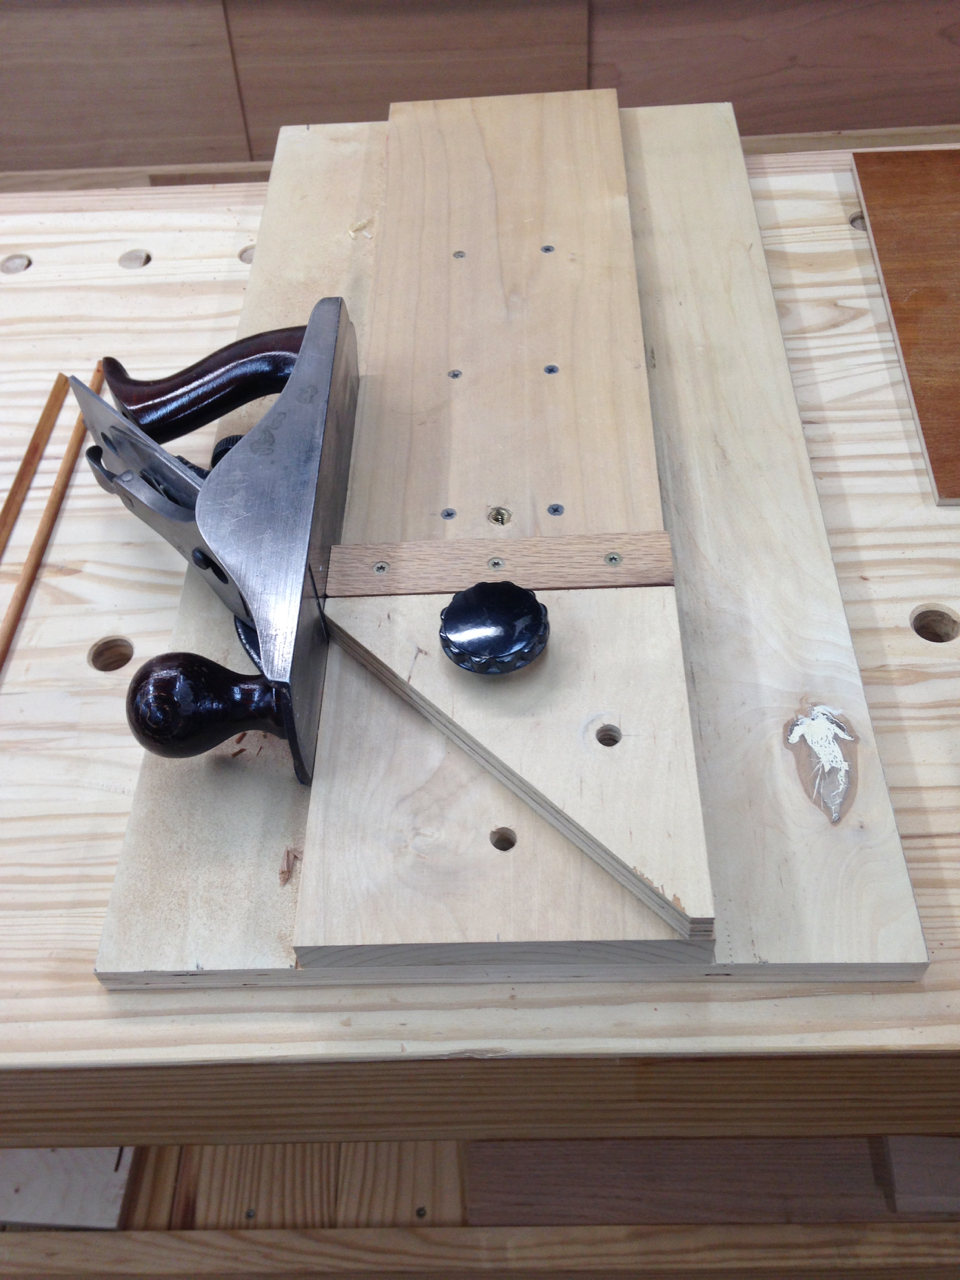
I made three different styles of moldings, creating just one piece long enough to fit to the inner edge of one stile.
While fitting them, I made good use of my shooting board.
Teresa and I looked at the molding samples and found the only one we really liked was the simple chamfer.
But we are seriously considering going with no molding at all. The cabinet doors in the small bar area just outside the study are in a mission style with simple flat panel doors, just like these doors are with no molding (like the dry fitted picture above).
How to Stain for No Moldings?
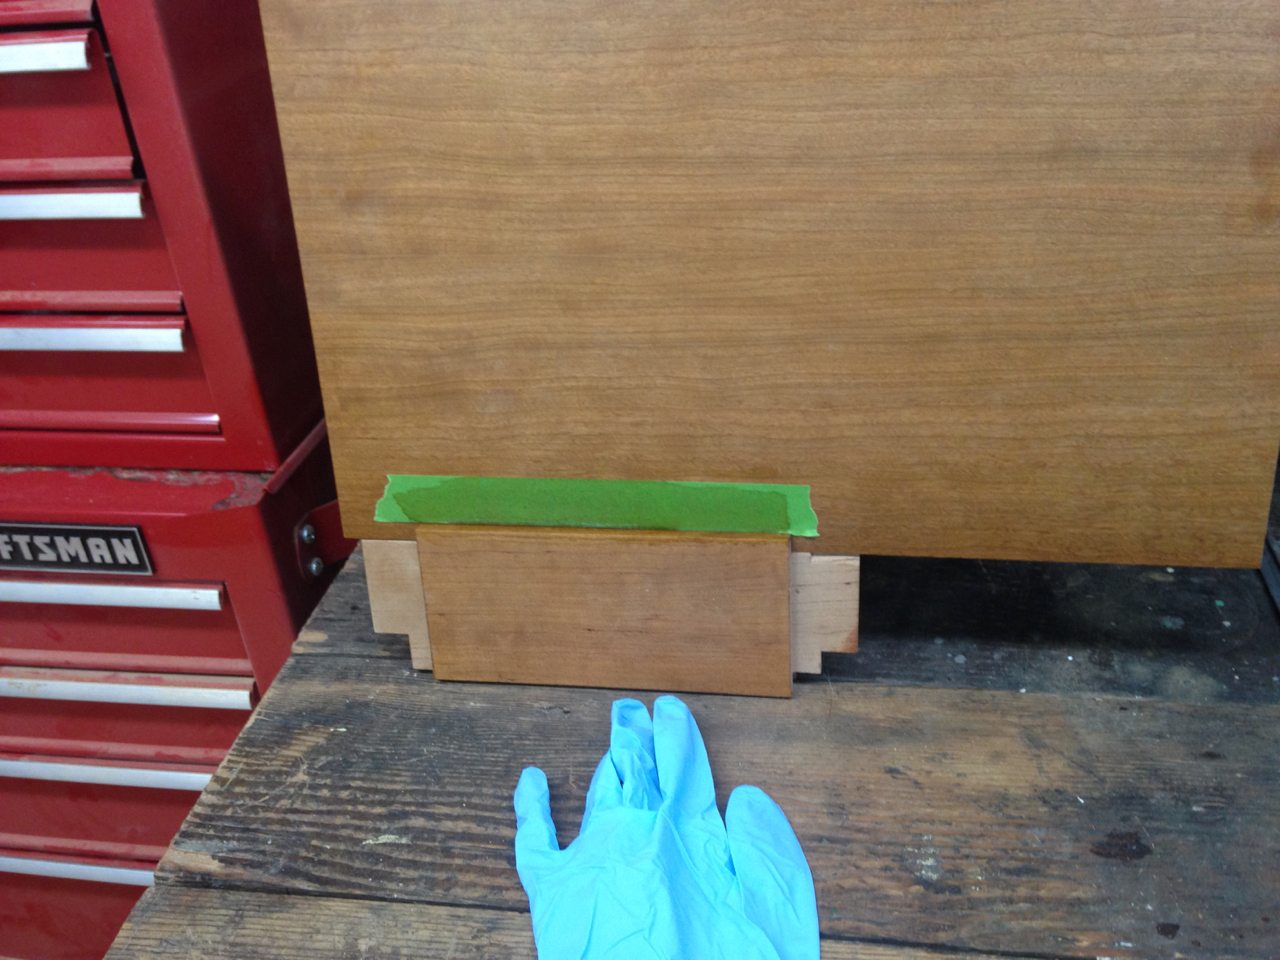
One benefit of an applied molding here is that I could only finish a bit of the inner edge of the stiles and rails, since the molding will cover up the rest. But if going with no molding, I need a way to finish the doors without getting shellac, stain, or polyurethane on the already-finished panels. This is complicated by the fact I have to fit the doors into their openings after they are glued up. Fitting them means trimming them to fit into the opening, which will trim off any shellac, stain, etc. from the edges of the doors. So I need a way to finish the inner edges of the stiles and rails that will blend well when I apply stain to the faces and outer edges after fitting the doors.
So I did some experiements. This is when I’m glad for test pieces and an extra finished panel I made. I tried a couple of different approaches. Applying green tape to the finished door panel and staining the edge didn’t work out very well, with lots of stuff left on the panel right in the corner or even inside the slot, and quite a bit of stain creeping into the slot.
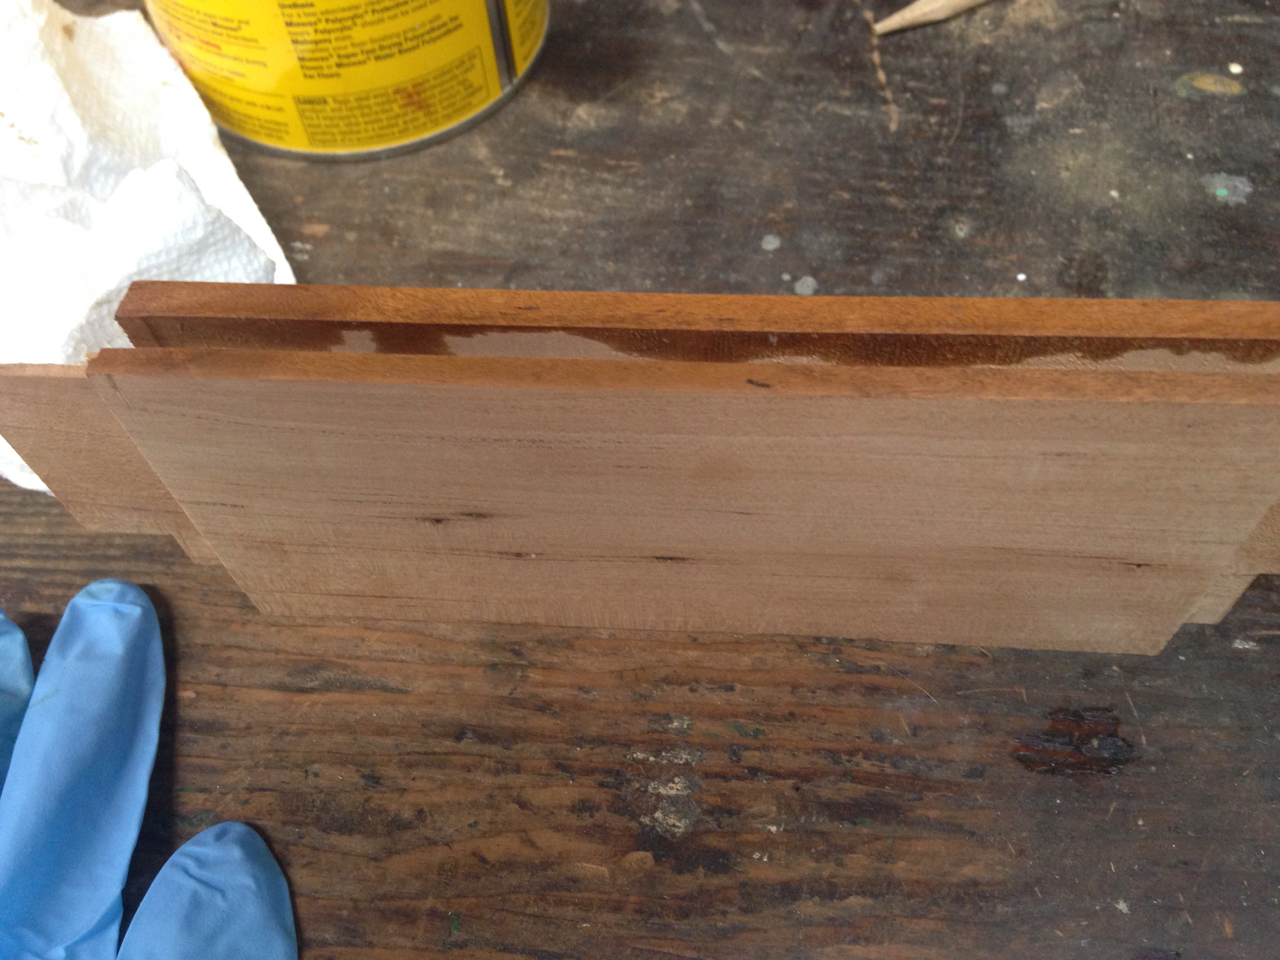
The other approach was to remove the panel, tape off the surface, and stain the inner edge. This worked out surprisingly well with only a bit of stain ‘creeping’ around the edge of the corner.
A bit of sanding removed the excess stain.
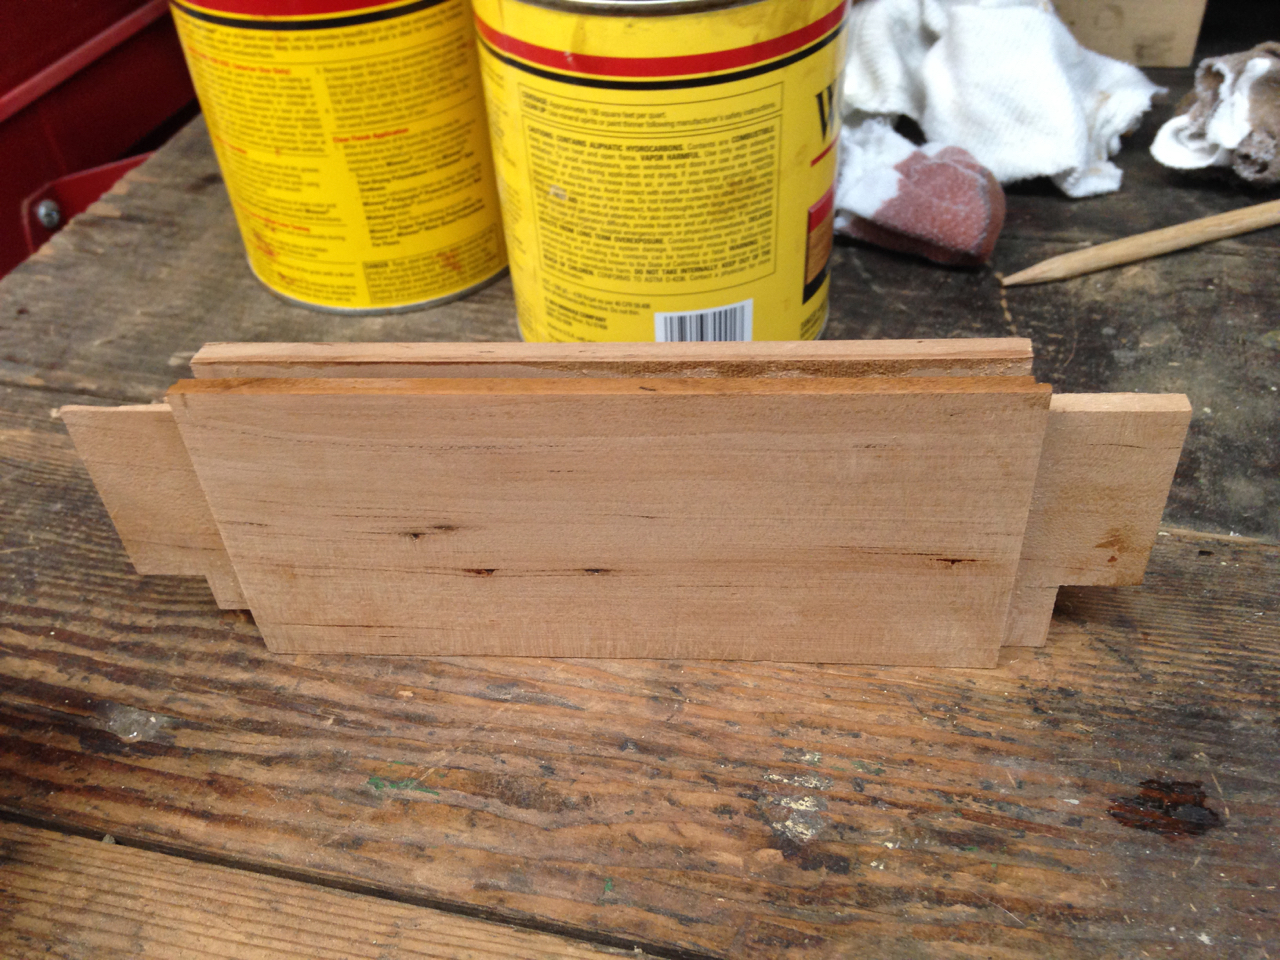
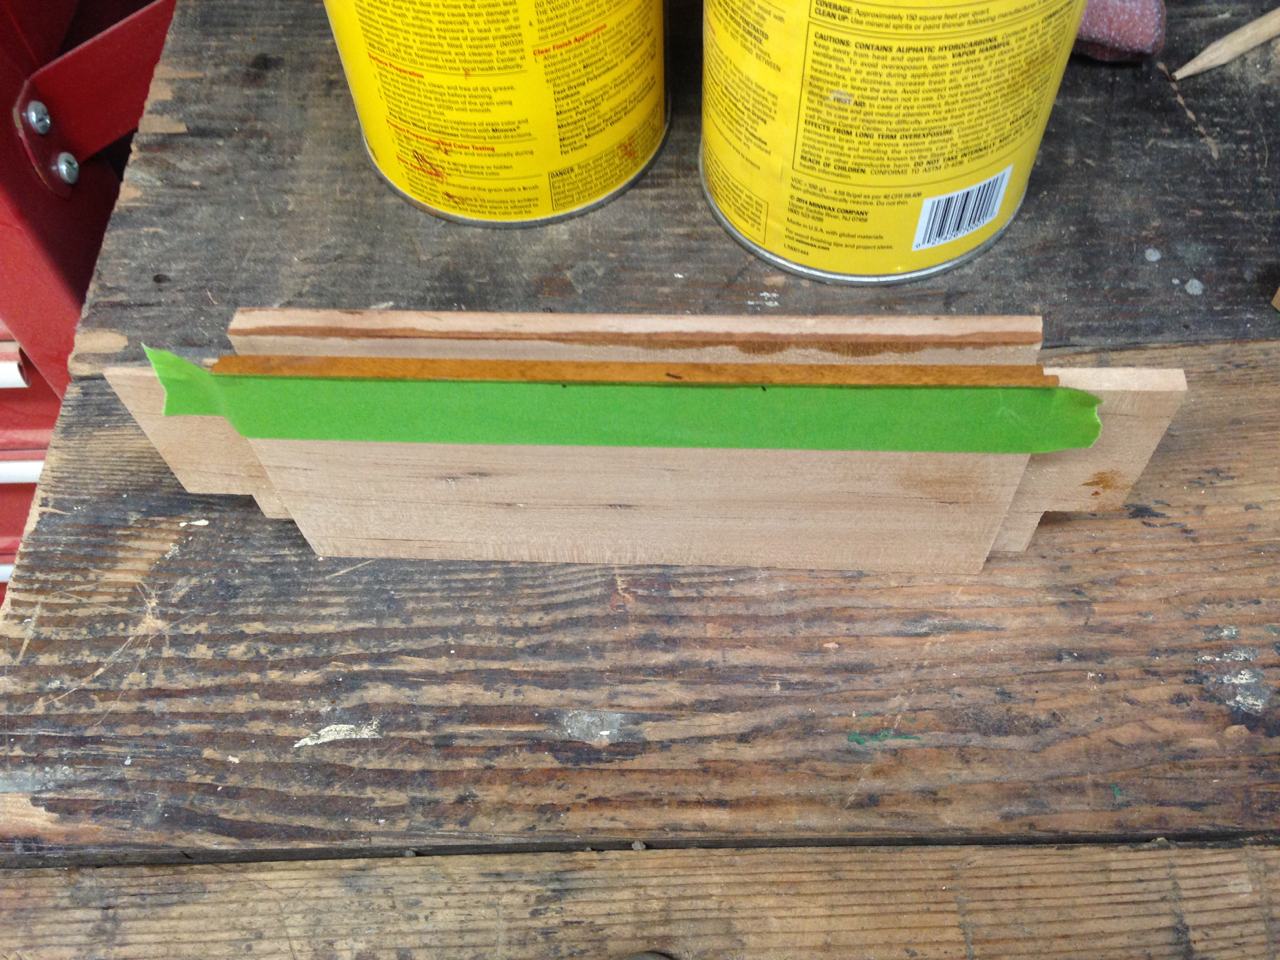
So I think I have a workable approach. I’ll stain the inner edges and sand away any ‘creep’. Then I’ll glue up the doors and fit them into the openings, including mounting the hinges. I’ll sand the edges after trimming them, then shellac and stain the unstained portions. The only question left is whether I’ll apply polyurethane to the inner edges before I glue them up. I need to conduct another experiment to see if doing so causes problems with shellacing and staining later after fitting the doors.